Ubuntu Tutorial for Beginner – Hello everyone, today I am going to show you how install Webmin on Ubuntu 16.04 Server via repository. By installing Webmin via repository, we can easily update to any future release of Webmin. Before we go through, I assume you have installed Ubuntu 16.04 already. You can install it on a local machine, as a guest machine or even you can create it on a cloud infrastructure such as Amazon or DigitalOcean. The latest version of Webmin 1.840 is available when this post is written.

Steps to install Webmin on Ubuntu 16.04
Step 1. Setup the repository
Edit the sources.list file and then add the webmin repository to it.
sudo nano /etc/apt/sources.list
Add the following line to the bottom
deb http://download.webmin.com/download/repository sarge contrib
Add the key
wget http://www.webmin.com/jcameron-key.asc
sudo apt-key add jcameron-key.asc
Now update Ubuntu and install Webmin
sudo apt update && sudo apt install webmin
Output:
root@mysql-bali:~# apt install webmin
Reading package lists... Done
Building dependency tree
Reading state information... Done
The following additional packages will be installed:
  apt-show-versions libapt-pkg-perl libauthen-pam-perl libio-pty-perl libnet-ssleay-perl
The following NEW packages will be installed:
  apt-show-versions libapt-pkg-perl libauthen-pam-perl libio-pty-perl libnet-ssleay-perl webmin
0 upgraded, 6 newly installed, 0 to remove and 6 not upgraded.
Need to get 15.8 MB of archives.
After this operation, 163 MB of additional disk space will be used.
Do you want to continue? [Y/n]
Step 2. Access Webmin
Once the installation is completed, open a web browser and type the server IP address using the following format
https://your-ip-address:10000
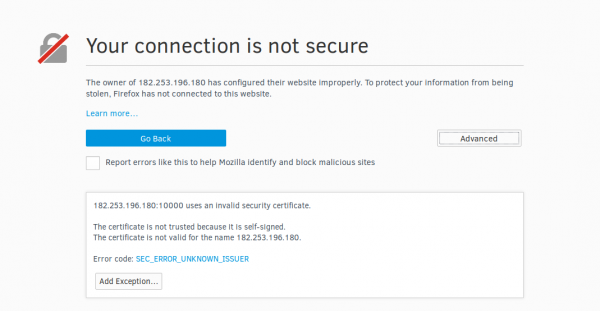
You may see the following screen on the first time. Simply add exception to it.

Finally, Webmin is ready


Leave a Reply