PostgreSQL is one of the most popular Relational Database Management System (RDBMS). It’s an open-source program that available for Windows, Mac as well as Linux system. The new PostgreSQL 13 is now available for Windows users. So in this article, I am going to install PostgreSQL 13 on Windows 10.
PostgreSQL 13 includes significant improvements to its indexing and lookup system that benefit large databases, including space savings and performance gains for indexes, faster response times for queries that use aggregates or partitions, better query planning when using enhanced statistics, and more.
Steps to Install PostgreSQL 13 on Windows 10
I will install the new PostgreSQL 13 certified by EnterpriseDB. This is the easiest way to get PostgreSQL 13 up and running on Windows 10. So let’s get started. First, download the installer from the link below.
https://www.enterprisedb.com/postgresql-tutorial-resources-training?cid=437
This is the binary installer for PostgreSQL 13 for Windows 64 bit. There is no 32-bit version for this. It will download around 205 MB from the internet. You should now have a file called: postgresql-13.0-1-windows-x64.exe. Double-click the file to start the installation.
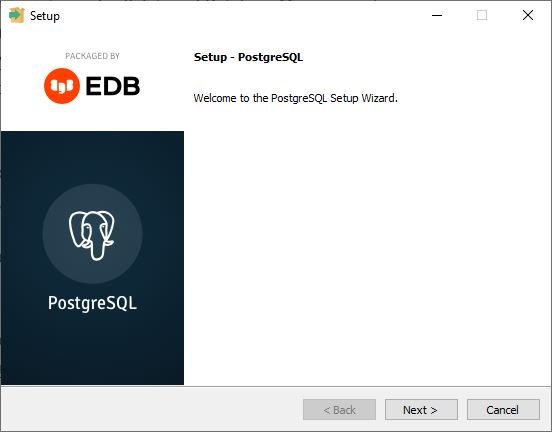
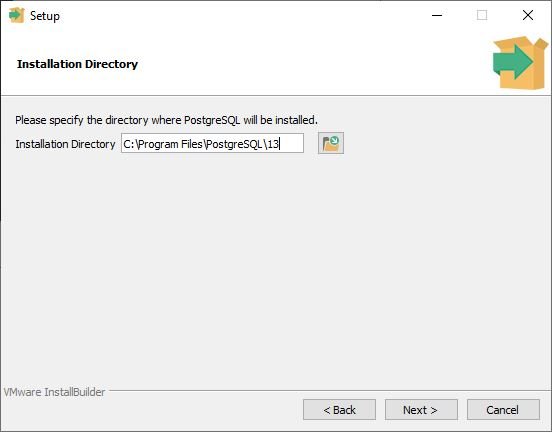
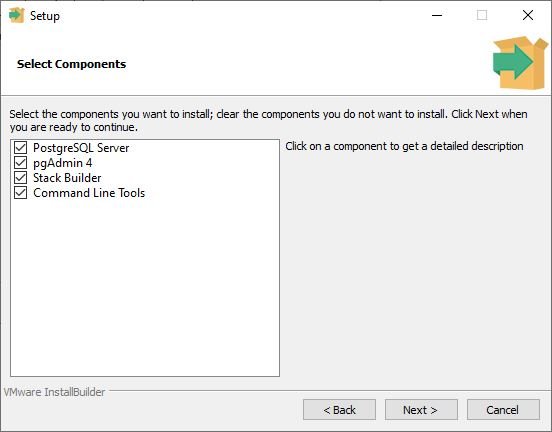
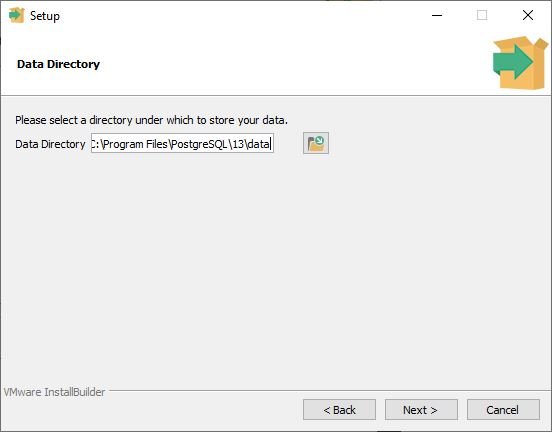
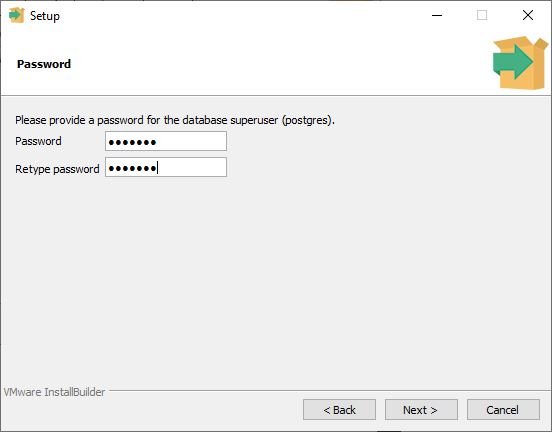
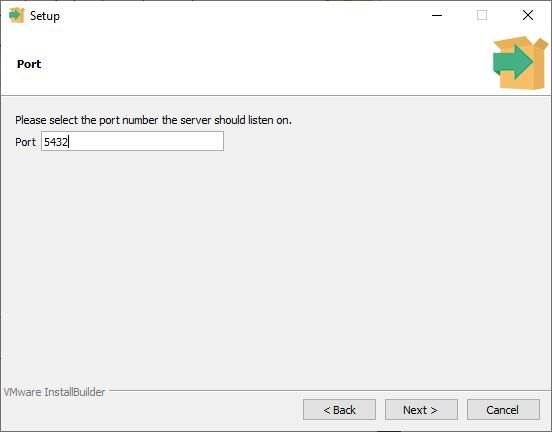
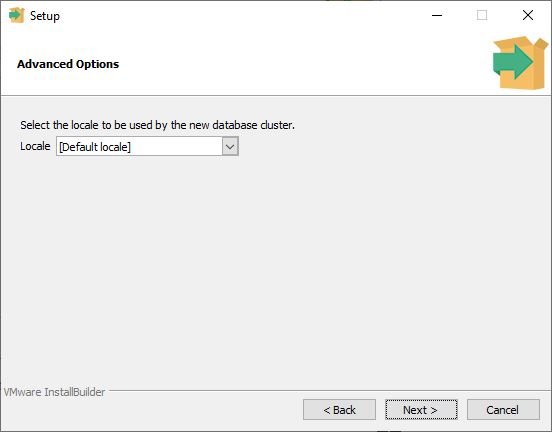
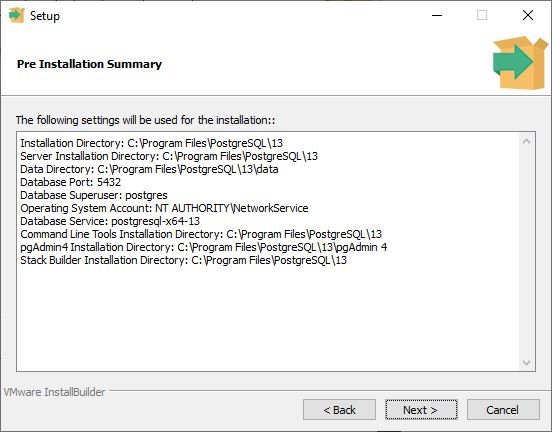
Press Next and the installation will start. When the installation finished, I recommend to run the Stack builder. We can add extension to the PostgreSQL using this Stack builder or install the ODBC driver.
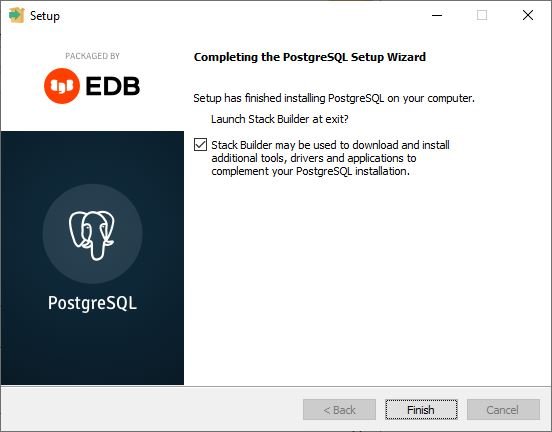
Basically, we have successfully installed the latest PostgreSQL 13 on Windows 10. Below, you can see how to install some additional extensions for PostgreSQL server.
Install PostGIS 3.0 on PostgreSQL 13
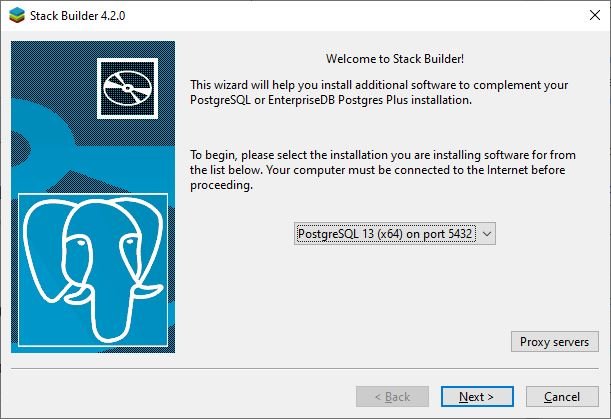
Run Stack Builder from the Windows menu. Select the PostgreSQL server from the list.
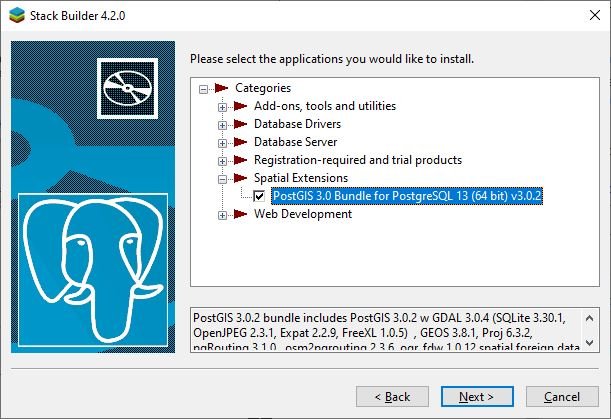
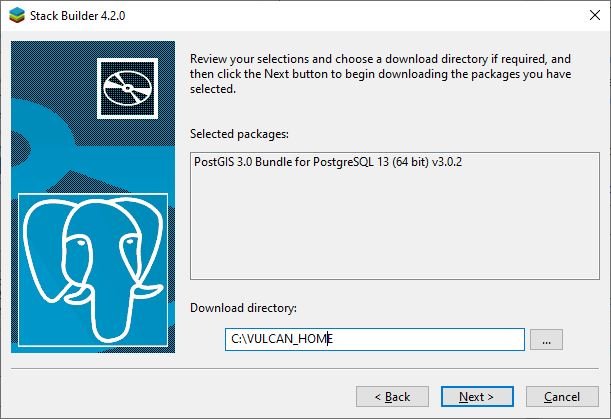
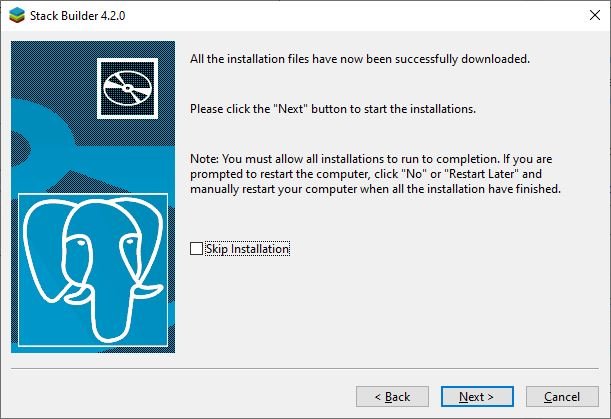
Press Next and the PostGIS installer will open up.
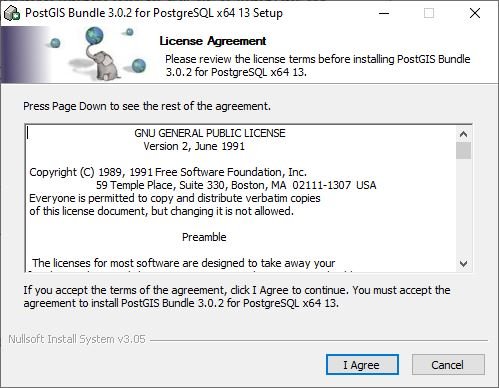
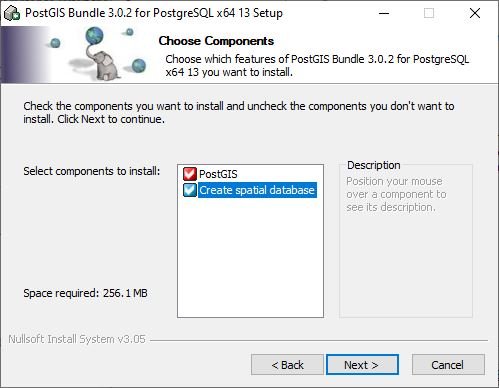
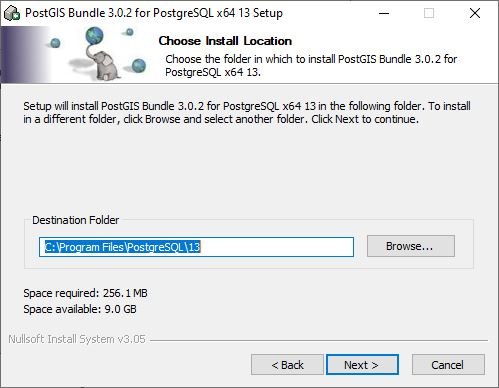
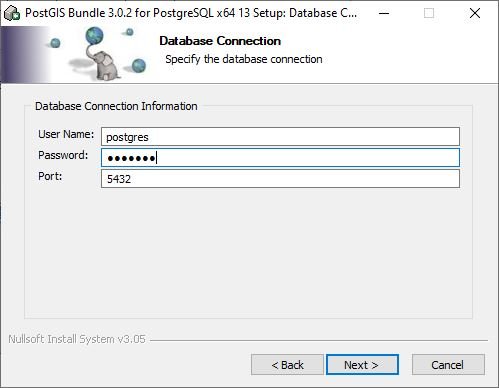
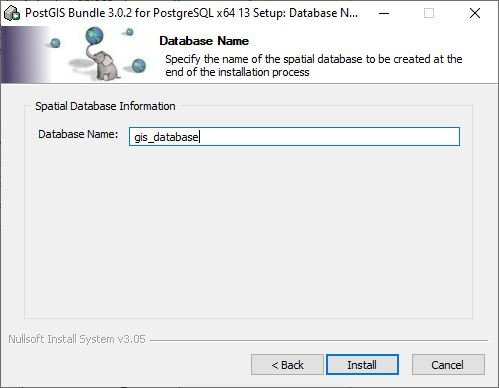
Wait until the installation completes. Now, we have successfully installed PostgreSQL 13 and PostGIS 3.0 on Windows 10. Thanks for reading and see you next time.

Leave a Reply