

To get better performance on a VMware virtual machine, we need to install VMware Tools. This set of tools will enable full-screen mode and some other software that will make your macOS virtual machine runs better. In this tutorial, I am going to show you how to install VMware Tools on macOS Mojave. This also works for macOS Catalina.
I assume you already have the macOS Mojave virtual machine running on your VMware. After that, we can start installing the VMware Tools.
Step 1. Download the iso
You will need to download this darwin.iso which is actually the VMware tool for the macOS system. Save it because we will need it later.
https://mega.nz/#!wh8lUb5Y!nbvf0NJHVdvHlVGoBmQh1ZYEHPUWIGGu4Nq2o72k1RE
Step 2. Install VMware Tools
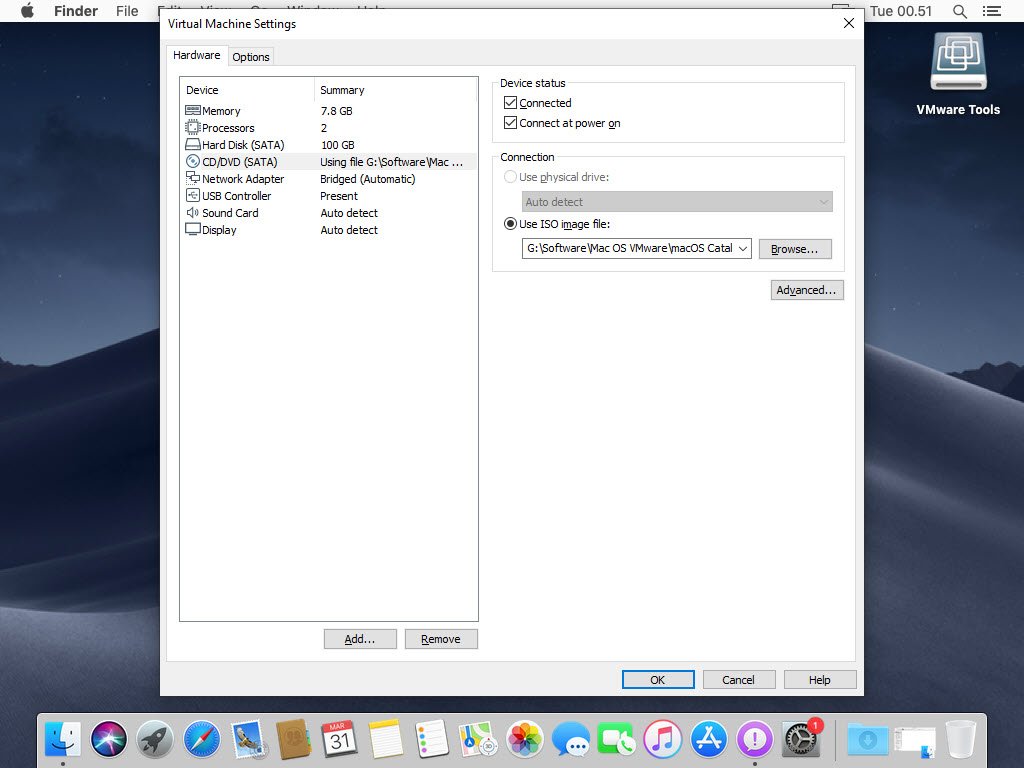
Start the virtual machine, and then go to Virtual Machine Settings. Go to the CD/DVD section and choose “use the ISO image file” and browse the darwin.iso file.
Click OK and then go back to the macOS Mojave VM. It will automatically be mounted and opened. You should see the following window on your VM.

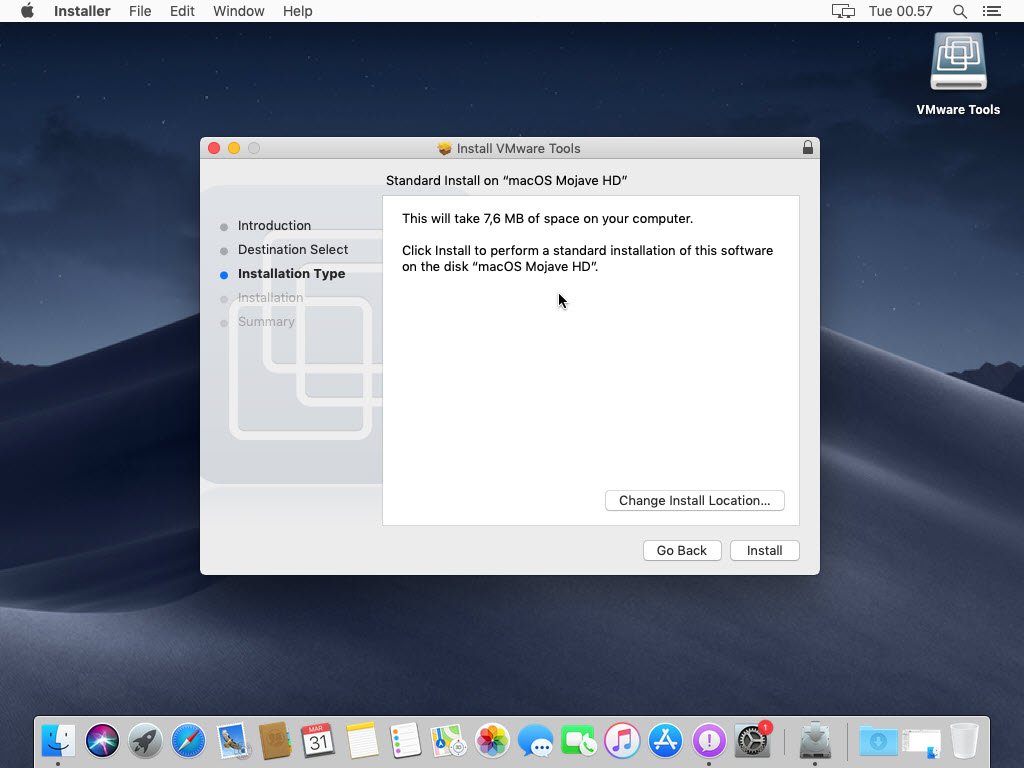
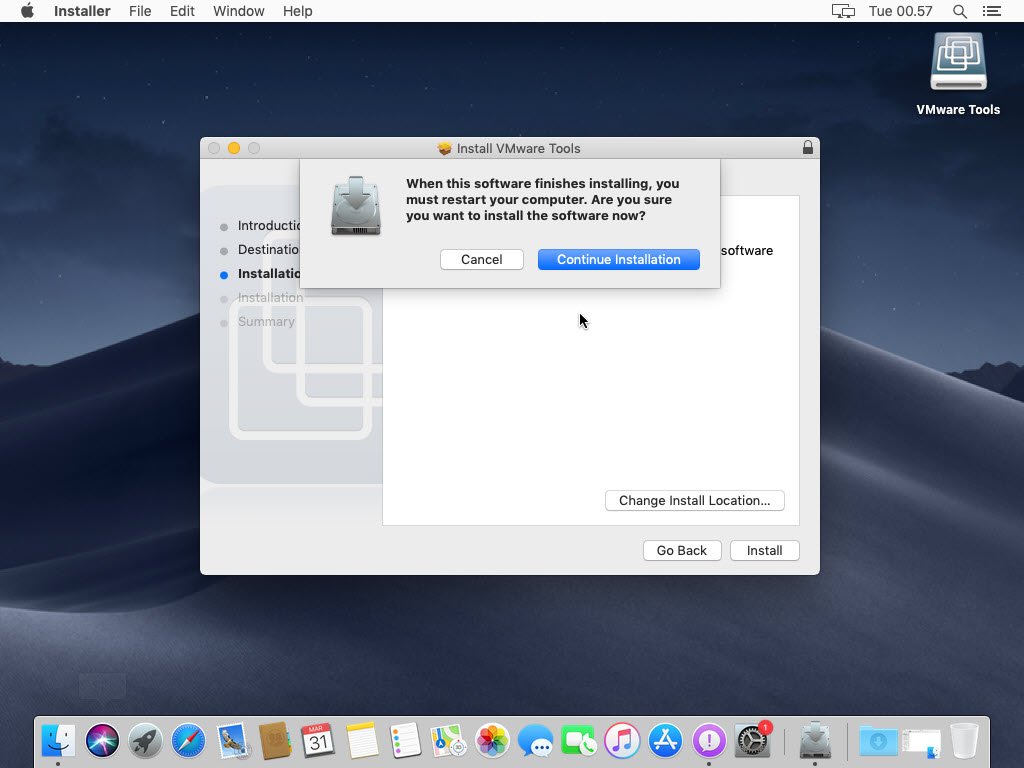
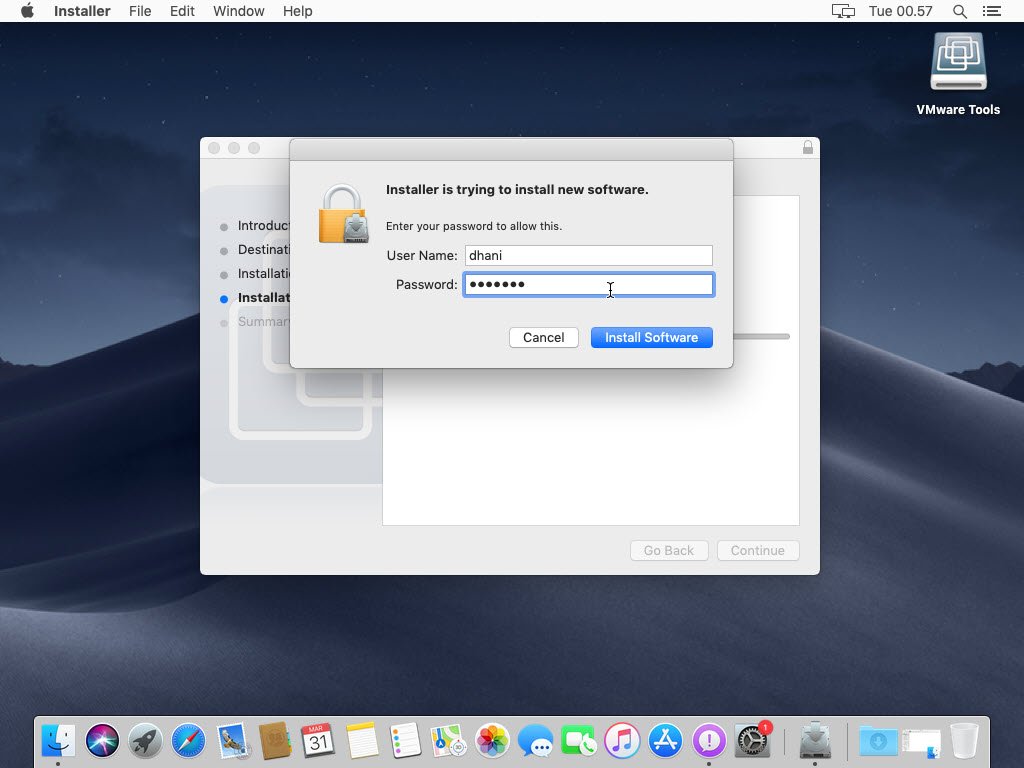
Double click the icon that says: Install VMware Tools. The installation will start. Follow the installation as shown below

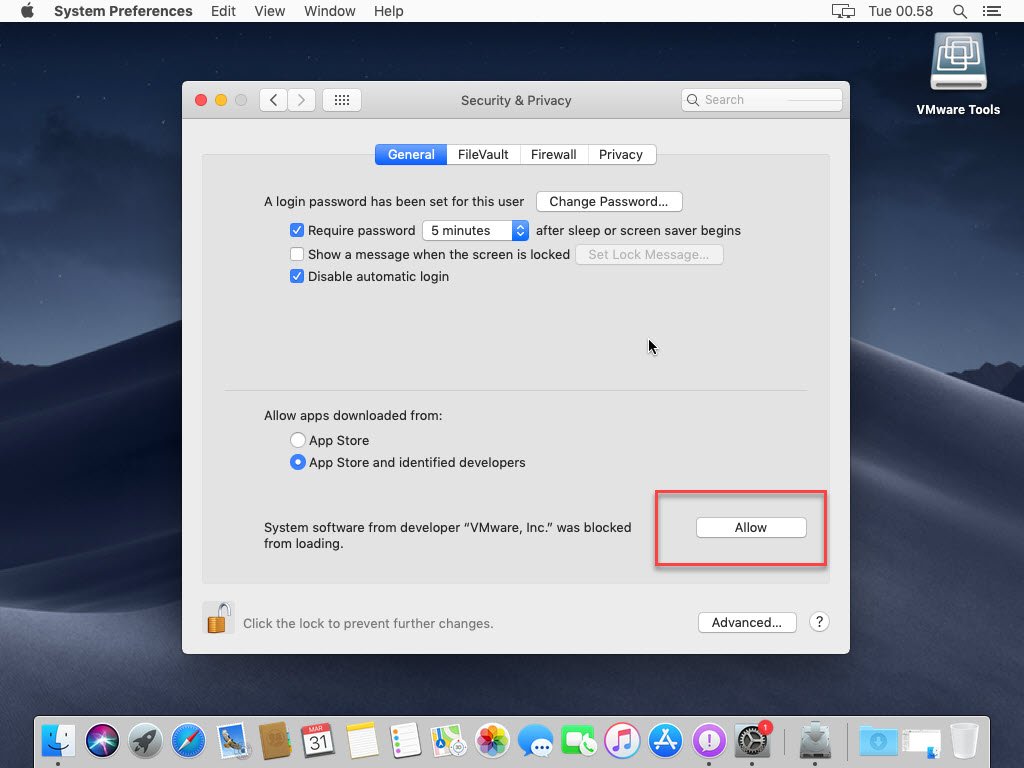
In most cases, you will face the following error. System Extension Blocked.
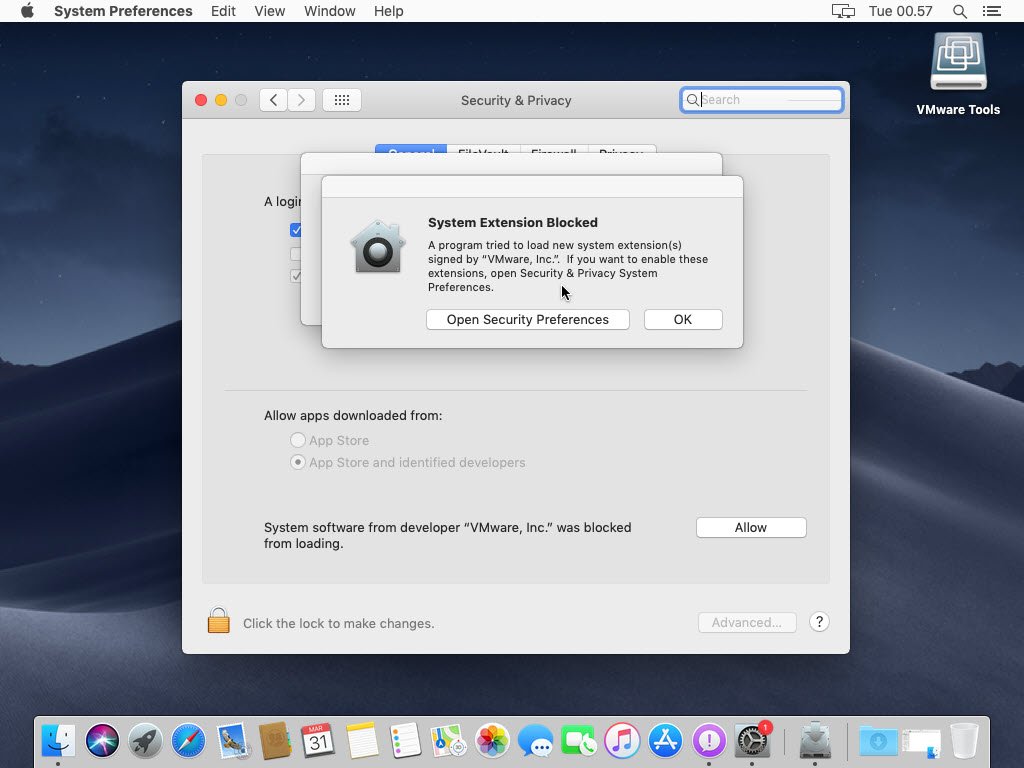
To fix this issue, open Security and Privacy. And then click the lock button to unlock. Click Allow and then restart the installation.
When the installation finishes, restart macOS VM
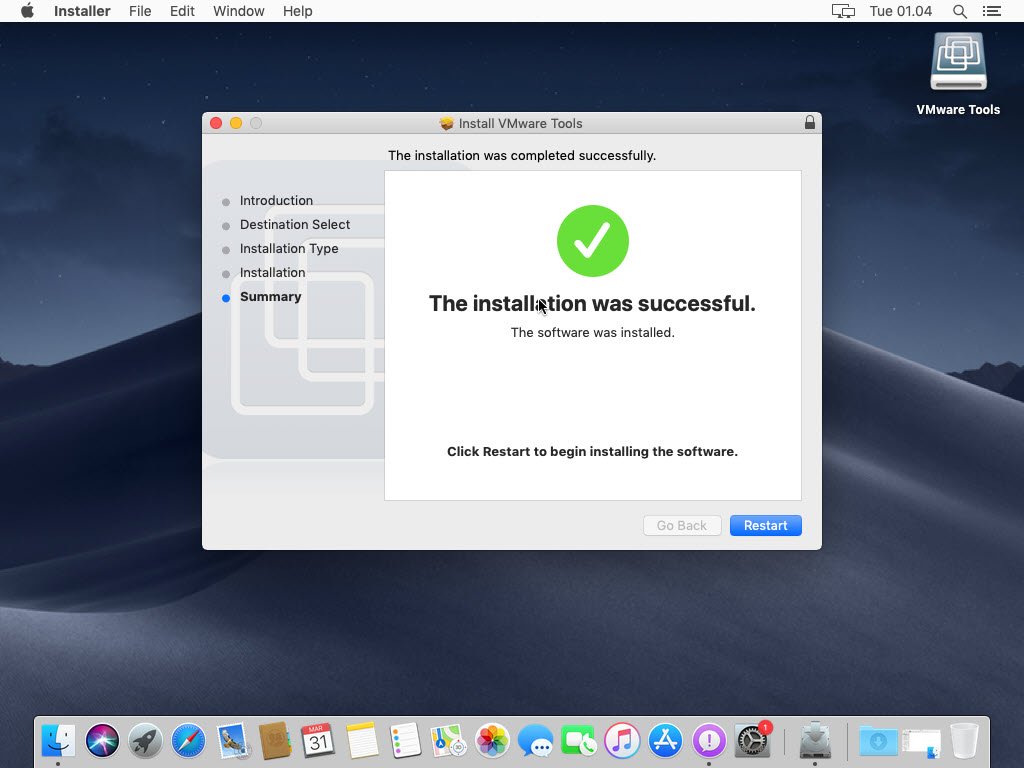
After the restart, enjoy the full-screen of the macOS Mojave virtual machine.

Leave a Reply