

In this article, I am going to show you how to install Microsoft SQL Server on Ubuntu 20.04 Focal Fossa. In the previous article, I installed the same SQL Server 2019 on Linux Mint 20. Basically, the installation steps are pretty much the same. Microsoft has made a great leap to provide its popular RDBMS database for Linux users. The MS SQL Server 2019 Linux version is compatible with the Windows version. So, we can easily transfer, backup, or restore the database from the Linux version to the Windows version vice versa.
Steps to Install Microsoft SQL Server 2019 on Ubuntu 20.04
Step 1. Update Ubuntu
It is important to have the most recent software package installed on the system. Do a system update with this command
sudo apt update && sudo apt upgrade
Step 2. Install GPG Public key
Now copy and paste this line to add and install the GPG key
sudo wget -qO- https://packages.microsoft.com/keys/microsoft.asc| sudo apt-key add -

Step 3. Add the repository
Next, we are going to add the official repository of the MS SQL Server for Ubuntu 20.04
sudo add-apt-repository "$(wget -qO- https://packages.microsoft.com/config/ubuntu/18.04/mssql-server-2019.list)"Step 4. Install MS SQL Server
Now we can install SQL Server with this command
sudo apt install mssql-server
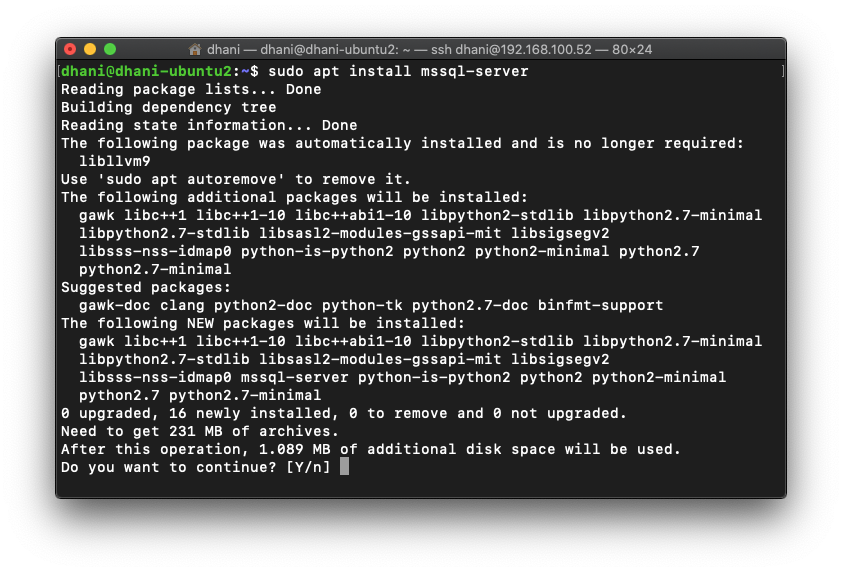
Wait until the installation process. When it completes, you will see the following on your Terminal.
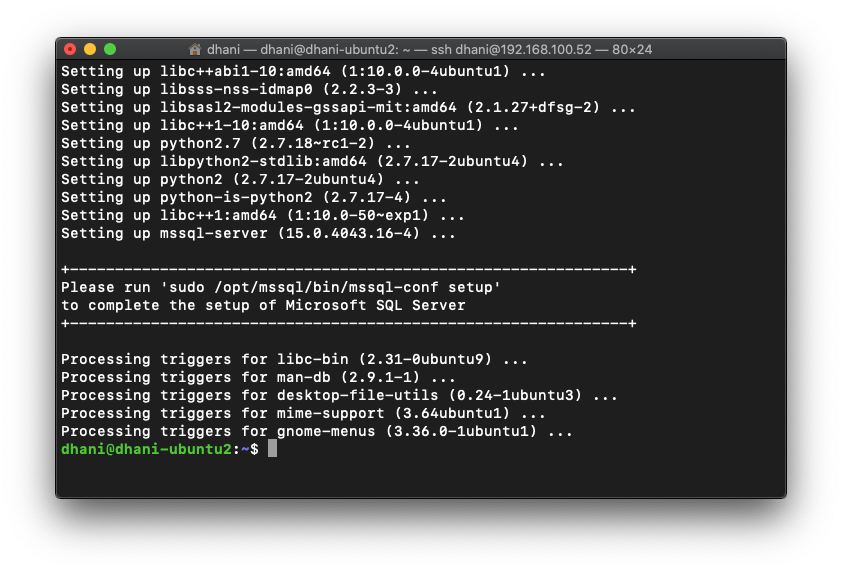
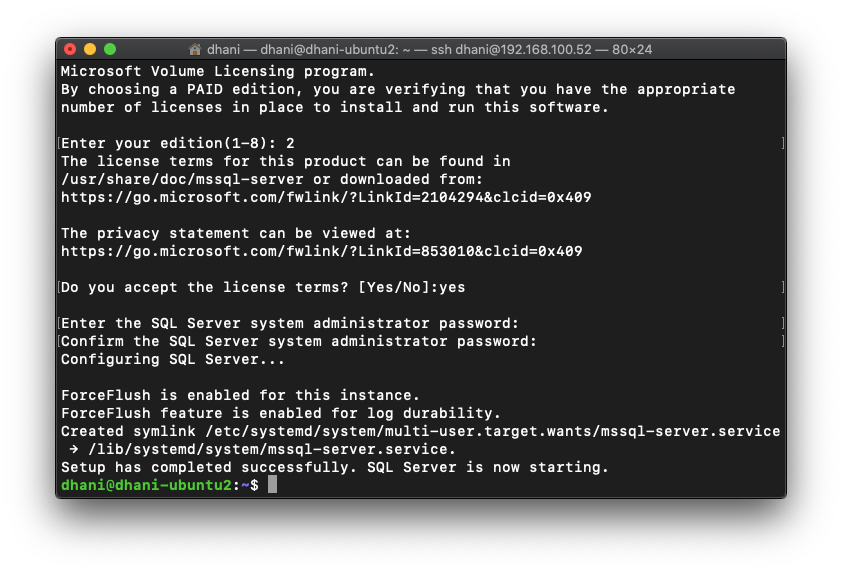
Finally, let’s run the config command below
sudo /opt/mssql/bin/mssql-conf setup
Next, we need to choose the SQL Server edition.
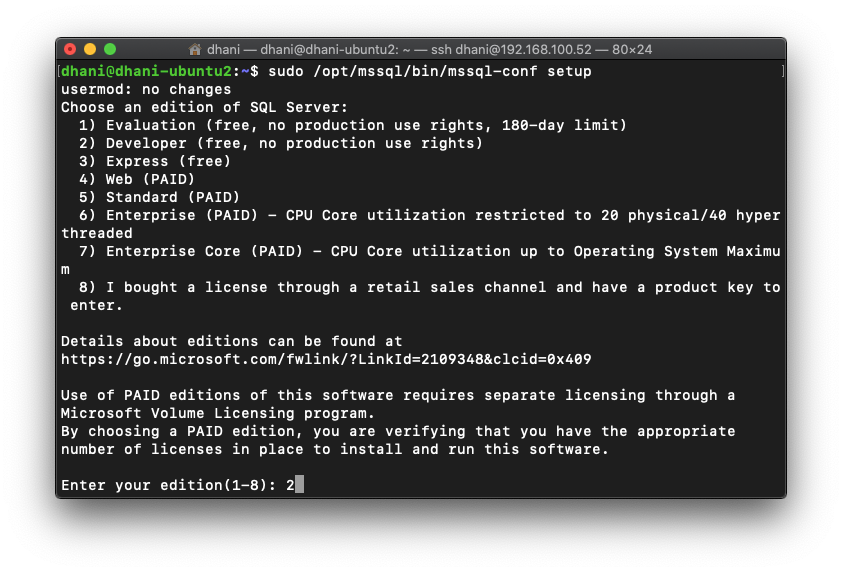
In this case, I choose number 2, the Developer edition. Next, accept the license.
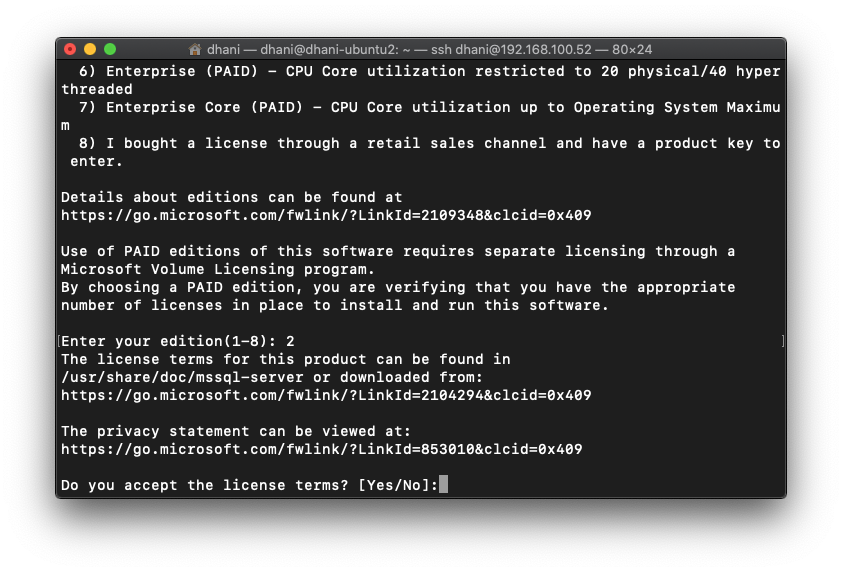
Next, enter the new SA password and confirm it. Finally, the installation is completed.
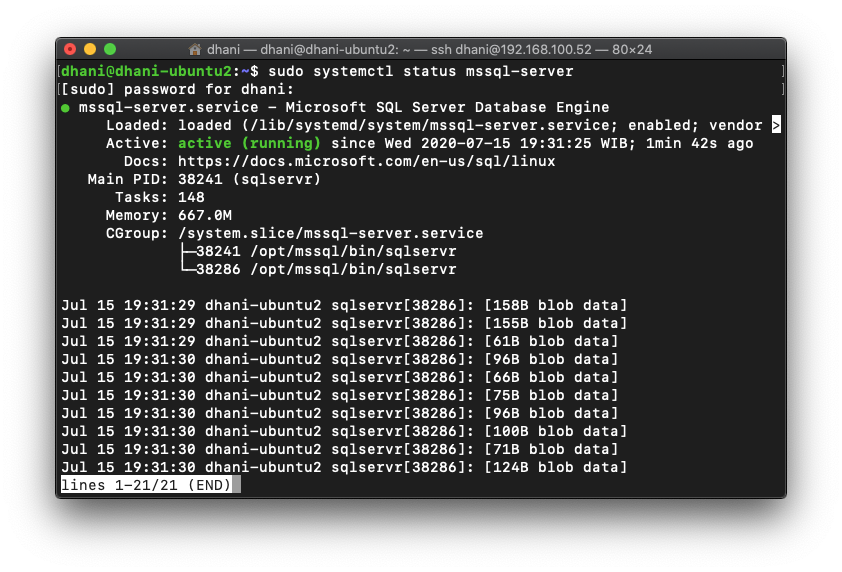
Next, we can check the service and make sure it is running
Install mssql-tools tool on Ubuntu 20.04
Now we are going to install the msssql-tools on Ubuntu 20.04. This is a command line tool to manage your SQL Server using Terminal console.
curl https://packages.microsoft.com/config/ubuntu/19.10/prod.list | sudo tee /etc/apt/sources.list.d/msprod.list
sudo apt update
sudo apt install mssql-tool
Next export the PATH
echo ‘export PATH=”$PATH:/opt/mssql-tools/bin”‘ >> ~/.bash_profile
echo ‘export PATH=”$PATH:/opt/mssql-tools/bin”‘ >> ~/.bashrc
source ~/.bashrc
Connect to SQL Server using sqlcmd
Now try to connect to the SQL Server with this command. Modify it with your own.
sqlcmd -S localhost -U SA -P 'YourP@ssword'
When connected, you will see 1> in Terminal. Next let’s create a new database
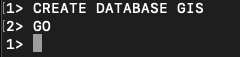
That’s it. Now you we successfully installed Microsoft SQL Server 2019 on Ubuntu 20.04 Focal Fossa. Thanks for reading this article and see you on the next ones.
ran in to two problems, They do result in sqlcmd not being found….
markwardell@ubuntu:~$ sudo apt install mssql-server autoremove
Reading package lists… Done
Building dependency tree
Reading state information… Done
E: Unable to locate package autoremove
///////////////////
And then :
markwardell@ubuntu:~$ sqlcmd -S localhost -U SA -P
You don’t need to install autoremove. Please check the command line in the screenshot.
sudo apt autoremove
That command is used to remove unused files/packages