

Hello everyone, today we are going to install PowerShell Core on Windows 10. For some of you may think what is PowerShell Core? By it’s definition, PowerShell is a task-based command-line shell and scripting language; it is designed specifically for system administrators and power-users, to rapidly automate the administration of multiple operating systems (Linux, macOS, Unix, and Windows) and the processes related to the applications that run on those operating systems.
PowerShell is an open source project and the source code is available in GitHub. On this example, I am going to install PowerShell Core on my Windows 10. In the future, I am planning to work with some PowerShell Script for my VMware Hypervisor projects.
Steps to Install PowerShell Core on Windows 10
To Install do the following:
- Download the Setup file. Select the correct Windows edition from the list.
- Double click the exe file
- Follow on screen installation wizard
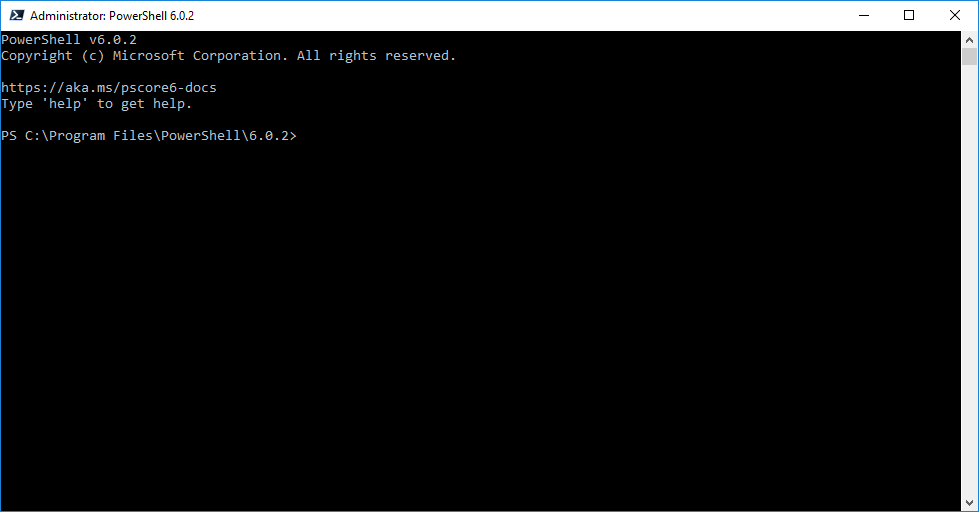
- Run PowerShell Core
Install PowerCLI on Windows 10
After installing PowerShell Core, I am going to install the PowerCLI 10.0. PowerCLI is a collection of Windows Powershell modules which are used to manage and maintain a VMware virtual environment.
To install do the following:
- Open PowerShell Core as Administrator
- Type the following command:
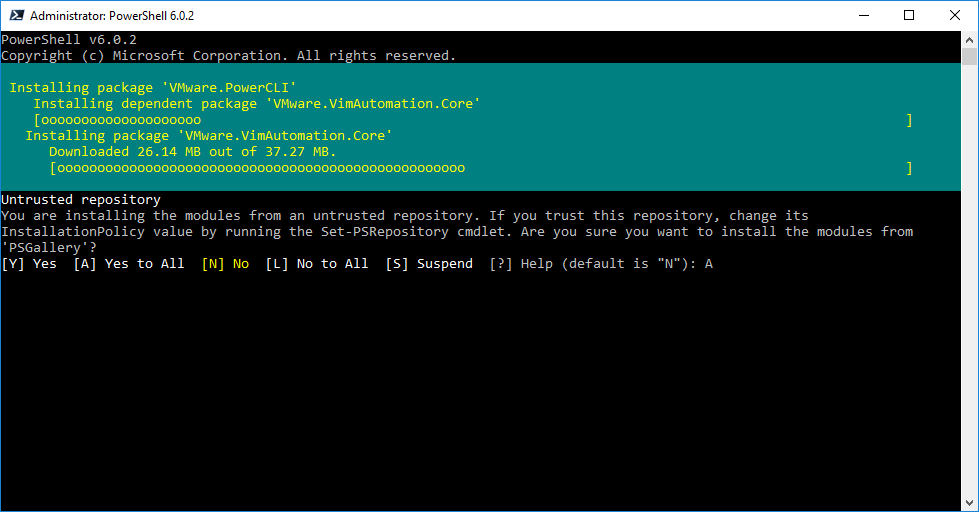
Install-Module VMware.PowerCLI
- Type “Y” to accept.
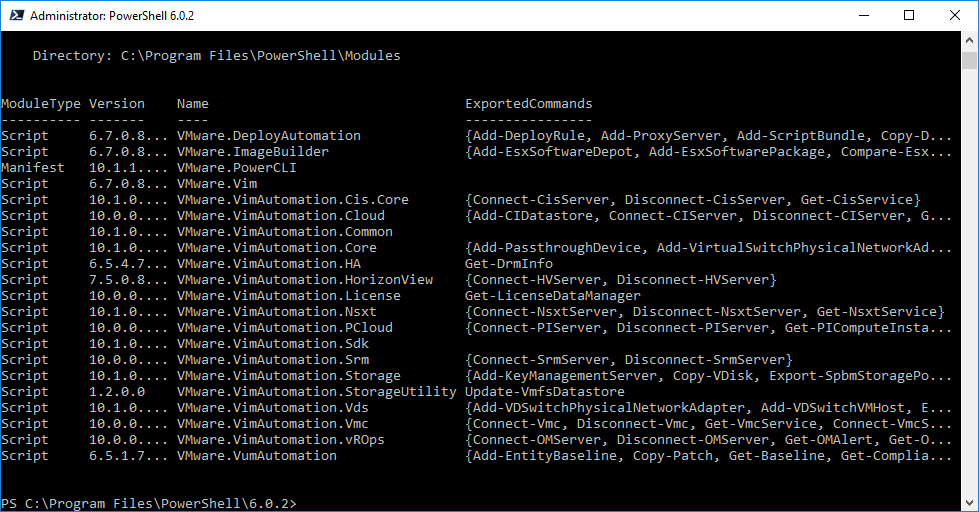
- Verify the installation
Get-Module -ListAvailable -Name VMware*
Done. Now you have installed PowerShell Core and also PowerCLI. Thanks for reading.
Leave a Reply