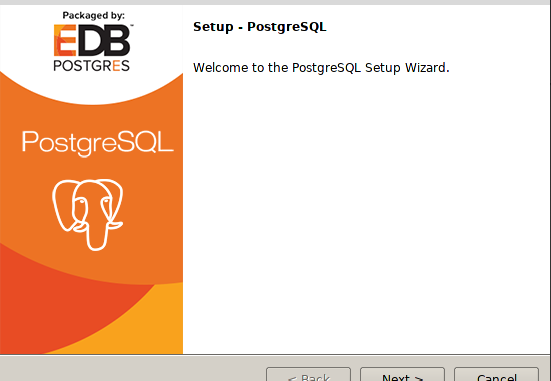
PostgreSQL is a popular database server that has been used by millions of users. Today, I am going to show you how to install PostgreSQL Server on Linux Mint 19. Similar to MySQL Server, the PostgreSQL server is reliable and supports multiple operating systems. On this tutorial, I am going to install the PostgreSQL server 10 provided by EnterpriseDB. You can also install PostgreSQL server via Terminal but I will not discuss it in this article.
Steps to install PostgreSQL Server on Linux 19
Step 1. Download the installer
Navigate to this website and select the PostgreSQL version to download. In this case, I download version 10 and 64-bit version for Linux. You will get a file with .run extension. For example, in my case, this would be: postgresql-10.6-1-linux-x64.run
Step 2. Make the file executable
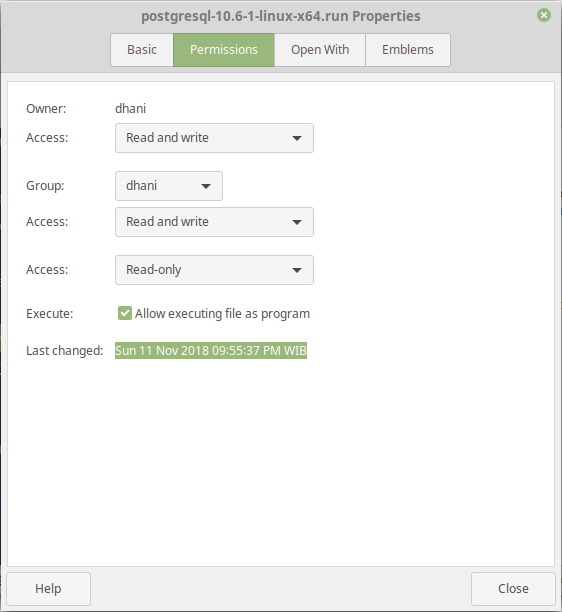
Now right-click the file and then click Properties. We are going to make the file executable. Go to the Permission tab and then enable the option: Allow executing file as program.
Or, you can use this command to make the file executable
sudo chmod +x postgresql-10.6-1-linux-x64.run
Step 3. Install the package
Now let’s run the installer. Use this command to start the installer
sudo ./postgresql-10.6-1-linux-x64.run
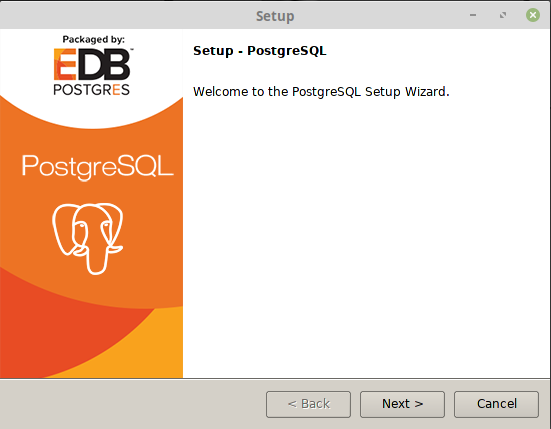
In a moment, the installation wizard will open up. On the first window, click Next.
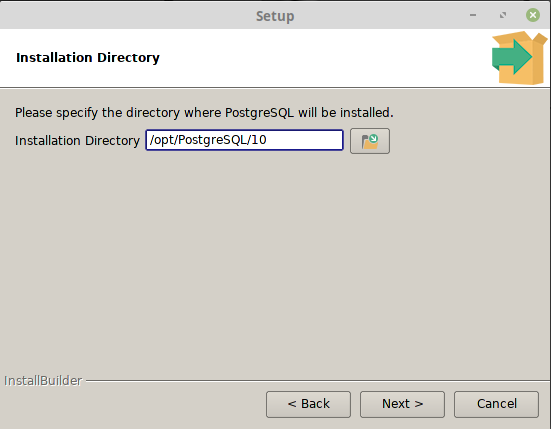
Now specify the installation directory. In this case, I leave the default value as is
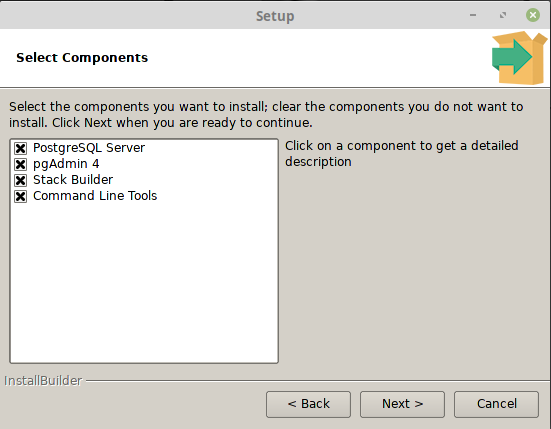
Now select the components to install
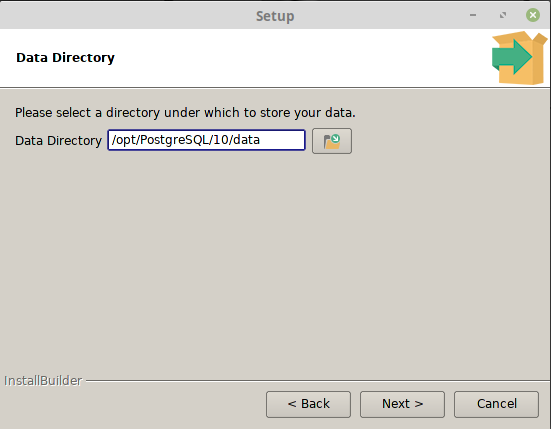
Now specify the data directory
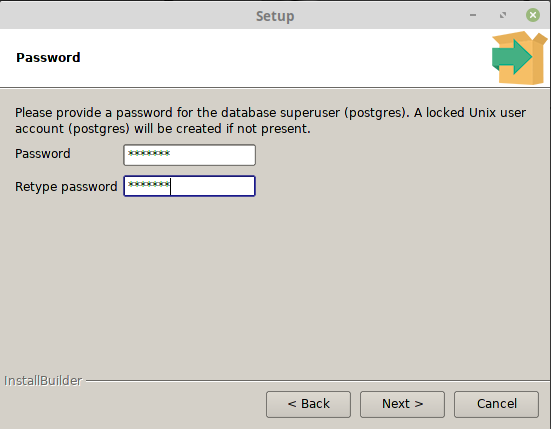
Next, specify the password
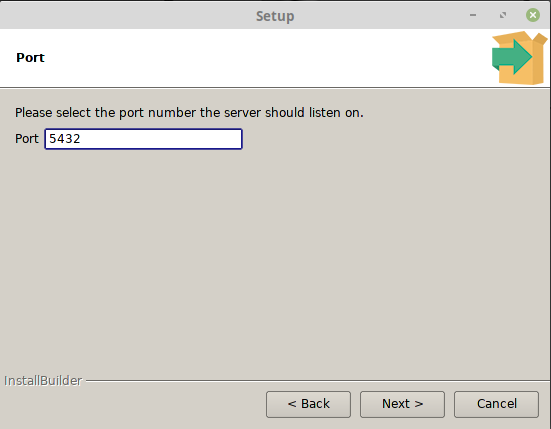
Specify the PostgreSQL port. The default port is 5432 but you can change it to something else.
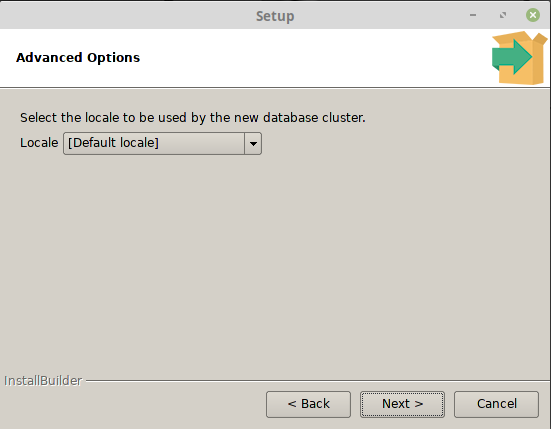
Select the default locale
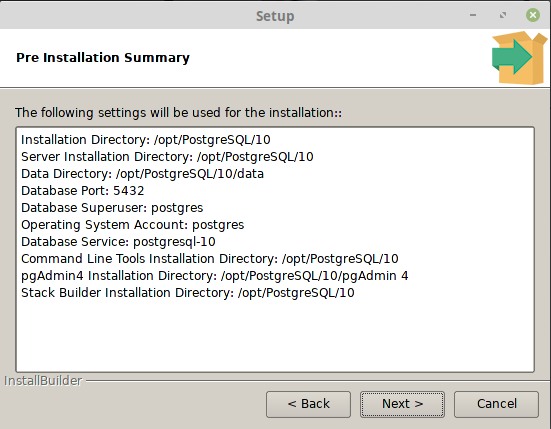
Final checklist before the actual installation begin
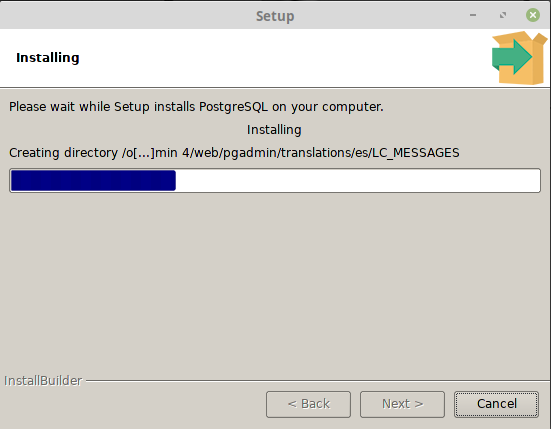
Now the installation should begin
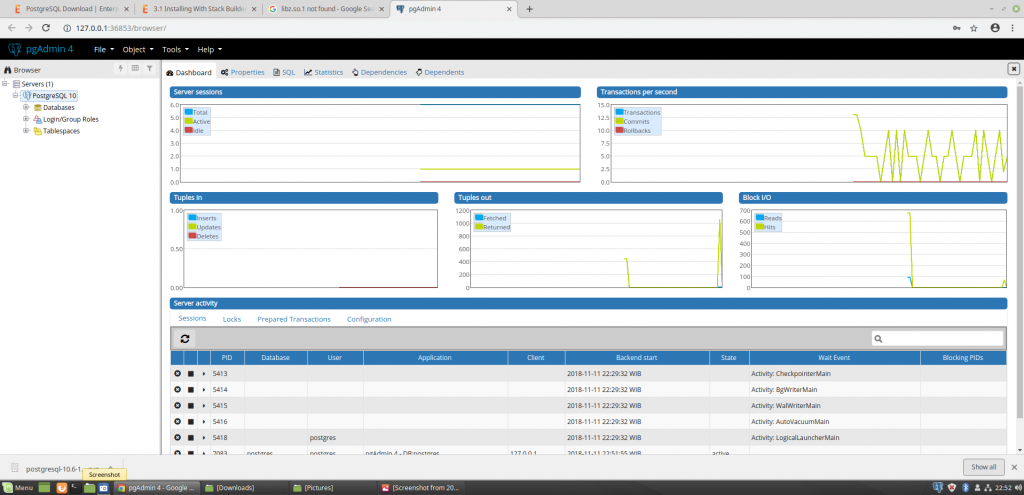
In a few moments, the installation finishes. You can start managing and using the PostgreSQL Server. You can use the PgAdmin4 to connect and manage the server.

Very good and working description – at least for me despite all the commercials which make it a bit cumbersone to read.
Thank you for the article. Very helpful.
Thanks…