In this article, I am going to show you how to install Oracle Linux 9 on Proxmox system. The reason why I am installing Oracle Linux on my Proxmox is that I want to build an Oracle database server on my home lab server. I think it is good to have an Oracle database at home for testing and learning. I was planning to install Oracle Database 21c on this Oracle Linux 9. Previously, I had a successful installation of Oracle Database 19c on my CentOS Linux.
Steps to Install Oracle Linux 9 on Proxmox
Step 1. Download Oracle Linux 9 ISO
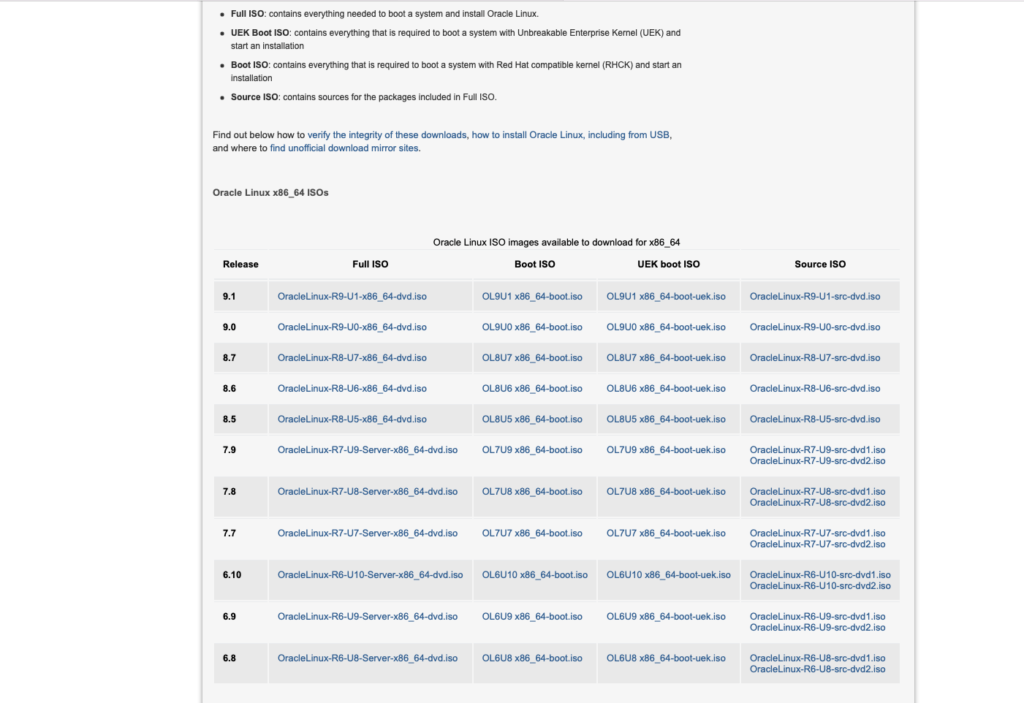
Before we begin, we need to download the Oracle Linux 9 installation ISO from the official website. You can download the ISO from the link below. Please make sure that there are several versions available in the website. Please read it and choose the one that suits you.
https://yum.oracle.com/oracle-linux-isos.html

If you have a good internet connection, I would recommend to download the Full ISO edition. It will speed up the installation process.
Step 2. Create a New VM for Oracle Linux 9
Now we need to create a new virtual machine for our Oracle Linux. Follow the steps below. One important thing when you create the VM. Make sure you set the CPU Type to “Host” instead of KVM64. Otherwise you will get a kernel panic.
Step 3. Installation Process
Now start our VM and begin the installation process. If you are using Full ISO edition, you can boot and install the Oracle Linux 9 directly. But, if you are using the Boot ISO, we need to configure the base os to download the installation files from the internet.
That’s it. Now we have Oracle Linux 9 installed on Proxmox. Next article will be installing the Oracle Database 21c on Oracle Linux 9.

Leave a Reply