

The new version of Netdata 1.3.7 is now available. Netdata is a monitoring agent that runs on all your systems: physical and virtual servers, containers, and even IoT/edge devices. Netdata runs on Linux, FreeBSD, macOS, Kubernetes, Docker, and all their derivatives. Netdata is a real-time system monitoring that provides a better way to visualize the computer/server activity. This new version brings a lot of improvements, bug fixes, and many others. This article will show you how to install Netdata on Ubuntu 22.10.
Steps to Install Netdata on Ubuntu 22.10
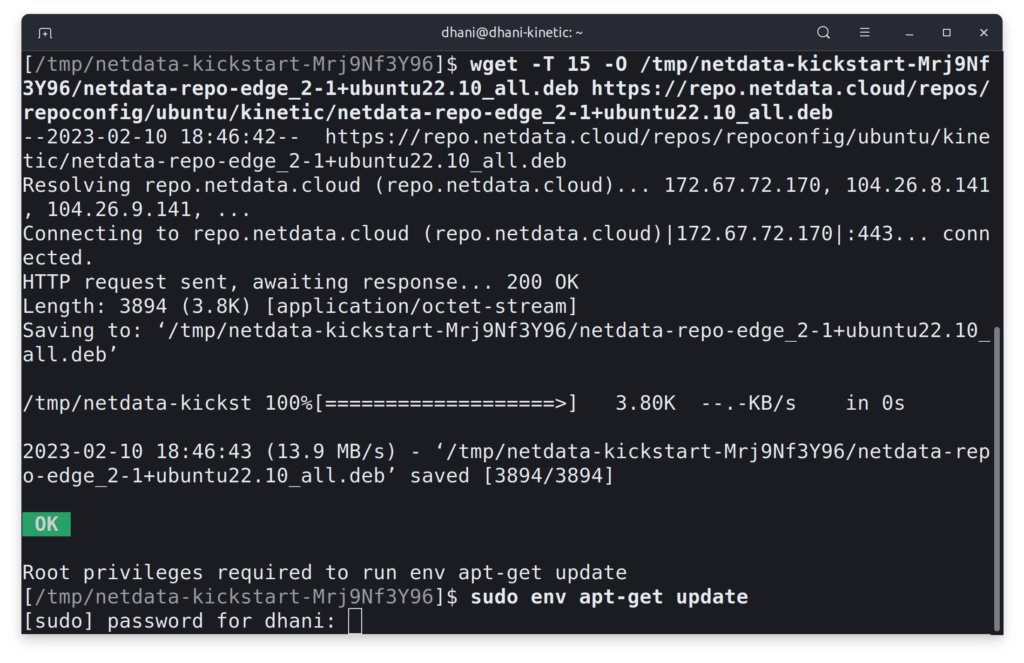
The best and easiest way to get Netdata up and running on Ubuntu is using the automated installer. This installer will install all the dependency files required to run Netdata. On your Ubuntu 22.10, open the Terminal and paste this command below
wget -O /tmp/netdata-kickstart.sh https://my-netdata.io/kickstart.sh && sh /tmp/netdata-kickstart.shType your password to continue
Wait until the installation process is completed.

To start using Netdata, open a web browser and then type the server IP address followed by the Netdata port. For example:
http://192.168.100.10:19999

Configure Netdata Cloud
Optionally, we can use the Netdata cloud that enable us to monitor our server remotely via internet. If you want to use this feature, you can follow this step.
From the Netdata web dashboard, click the Connection to Cloud. You will need to create an account if you haven’t done so. Use this link below to create an account or sign in to Netdata Cloud
You can use your GitHub account or Google Account to log in. And then copy the command line shown on your account and paste it into the Ubuntu Terminal. It will install some required packages and configure the agent for you automatically. Then, refresh the Netdata Cloud.

Leave a Reply