Hello everyone, welcome to the CentOS tutorial. In this article, I am going to show you how to install Oracle Database 19c on CentOS 8. Oracle Database is a powerful and popular RDBMS that supports Windows and Linux. There is no automated way to install Oracle but that’s not a big problem. By following this guide, you will have Oracle Database on your CentOS 8 in a few minutes.
Steps to Install Oracle Database 19c on CentOS 8
There are some steps we need to take. I will summarize below
- Download Oracle Software
- Setting up the hostname
- Oracle installation prerequisites
- Installation
- Database setup
- Finalize
Step 1. Download Oracle Software
Please navigate to the official download link for Oracle 19c. Please note that you will need to log in or create a new account in order to download the software. Please also note that this is 2.5 GB of file. Make sure you have a good internet connection.
Save the file to your download folder. You should have a file called: LINUX.X64_193000_db_home.zip.
Step 2. Prepare the Installation
Since the automatic setup is not available for Oracle Linux 8 yet, we need to perform the manual setup. I hope the automatic pre-installation setup will be available soon.
Create a new file inside /etc/sysctl.d folder. Call it for example 98-oracle.conf. And then paste these lines
fs.file-max = 6815744
kernel.sem = 250 32000 100 128
kernel.shmmni = 4096
kernel.shmall = 1073741824
kernel.shmmax = 4398046511104
kernel.panic_on_oops = 1
net.core.rmem_default = 262144
net.core.rmem_max = 4194304
net.core.wmem_default = 262144
net.core.wmem_max = 1048576
net.ipv4.conf.all.rp_filter = 2
net.ipv4.conf.default.rp_filter = 2
fs.aio-max-nr = 1048576
net.ipv4.ip_local_port_range = 9000 65500
And then run this command to change the parameter
sudo /sbin/sysctl -p /etc/sysctl.d/98-oracle.conf
Next, add the following lines to a file called “/etc/security/limits.d/oracle-database-preinstall-19c.conf”
oracle   soft   nofile    1024
oracle   hard   nofile    65536
oracle   soft   nproc    16384
oracle   hard   nproc    16384
oracle   soft   stack    10240
oracle   hard   stack    32768
oracle   hard   memlock    134217728
oracle   soft   memlock    134217728
Now we need to install some packages. In some tutorials on the internet says that if some of the packages below are failed, just continue. It won’t prevent the Oracle 19c installation.
sudo dnf install bc binutils compat-libstdc++-33 elfutils-libelf elfutils-libelf-devel fontconfig-devel glibc glibc-devel ksh libaio libaio-devel libXrender libXrender-devel libX11 libXau libXi libXtst libgcc librdmacm-devellibstdc++sudo dnf install bc binutils compat-libstdc++-33 elfutils-libelf elfutils-libelf-devel fontconfig-devel glibc glibc-devel ksh libaio libaio-devel libXrender libXrender-devel libX11 libXau libXi libXtst libgcc librdmacm-devel libstdc++ libstdc++-devel libxcb make net-tools nfs-utils python python-configshell python-rtslib python-six targetcli smartmontools sysstat make gcc
Create a new groups and users
sudo groupadd -g 54321 oinstall
sudo groupadd -g 54322 dba
sudo groupadd -g 54323 oper
sudo useradd -u 54321 -g oinstall -G dba,oper oracle
Set the password for oracle user
sudo passwd oracle
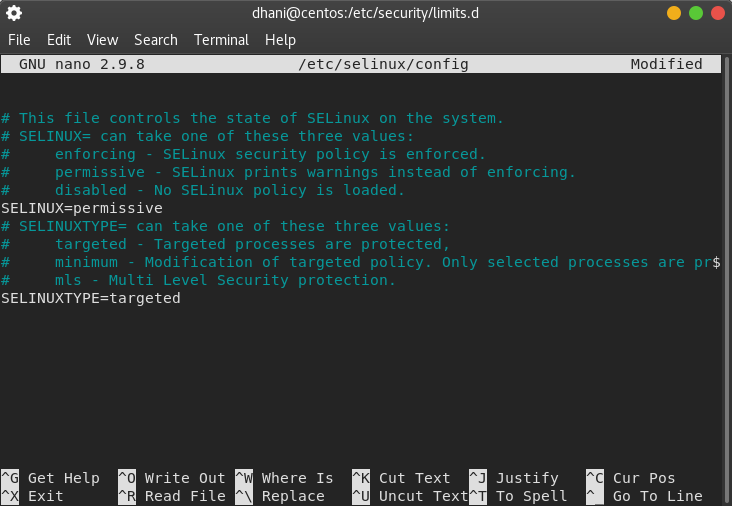
Set the SELINUX to permissive. To do this, edit the file /etc/selinux/config file and set the following value
SELINUX=permissive
Now run the following command
sudo setenforce Permissive
Disable Firewall
If you have firewall active, we need to disable it
sudo systemctl stop firewalld
sudo systemctl disable firewalld
Create directories for the Oracle Software files.
mkdir -p /u01/app/oracle/product/19.0.0/dbhome_1
mkdir -p /u02/oradata
chown -R oracle:oinstall /u01 /u02
chmod -R 775 /u01 /u02
Create a scripts folder under the /home/oracle directory
mkdir /home/oracle/scripts
Now use the following command to create a new script file called setEnv.sh. Please use root user to do this.
cat /home/oracle/scripts/setEnv.sh <<EOF
And the edit and paste these lines
 # Oracle Settings
export TMP=/tmp
export TMPDIR=\$TMP
export ORACLE_HOSTNAME=centos.griyaku.lan
export ORACLE_UNQNAME=cdb1
export ORACLE_BASE=/u01/app/oracle
export ORACLE_HOME=\$ORACLE_BASE/product/19.0.0/dbhome_1
export ORA_INVENTORY=/u01/app/oraInventory
export ORACLE_SID=cdb1
export PDB_NAME=pdb1
export DATA_DIR=/u02/oradata
export PATH=/usr/sbin:/usr/local/bin:\$PATH export PATH=\$ORACLE_HOME/bin:\$PATH
export LD_LIBRARY_PATH=\$ORACLE_HOME/lib:/lib:/usr/lib
export CLASSPATH=\$ORACLE_HOME/jlib:\$ORACLE_HOME/rdbms/jlib
EOF
You will need to modify the hostname value to match yours. Also, you can modify some other settings such as the data dir etc.
Now lets add a reference to the setEnv.sh file to the end of the /home/oracle/.bash_profile file
echo ". /home/oracle/scripts/setEnv.sh" >> /home/oracle/.bash_profile
Now create a start_all.sh and stop_all.sh script file. This script can be used to start or stop the service. We put these scripts under the script directory we created earlier in /home/oracle/script
Create start_all.sh script
cat > /home/oracle/scripts/start_all.sh <<EOF
And paste these lines afterward
#!/bin/bash
. /home/oracle/scripts/setEnv.sh
export ORAENV_ASK=NO . oraenv
export ORAENV_ASK=YES d
bstart \$ORACLE_HOME
EOF
Create stop_all.sh script
cat > /home/oracle/scripts/stop_all.sh <<EOF
And then paste these lines
#!/bin/bash
. /home/oracle/scripts/setEnv.sh
export ORAENV_ASK=NO . oraenv
export ORAENV_ASK=YES d
bshut \$ORACLE_HOME E
OF
And then continue with the following commands to set the permission
chown -R oracle:oinstall /home/oracle/scripts
chmod u+x /home/oracle/scripts/*.sh
The Installation
So basically, we have completed the prerequisites steps above. Now we can start the actual Oracle Database 19c Installation.
Extract the software package
As I mentioned above, you should have a file called LINUX.X64_193000_db_home.zip. The version may vary if Oracle has posted a new update. Now switch to “oracle” user and unzip the package
su - oracle
cd $ORACLE_HOME
Now extract the package
unzip -oq /path/to/software/LINUX.X64_193000_db_home.zip
Now we need to fake the Oracle Linux 7 with this command
export CV_ASSUME_DISTID=OEL7.6
If you get an error showing that libnsl.so.1 is missing, you can install it using this command
dnf install libnsl libnsl2
And then, execute the installer
./runInstaller
The graphical installation wizard will show up. In case you get the following error “Unexpected error while executing the action at state: supportedOSCheck”, then you must make sure that you have use this command
export CV_ASSUME_DISTID=OEL7.6
And then re-run the install command
./runInstaller
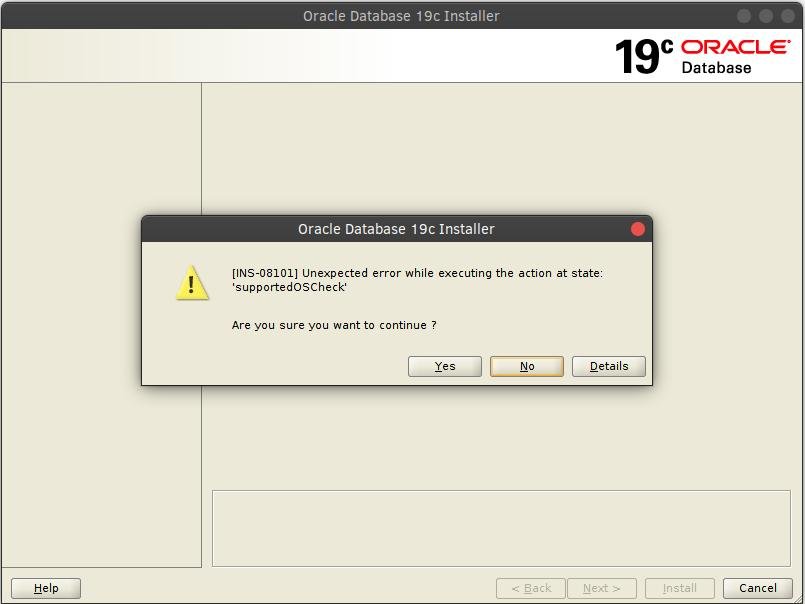
And then restart the installer command and now your Oracle 19c installation should works properly
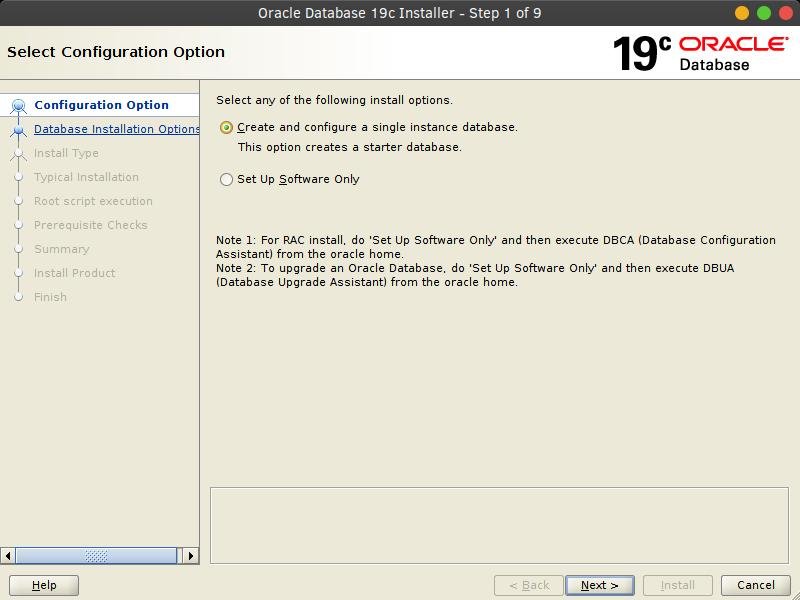
On the first step, you will need to choose the install option. In this case, I use the first option. Press Next and then choose whether you want to use the Desktop class or Server class
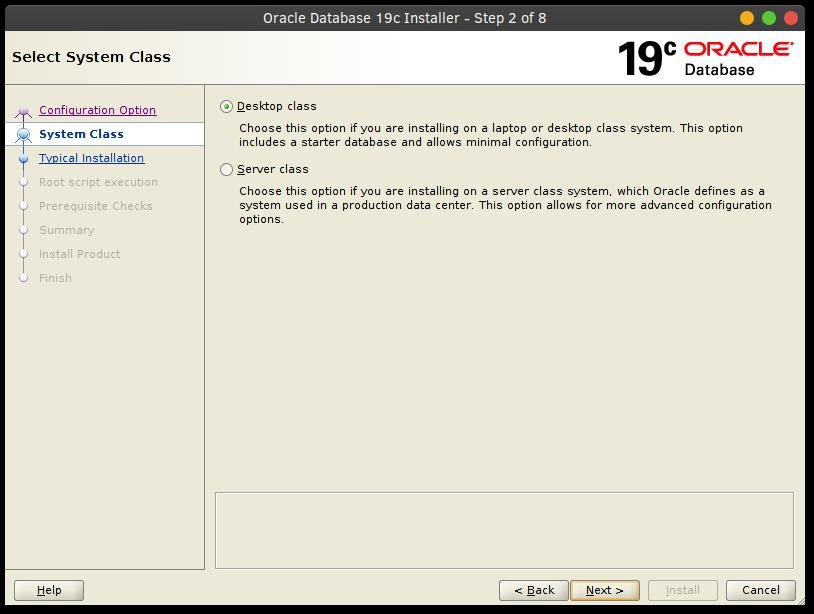
In this case, I choose Desktop class. And then you will need to check some details as follow.
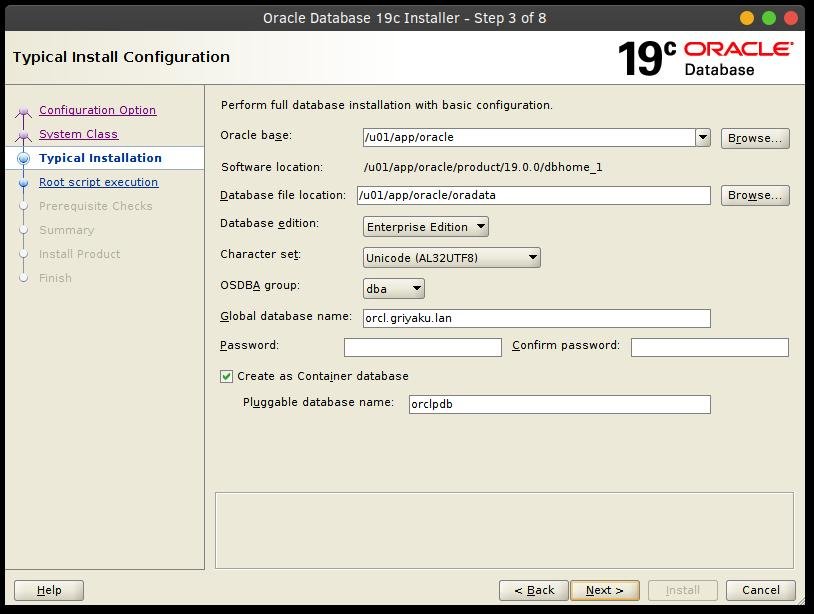
You can change some settings here.
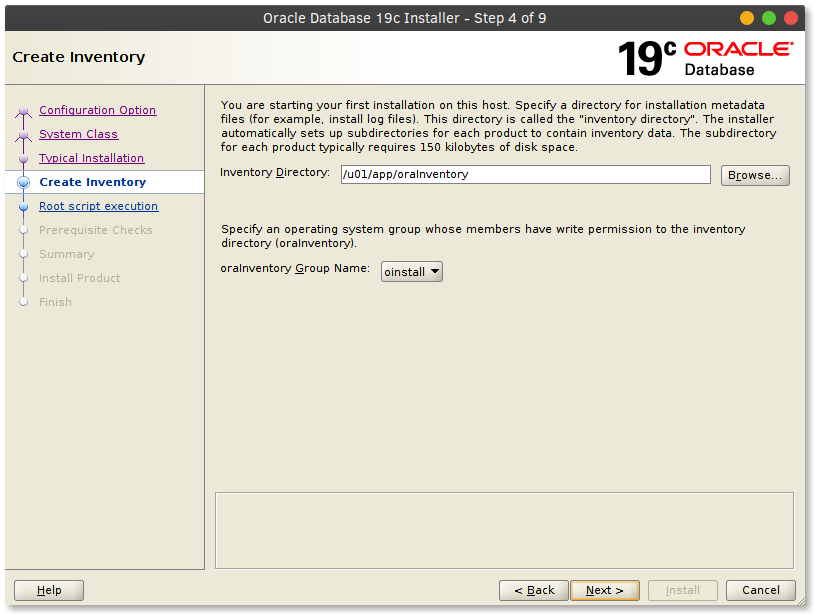
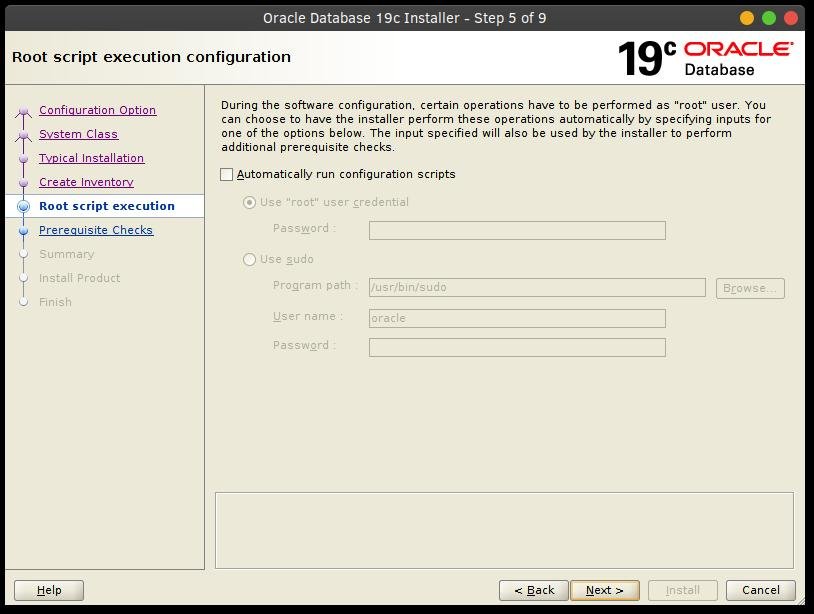
Click Next and then you can configure the script for execution if you have any. In my case, I simply click Next on the following step
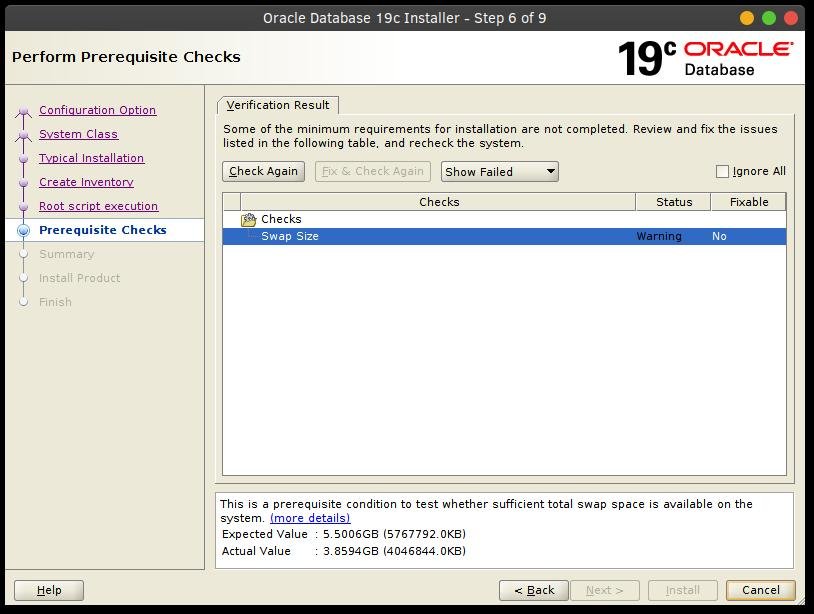
Click Next to start the Prerequisites checks. In this step, Oracle installer will check your system requirements and it will report any missing requirements. For example, in my case, the swap size does not meet the requirements. So, I need to increase the RAM amount or the swap size for my system. Oracle needs 5.5 GB of swap size. Make sure you have at least 5.5 GB for your swap size, otherwise the installation will fail.
If all goes well, you should get this window. An installation summary
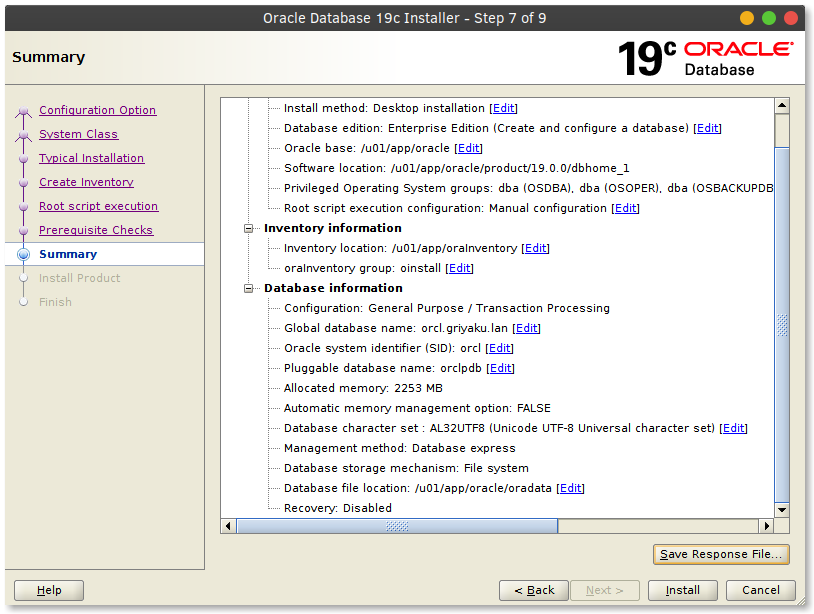
Press Install to start the installation
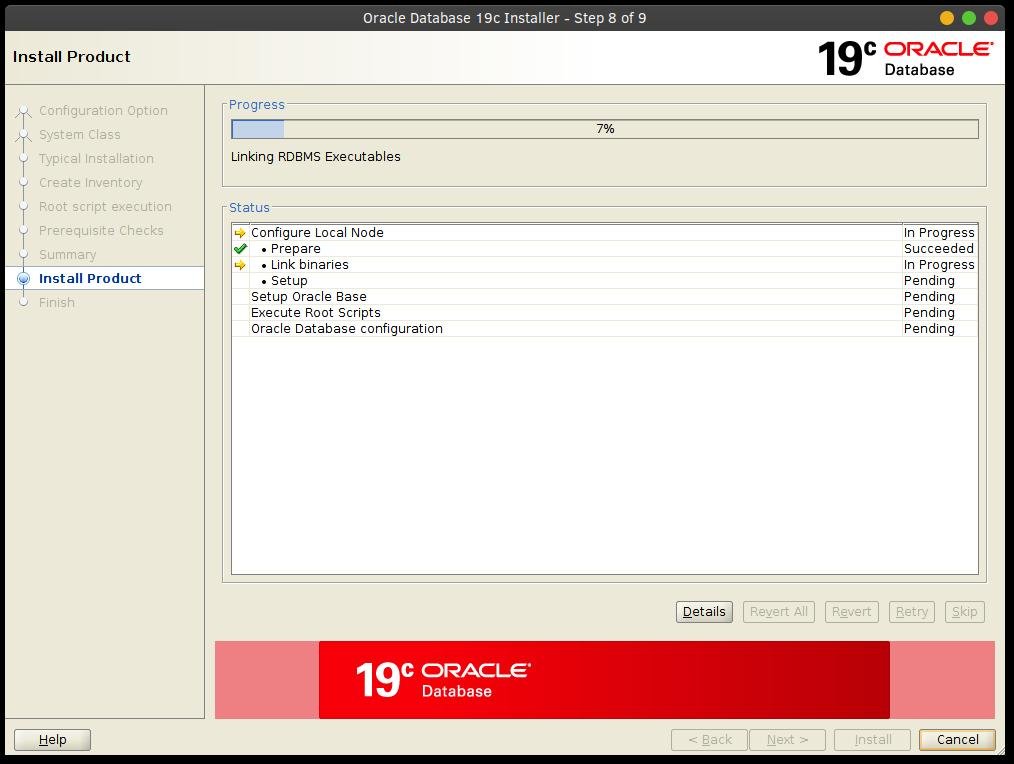
The installation process can take a long time. Once complete, you should see the following window
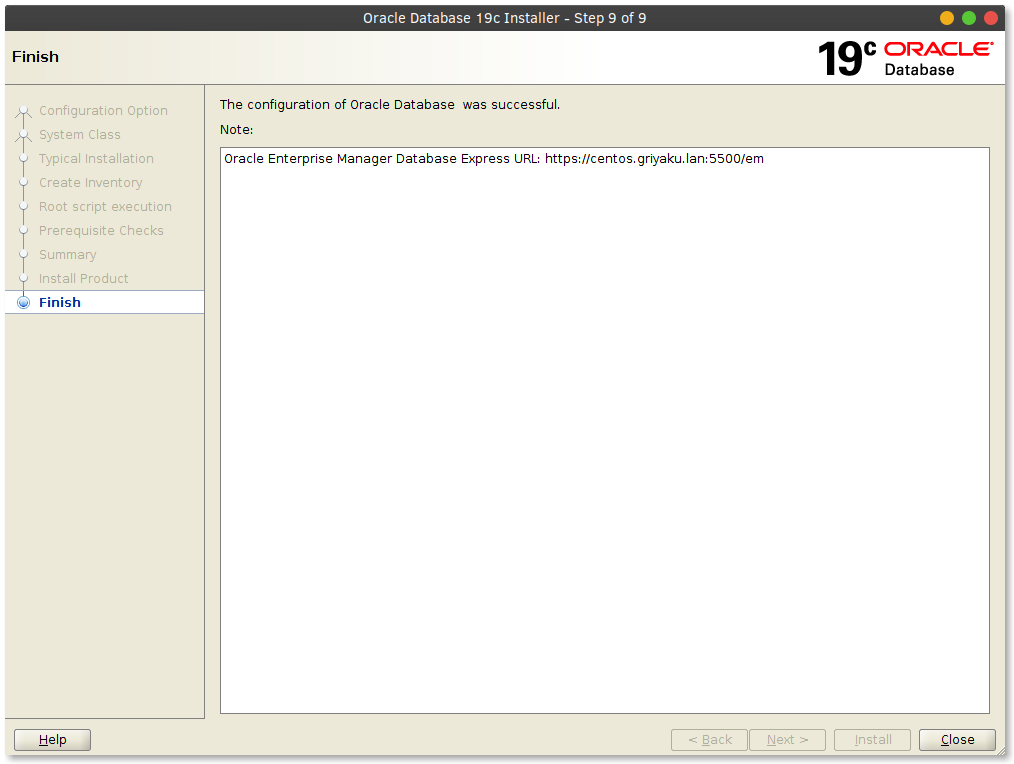
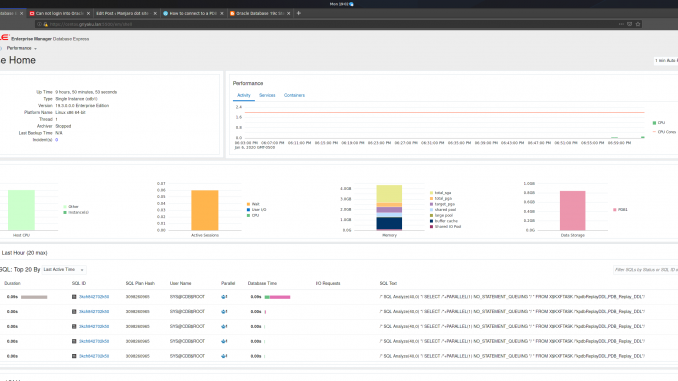
Now you can open the web browser and type the Oracle Enterprise Manager Database Express shown above.

That’s it. I hope you like this how to install Oracle Database 19c on CentOS 8. See you on the next tutorials.


Absolutely great. Thanks a lot
hello
i am trying to install Oracle 19c for the first time on CentOS(new bee here too). while running ./runInstaller
ERROR: Unable to verify the graphical display setup. This application requires X display. Make sure that xdpyinfo exist under PATH variable.
Please help
Thanks
Madhu
being in root user execute below commands:
export DISPLAY=:0.0
xhost +
Then switch to oracle user and execute the same commands,then ./runInstaller