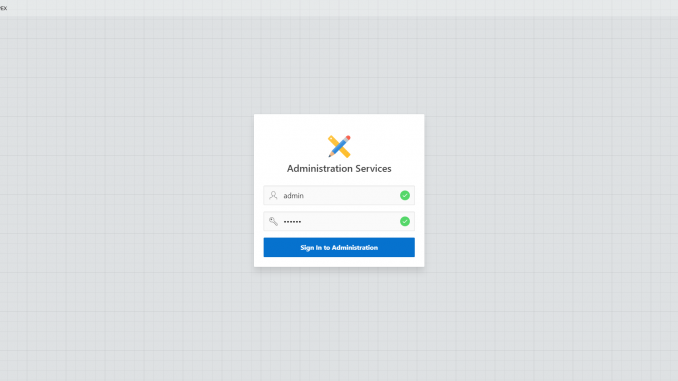
Hello everyone, today we are going to learn how to install Oracle APEX 18.2 on top of Oracle 12c database. I am running the Oracle 12c database on Windows 10 Professional. You may want to check out my previous tutorial on how to install and configure Oracle 12c on Windows 10 Pro. Oracle APEX is a great piece of development software that allows us to build simple to complex database application. To read more about Oracle APEX, please visit this official page.
If you don’t want to install Oracle APEX locally, you can use the official Oracle Apex service where you can learn to build your database applications. Please visit this page to start creating Oracle Apex workspace for free. You can also download and run the Oracle Database Development Labs
Steps to Install Oracle APEX 18.2 on Oracle 12c
Before we install the Oracle APEX, make sure you have the Oracle 12c installed and configured properly. This tutorial is based on the official guide to install Oracle APEX. I was successfully installed Oracle APEX 18.2 on my Windows 10 Professional and Oracle 12c.
Step 1. Install and Configure Oracle Database 12c
Please read and follow my previous tutorial to install and configure Oracle 12c on Windows 10. Make sure Oracle 12c runs properly on your system.
Step 2. Download Apex Installation File
Navigate to this page to download the latest Oracle APEX installation file. You will get a zip file containing files for APEX installation. Next, extract the zip file to a temporary folder. For example, I extract this file to C:\temp.
Step 3. Install Apex
Next, open Windows command prompt and then cd to C:\temp\apex. We need to execute the .sql file from the apex directory.
cd c:\temp\apex
Now login to Oracle using sqlplus command.
sqlplus /nolog
connect sys as sysdb
You will need to enter the sys password. And then let’s install Apex using the following command:
@apexins.sql SYSAUX SYSAUX TEMP /i/
The installation process should start and it takes some times. Once completes, we can continue to create administrator user for Apex.
sqlplus /nolog
connect sys as sysdb
alter session set container=mydb01;
@apxchpwd.sql
Do not forget to change mydb01 with your pluggable database. You will need to create
Step 4. Configuring the Embedded PL/SQL Gateway
After installing Apex on the step 3, now we need to configure the Embedded PL/SQL Gateway.
##run sqlplus from Windows command prompt
sqlplus /nolog
connect sys as sysdba
alter session set container=mydb01;
@apex_epg_config.sql c:\temp
As you can see the command @apex_epg_config.sql c:\temp. Note the C:\temp at the end of the command. This is the parent directory of the apex extract directory. For example if you extract the Apex installation file to C:\Download\Apex, then you should modify the command into this;
@apex_epg_config.sql C:\Download
This process will take some times. Please be patient.
Unlock the Anonymous account
alter user anonymous account unlock;
Step 5. Verifying HTTP Port on the Oracle XML DB Server
First, lets verify the port number for the XML DB Protocol Server. Do the following to verify the Oracle XML DB Protocol Server port number
sqlplus /nolog
connect sys as sysdba
enter password:
SELECT DBMS_XDB.GETHTTPPORT FROM DUAL;
If the port number returns 0, the Oracle XML DB Protocol Server is disabled. Continue the following steps to assign the port number.
Step 6. Enabling Oracle XML DB Protocol Server
This section will guide
sqlplus /nolog
connect sys as sysdba
enter password:
EXEC DBMS_XDB.SETHTTPPORT(8080);
You can also use another port such as 8282. Change 8080 with your new port number.
Once complete, you can login to the APEX admin page using your favorite web browser. The address should be something like this:
http://localhost:8080/apex/apex_admin

If you are accessing from another computer, change the “localhost” with the IP address of the computer running APEX. For more help, please visit the official Oracle APEX documentation below:
https://docs.oracle.com/database/apex-18.2/index.htm
Closing Words
Installing Oracle APEX is complicated for new user. I tried to install it several times until I get it up and running on my VirtualBox. I hope this tutorial can help you to install Oracle APEX on your Windows 10. See you on the next tutorials.

Leave a Reply