

Hello everyone, welcome to another tutorial of Raspberry Pi. Today, I am going to create a Nextcloud server on my Raspberry Pi. With few simple efforts, we can turn our Raspberry Pi into a powerful Nextcloud server where we can store and share files. I am using Raspian OS installed on Raspberry Pi 2+. And the current version of Nextcloud 13.0 is now available for download.
Steps to Install Nextcloud 13.0 on Raspberry Pi
Step 1. Install Raspbian 9 on Raspberry Pi
Please read our previous tutorial to install Raspbian 9 on Raspberry Pi. Make sure everyting works well and you have access to the Raspbian 9 via SSH or directly. You can use Putty or Termius on Windows.
Step 2. Install Update
I assume you can connect to Raspbian via SSH. Now lets update our Raspbian first.
sudo apt update && sudo apt upgrade
Step 3. Install Apache Web Server
Now, we are going to install Apache web server on Raspbian.
sudo apt install apache2
Once finished, open web browser and type the Raspbian/Raspberry IP address. For example: http://192.168.100.10. Make sure you see something like this:
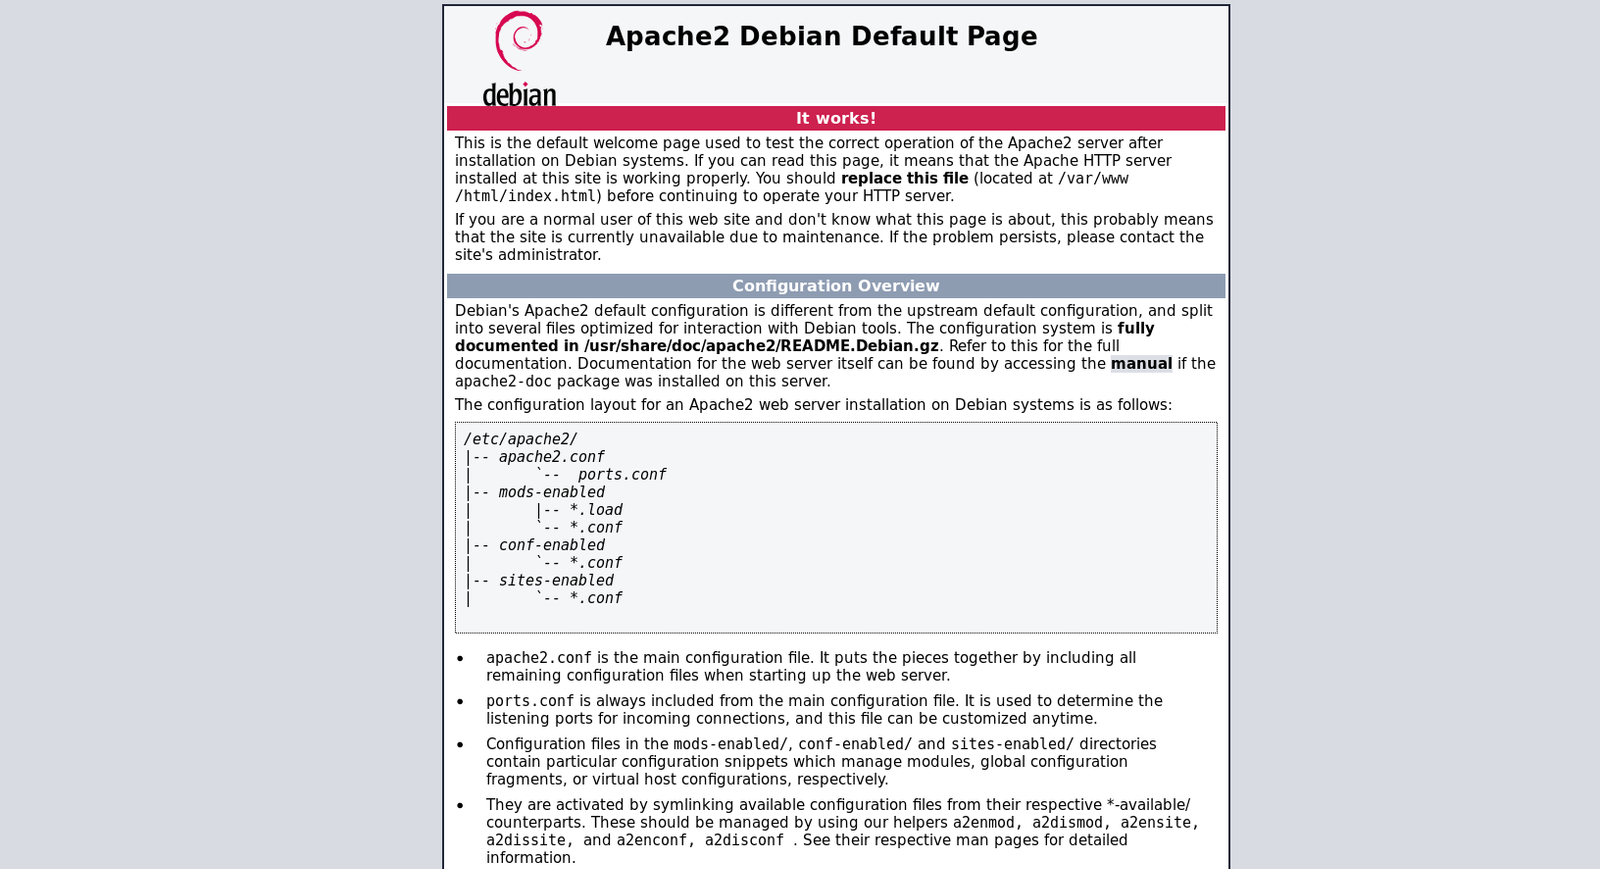
At this point, our Apache web server is up and running.
Note: To know your Raspbian IP address, execute this command
ip addr
Output:
pi@raspberrypi:~ $ ip addr
1: lo: <LOOPBACK,UP,LOWER_UP> mtu 65536 qdisc noqueue state UNKNOWN group default qlen 1
 link/loopback 00:00:00:00:00:00 brd 00:00:00:00:00:00
 inet 127.0.0.1/8 scope host lo
 valid_lft forever preferred_lft forever
 inet6 ::1/128 scope host
 valid_lft forever preferred_lft forever
2: eth0: <BROADCAST,MULTICAST,UP,LOWER_UP> mtu 1500 qdisc pfifo_fast state UP group default qlen 1000
 link/ether b8:27:eb:8f:67:a1 brd ff:ff:ff:ff:ff:ff
 inet 192.168.100.14/24 brd 192.168.100.255 scope global eth0
 valid_lft forever preferred_lft forever
 inet6 fe80::487d:6b63:fb10:badb/64 scope link
 valid_lft forever preferred_lft forever
Step 4. Install MySQL Server
Now lets install MySQL Server.
sudo apt install mysql-server
Now secure MySQL Installation
sudo mysql_secure_installation
You will need to create password for MySQL root user. The default password is blank.
Create New Database and User
After MySQL Server is installed. We need to create new database and also new user for Nextcloud.
Login to MySQL Console:
sudo mysql -u root -p
Create New Database and User
pi@raspberrypi:~ $ sudo mysql -u root -p
Enter password:
Welcome to the MariaDB monitor. Commands end with ; or \g.
Your MariaDB connection id is 10
Server version: 10.1.23-MariaDB-9+deb9u1 Raspbian 9.0

Copyright (c) 2000, 2017, Oracle, MariaDB Corporation Ab and others.

Type 'help;' or '\h' for help. Type '\c' to clear the current input statement.

MariaDB [(none)]> CREATE DATABASE nextcloud;
Query OK, 1 row affected (0.00 sec)

MariaDB [(none)]> CREATE USER nextcloud@localhost IDENTIFIED BY '12345';
Query OK, 0 rows affected (0.00 sec)

MariaDB [(none)]> GRANT ALL PRIVILEGES ON nextcloud.* to nextcloud@localhost identified by '12345';
Query OK, 0 rows affected (0.00 sec)

MariaDB [(none)]> FLUSH PRIVILEGES;
Query OK, 0 rows affected (0.00 sec)

MariaDB [(none)]> EXIT;
Bye
Great, now we have MySQL Server up and running and also we have a new database and user for Nextcloud.
Step 6. Install PHP
Use this command to install PHP and all required modules.
sudo apt install php php-json php-mysql php-mbstring php-intl php-mcrypt php-imagick php-zip php-curl php-dom php-gd
At this point, we have successfully installed PHP and modules needed by Nextcloud.
Step 7. Download Latest Nextcloud 13.0
Now we need to download the latest Nextcloud package.
cd /tmp
wget https://download.nextcloud.com/server/releases/nextcloud-13.0.0.zip
Unzip the package
unzip nextcloud-13.0.0.zip
Change Permission
sudo chown -R www-data:www-data nextcloud
sudo chmod -R 755 nextcloud
Move nextcloud directory to /var/www/html/
sudo mv nextcloud /var/www/html/
Create Nextcloud Configuration File
Lets create a new nextcloud configuration file.
sudo nano /etc/apache2/sites-available/nextcloud.conf
Now paste the following lines
Alias /nextcloud "/var/www/html/nextcloud/"

<Directory /var/www/html/nextcloud/>
Options +FollowSymlinks
AllowOverride All

<IfModule mod_dav.c>
Dav off
</IfModule>

SetEnv HOME /var/www/html/nextcloud
SetEnv HTTP_HOME /var/www/html/nextcloud

</Directory>
Now execute the following commands
sudo a2ensite nextcloud.conf
sudo a2enmod rewrite
sudo systemctl restart apache2
Step 8. Configure Nextcloud
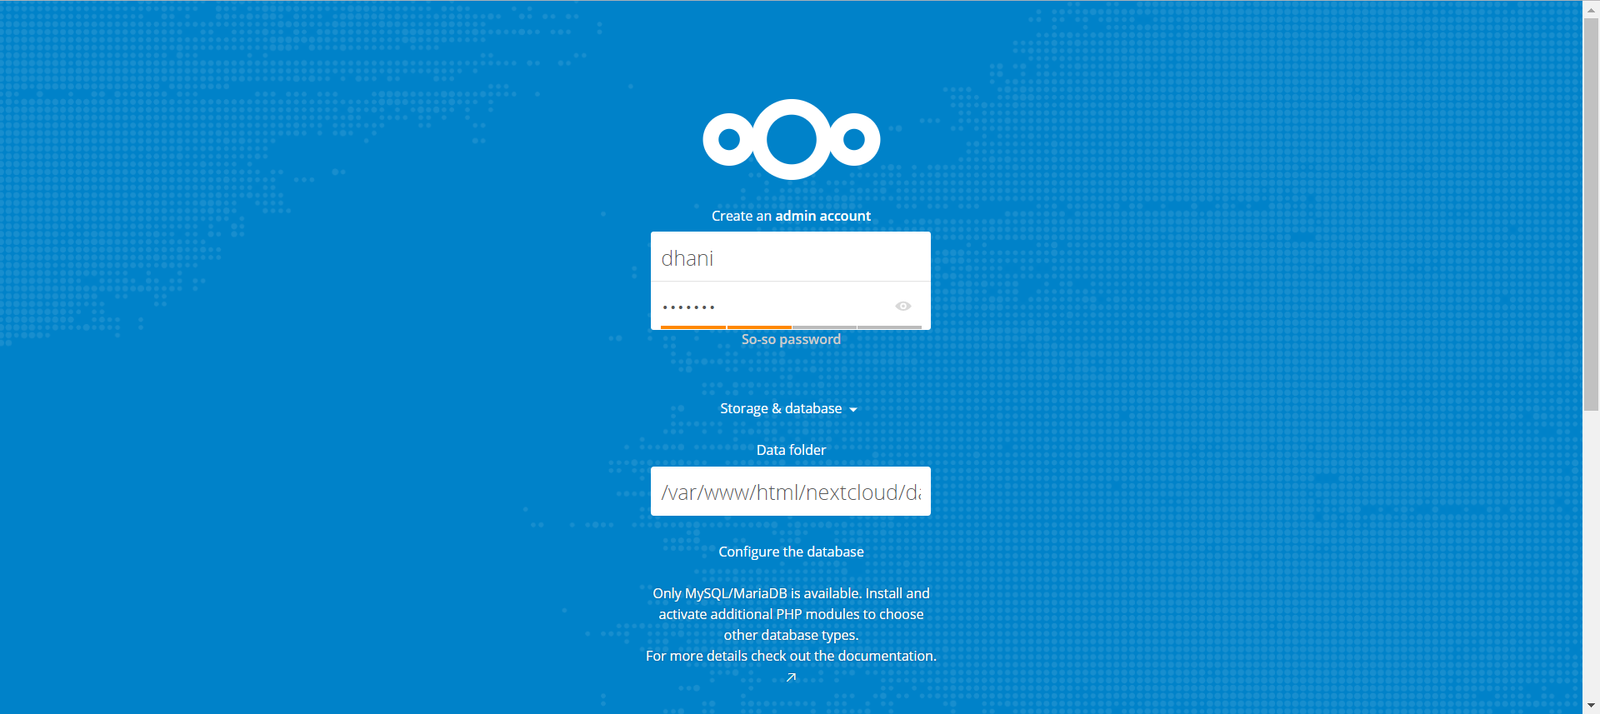
Now lets jump to the fun step. We are going to configure Nextcloud for the first time. Open web browser and type the Raspberry Pi IP address. For example:
http://192.168.100.14/nextcloud
We need to create admin user for our Nextcloud.
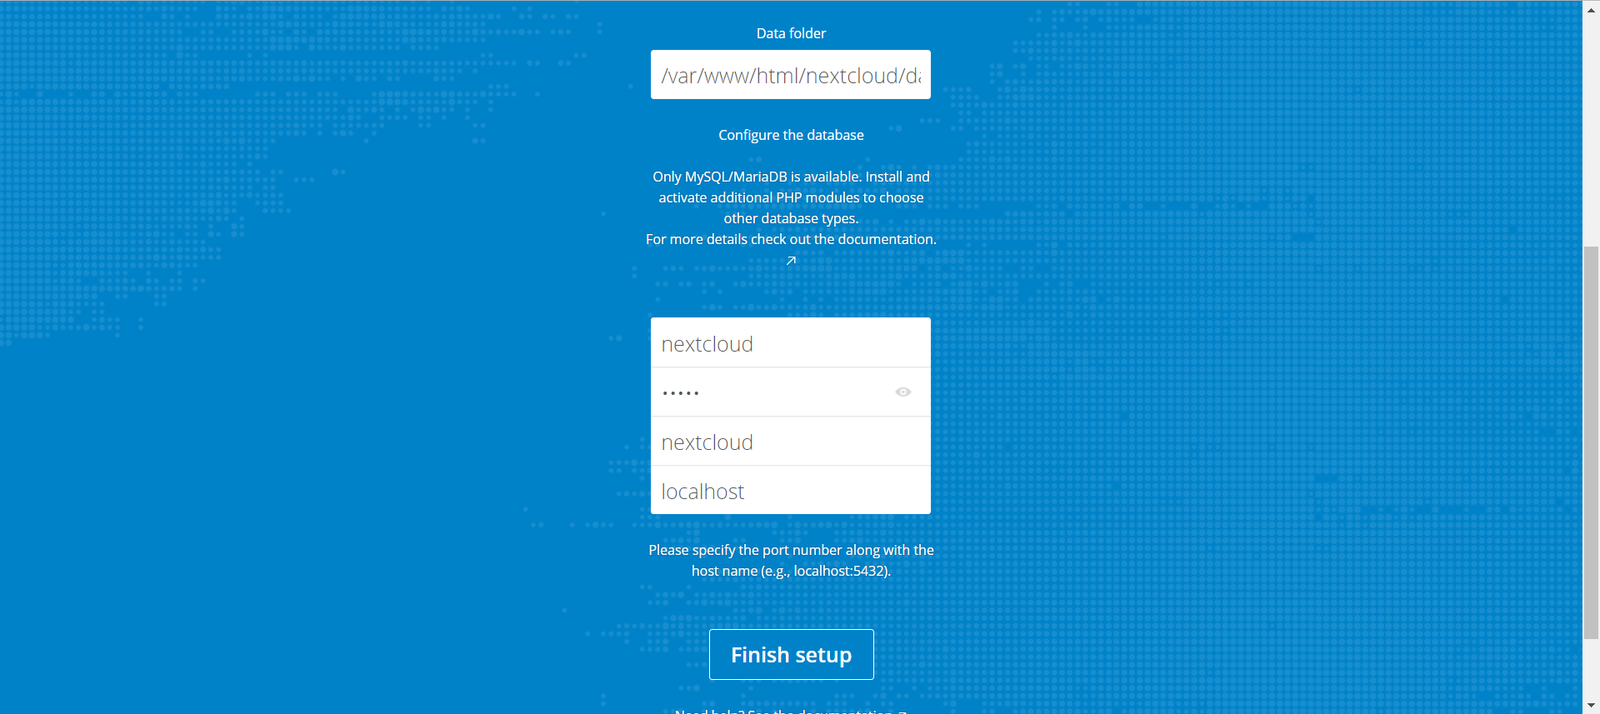
Scroll down and enter the MySQL user database and password we created earlier.
In few moments our Nextcloud should be ready. Now lets login
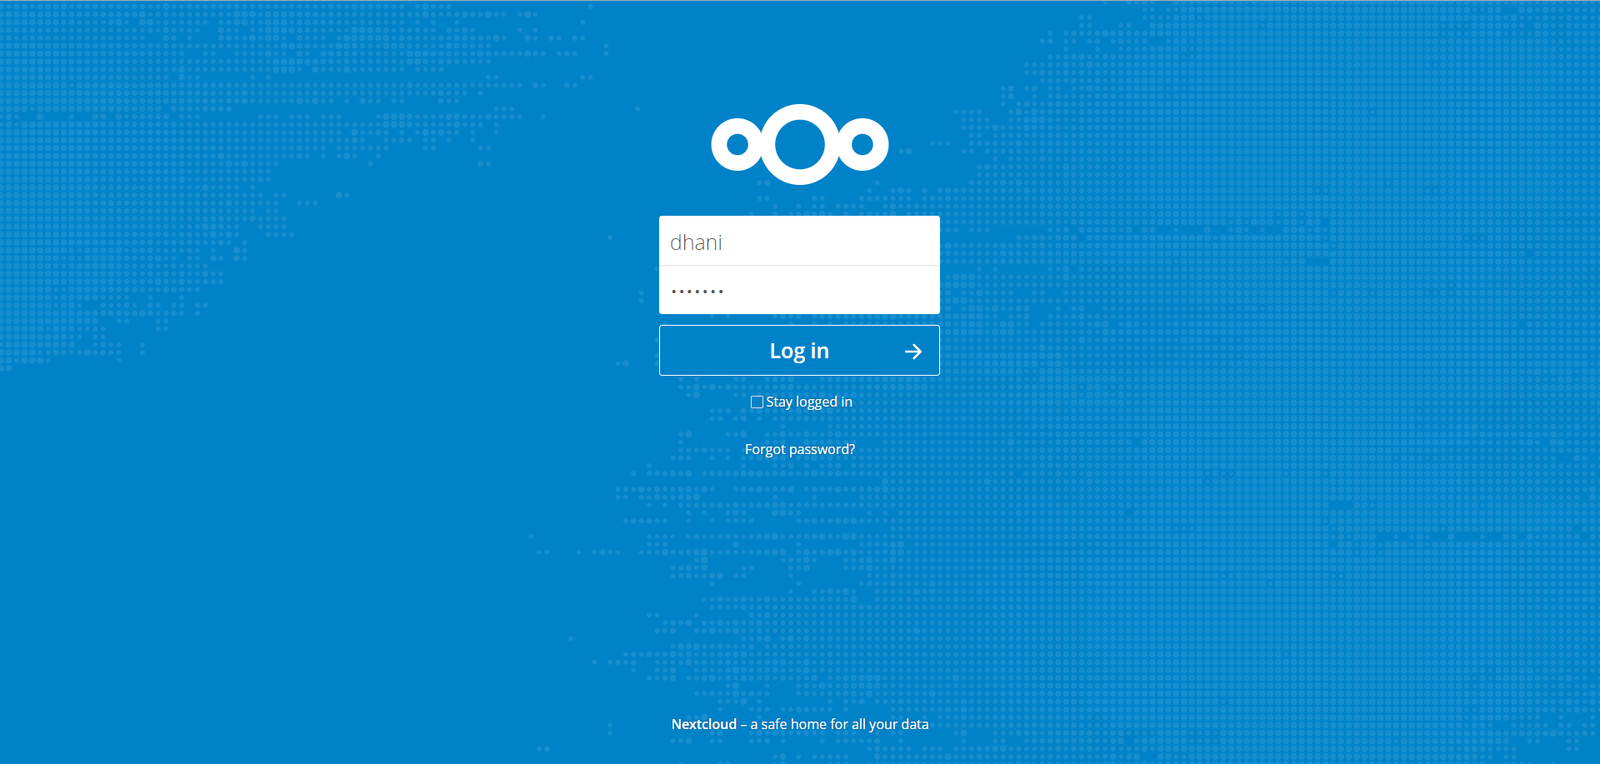
Now Enjoy Nextcloud 13.0 on Raspberry
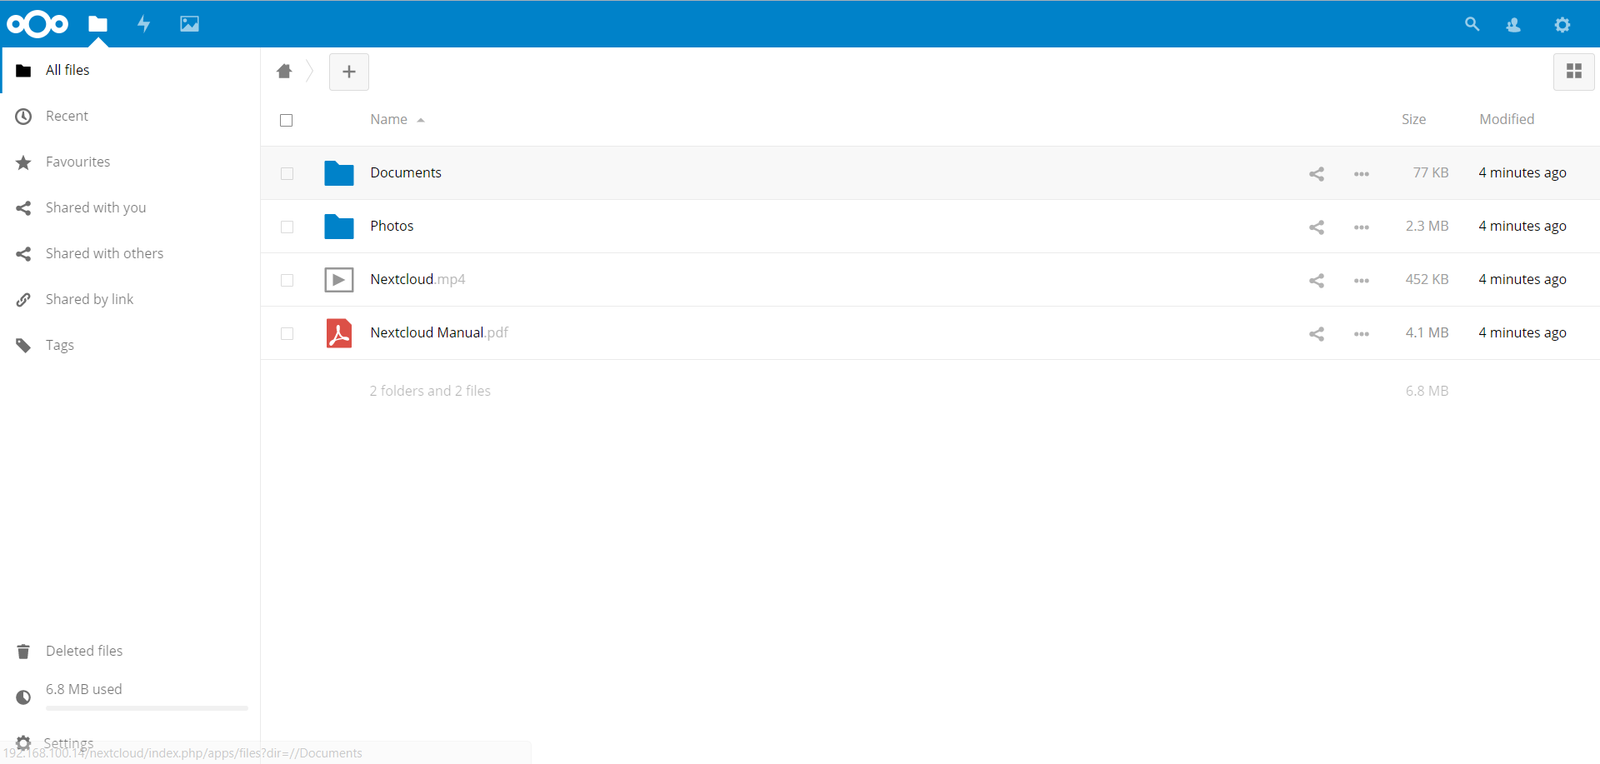
That’s it. We have successfully installed Nextcloud 13.0 on Raspberry Pi. Thank you for reading and please share this article if you think this is useful.
why show a picture of a mac on a raspberry pi 3.
… and a screenshot of some WebObjects web application, but definitely not Nextcloud 😉
Great blog article though.
Unfortunately Step 4. Install MySQL Server is now unavailable and points to mariadb-server-10.0 but this cannot be installed (at this time)
Any workaround?