

Netdata is a powerful monitoring tool that provides real-time performance and health metrics for your systems and applications. While it is commonly used on Linux-based operating systems, it can also be installed on macOS. In this article, we will install Netdata on macOS Ventura. You can install it on Intel Mac or Apple Silicon Mac as well.
Steps to Install Netdata on macOS Ventura
Installing Netdata on macOS is super easy. There is an automated way that will simplify the whole installation process. Open Terminal and then copy and paste the following command
curl https://my-netdata.io/kickstart.sh > /tmp/netdata-kickstart.sh && sh /tmp/netdata-kickstart.shWait until the installation process is completed.
In most cases, you might end up with the following error:
The following non-fatal warnings or errors were encountered:
– Command “sudo /bin/bash /var/folders/7j/v6_6qdl93jj0vf9df5k080z40000gn/T/netdata-kickstart-XXXXXXXXXX.auXBGrNk/install-required-packages.sh netdata” failed with exit code 1.
– Failed to install all required packages, but installation might still be possible.
– Command “sudo ./netdata-installer.sh –install-no-prefix /usr/local/netdata –require-cloud” failed with exit code 1.
– Could not find netdata-updater.sh. This means that auto-updates cannot (currently) be enabled on this system. See https://learn.netdata.cloud/docs/agent/packaging/installer/update for more information about updating Netdata.
We need to fix that error before continuing. This error will occur if you don’t have Brew installed on your system. So, make sure you installed Homebrew before installing Netdata. Install Homebrew on macOS Ventura using this command:
xcode-select --install
/bin/bash -c "$(curl -fsSL https://raw.githubusercontent.com/Homebrew/install/HEAD/install.sh)"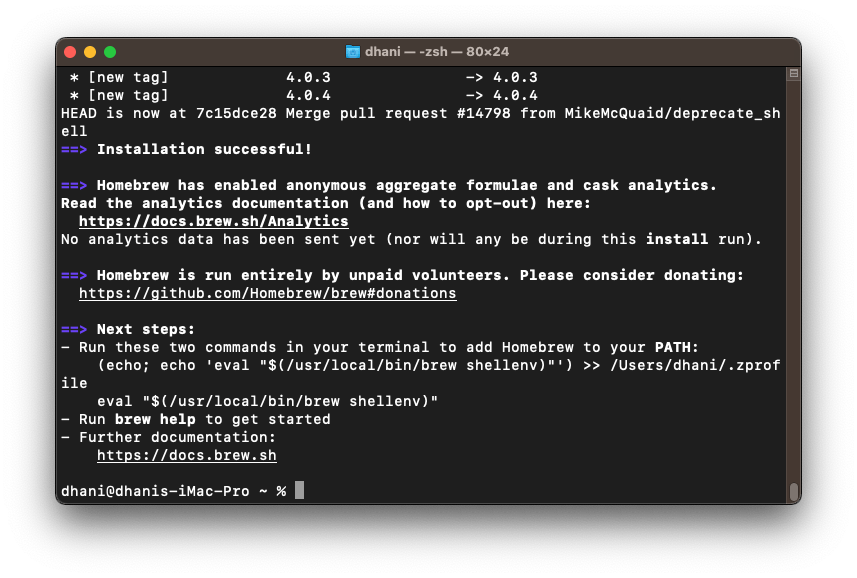
Once you install Homebrew, you can re-execute the Netdata install command again. This time, everything should works. The installation will take a few minutes, so be patient.
And then, open your favorite web browser and type the macOS IP address followed by the Netdata default port (19999). For example:
http://192.168.100.10:19999
Now your Netdata is ready.
About Netdata
Netdata is a powerful, open-source monitoring tool that provides real-time performance and health metrics for your systems and applications. With its lightweight and efficient design, Netdata can monitor and analyze large amounts of data in real-time without consuming significant system resources. This makes it an ideal solution for developers, system administrators, and anyone looking to monitor the performance and health of their systems.
One of the key advantages of Netdata is its ease of installation and use. The tool is available for a wide range of platforms and can be installed with just a few simple commands. Once installed, the intuitive web-based interface provides real-time monitoring and analysis of your systems and applications, with no configuration or setup required. This makes it a powerful and user-friendly tool for anyone looking to monitor their system’s performance and health. Overall, Netdata is an excellent tool for anyone looking to monitor and analyze their systems in real-time, providing valuable insights into system performance, helping to identify potential issues before they become critical, and allowing for rapid troubleshooting and resolution of problems.
For more information about installing Netdata, please visit the official page below:
Install Netdata on macOS | Learn Netdata
Leave a Reply