There are several ways to get MS SQL Server 2019 up and running on macOS Catalina. In this article, I will show you how easy to deploy Microsoft SQL Server 2019 on macOS Catalina. I am going to use Docker and Azure Data Studio to do this. Azure Data Studio is an official program by Microsoft that is specially designed to work with SQL Server and Azure database.
Prerequisites
Before you can install SQL Server 2019 on macOS Catalina using this method, you must have the Docker up and running on your Mac. Please read my guide to install Docker on macOS Catalina. I was able to run Docker on my macOS Catalina Hackintosh system.
The system I use for this purpose:
- Lenovo ThinkPad T450
- macOS Catalina 10.15.5 (Hackintosh)
- RAM 16GB
Step 1. Install Docker on macOS Catalina
As I mentioned above, you may want to read the following guide to get Docker up and running on your macOS.
Step 2. Install Azure Data Studio
I know this might not necessary to use Azure Data Studio. You can directly run the SQL Server 2019 container via Terminal using Docker command. But, for a lazy end-user like me, doing this from Azure Data Studio is very convenient. So, let’s download and install Azure Data Studio for Mac.
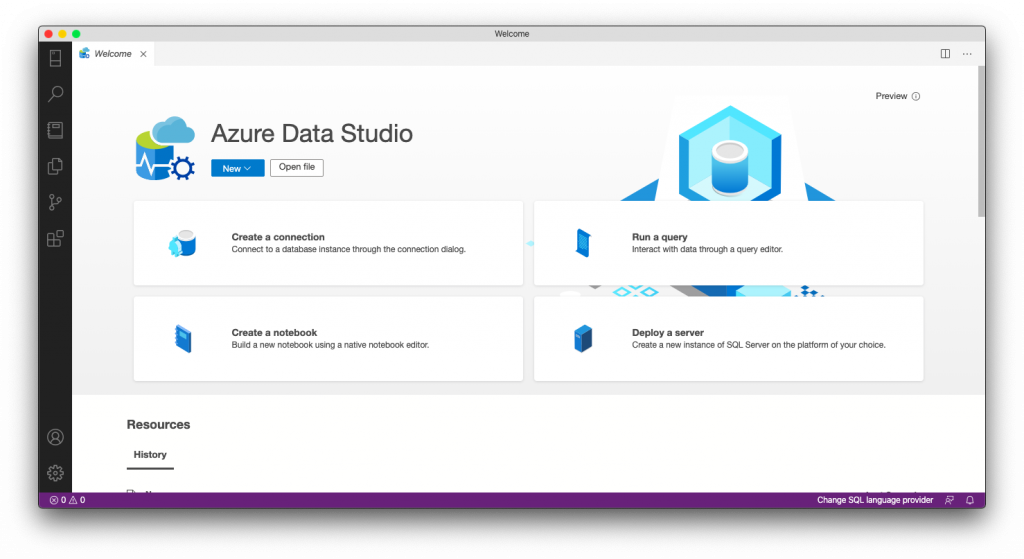
This is how Azure Data Studio looks like.
Step 3. Create a New SQL Server
From the Azure Data Studio main window, click Deploy a Server. This will bring us to the next step which allows us to choose the deployment options.
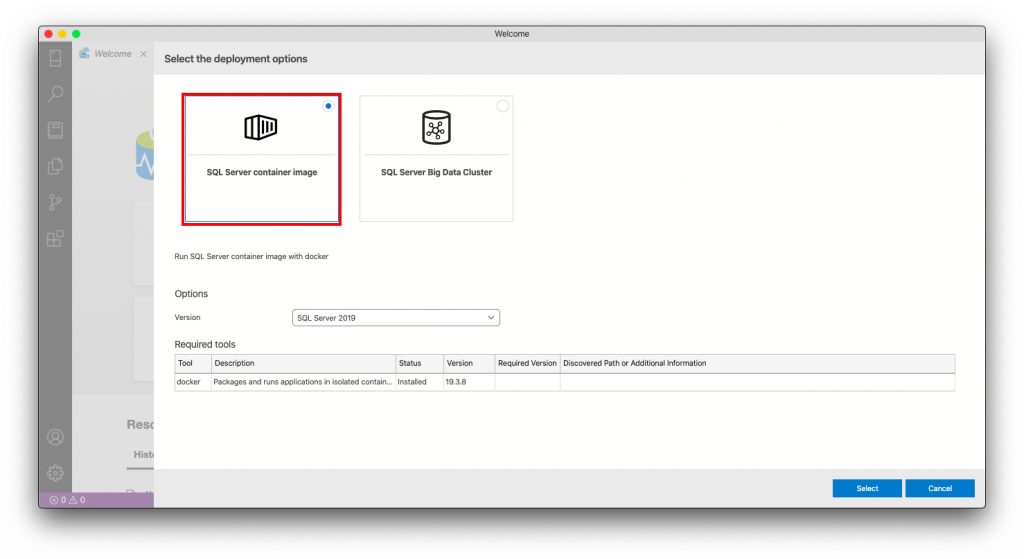
Click the SQL Server Container Image and then choose SQL Server 2019. Click Select to continue. You can see the Docker version in this window. make sure Docker is up and running. Otherwise, you will get an error.
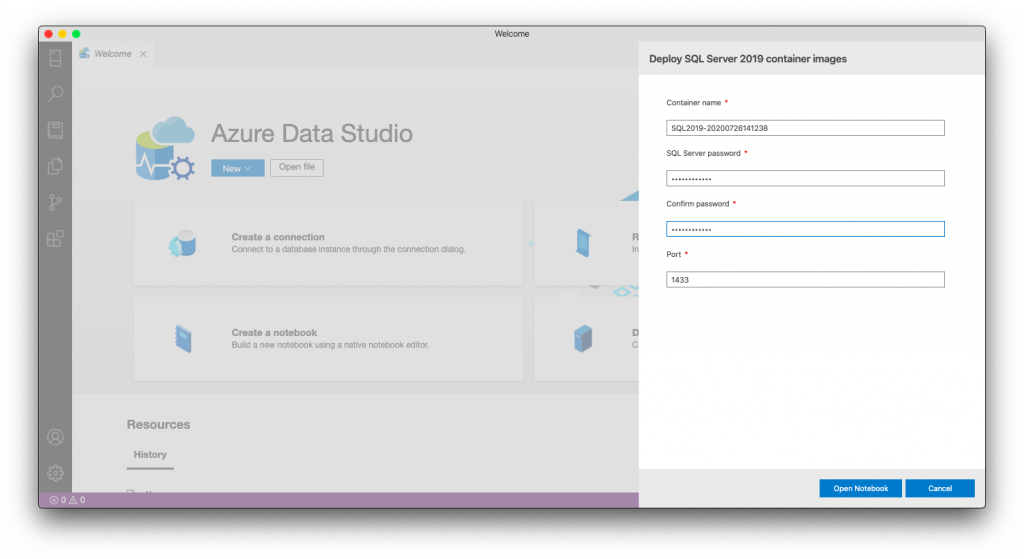
Enter the required details such as container name, password, and port. I choose to leave the default port, 1433. Click Open Notebook to continue. On the next step, we need to install Python. You can also choose the existing Python installation if you have it.
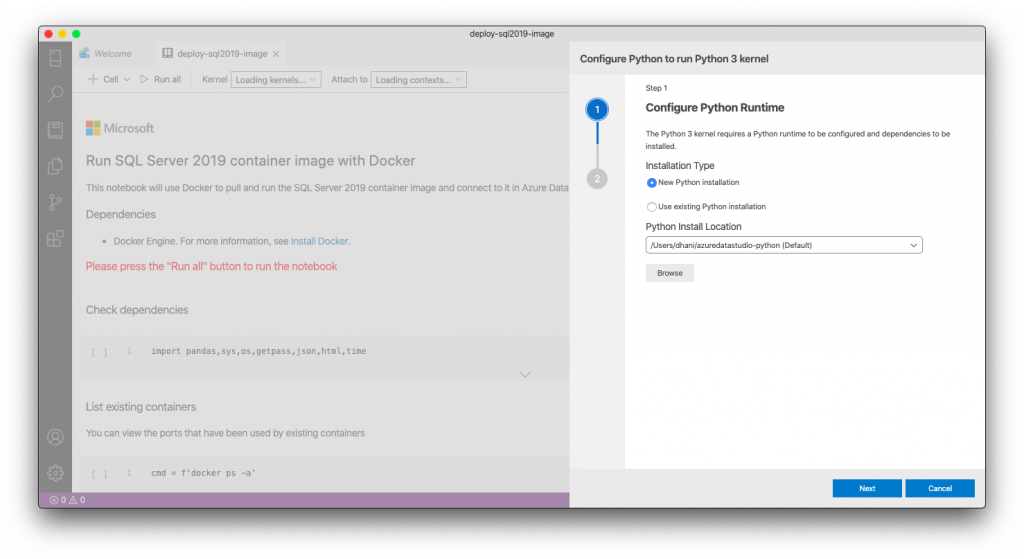
Click Install on the next page (I choose the New Python Installation).
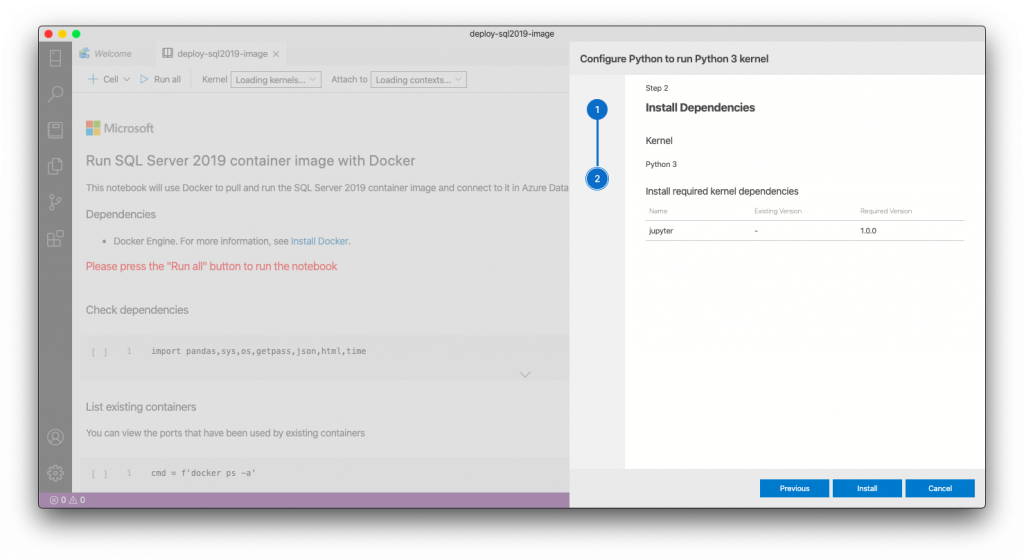
When you reach this page, simply click Run All to start the installation
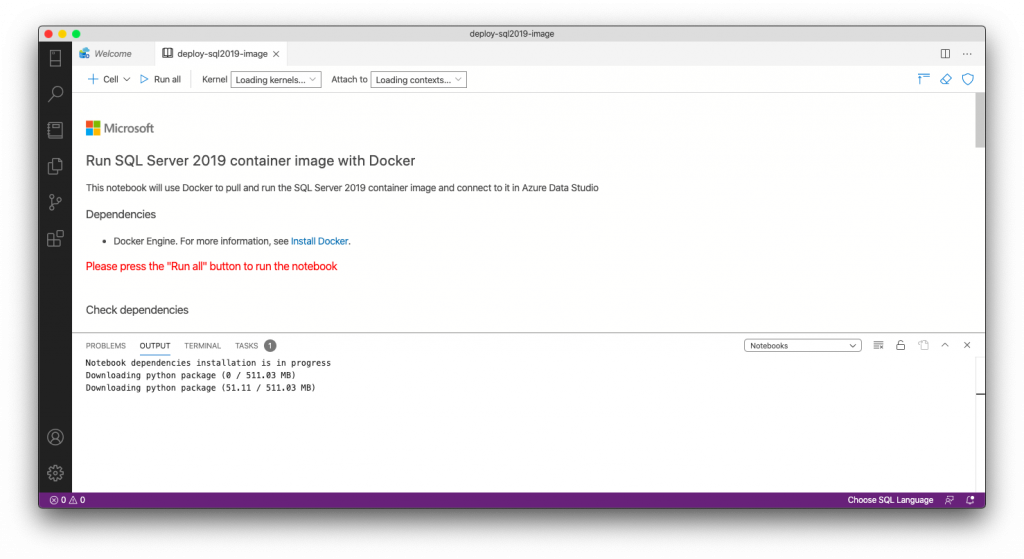
Wait until the installation process completes. You can see the download progress as well as some other information in this window. This process will take some times depends on your system speed and performance.
Once finished, Azure Data Studio will automatically create a new connection to your new SQL Server 2019 Docker. If not, you can create a new connection manually.
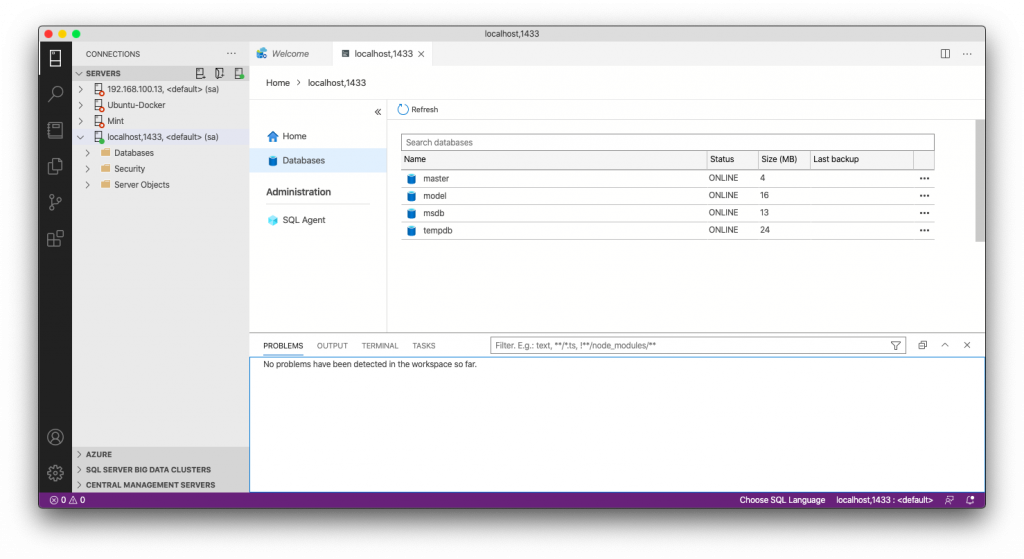
If you open the Docker Dashboard, you should see your new SQL Server container listed there.
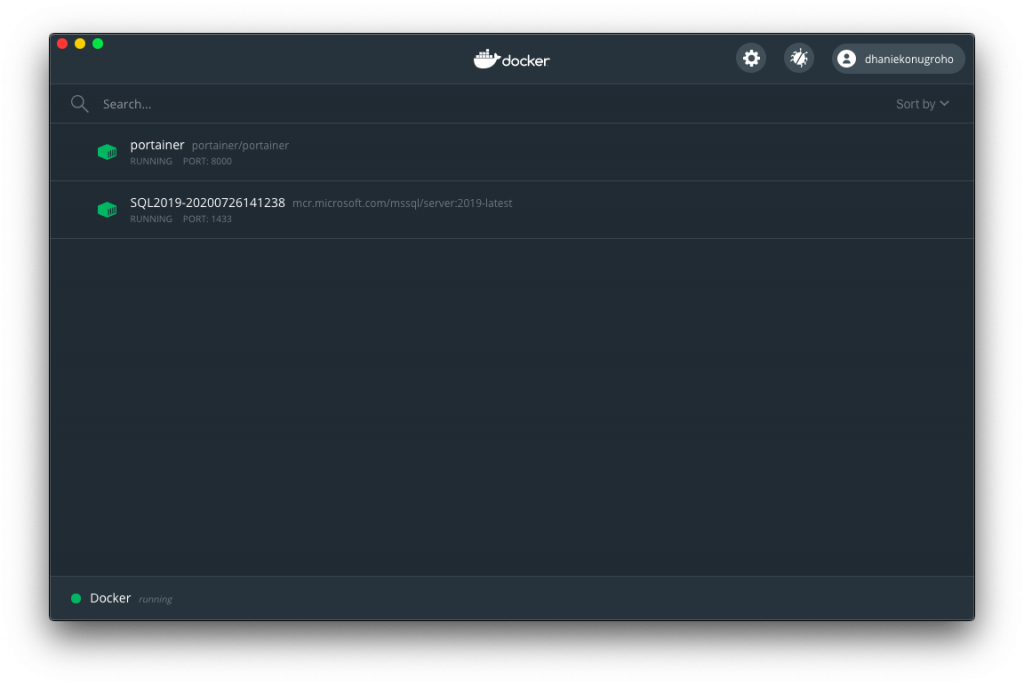
You can start, stop or even delete the container using Docker Dashboard.

Leave a Reply