

Welcome to another Hackintosh tutorial. In this article, we are going to show you how to create macOS Sequoia USB Installer using Windows 11. We can use Linux, and Mac to create the installer but in this article, I will focus on Windows 11. With this USB bootable device, you can install macOS Sequoia on a PC (Hackintosh).
Please note that making this USB Installer is only first part if you plan to install macOS Sequoia on a PC. There are still many steps involved. Stay tuned on this blog because we will provide a guide to Sequoia Hackintosh.
Steps to Create macOS Sequoia USB Installer using Windows 11
What You Need
- A USB drive with at least 16GB.
- Windows 11 PC or Laptop.
- Software tools: Rufus
Step 1. Formatting the USB Drive
You need a USB drive with at least 16 GB and formatted as FAT32. It is good to back up all your data exist in the USB drive before formatting. In Windows 11, right-click Windows logo and choose Disk Management. Right-click your USB drive and choose format. Give it a volume label and make sure to select FAT32 on the filesystem.
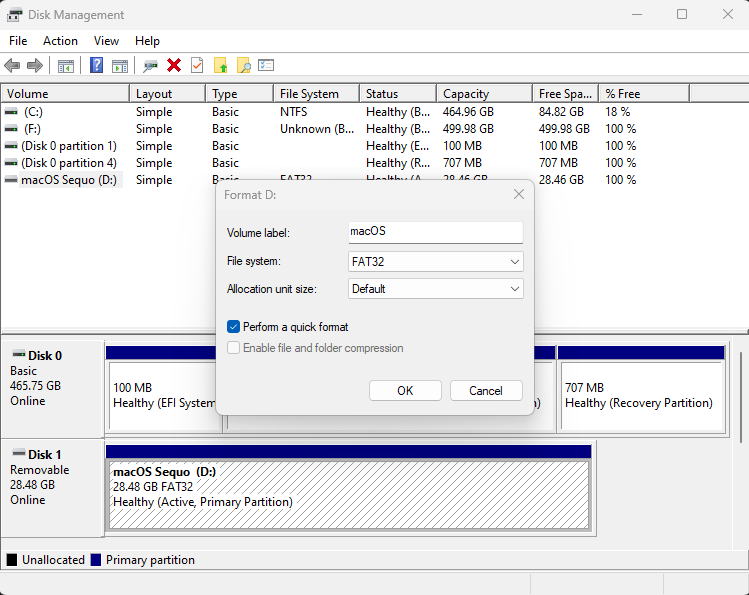
Click OK
Step 2. Downloading macOS Sequoia
Now we are ready to download macOS Sequoia base system. Please note that this is not the full installer. During the macOS installation, you will need to be connected to the internet. Also, you will need to have Python installed. You can download latest version of Python for Windows 11.
Dowload OpenCore (There is a tool in the OpenCore package that we will use to download macOS)
In this example, we use OpenCore 1.0.3. Extract the downloaded zip file and then go to Utilities\macrecovery folder. Then, open command prompt inside this folder. See the video below on how to do that.
Now execute this command to download macOS Sequoia.
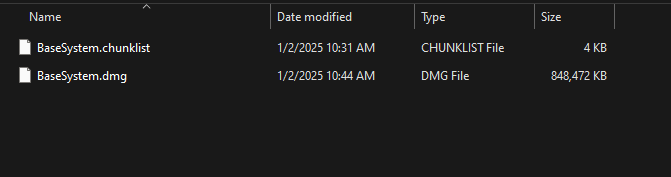
py macrecovery.py -b Mac-937A206F2EE63C01 -m 00000000000000000 downloadOnce the download completes, you will have a new folder called com.apple.recovery.boot that containing two files BaseSystem.chunklist and BaseSystem.dmg.
Step 3. Making the Installer
There are several ways to create the installer but we will use Rufus software because it’s pretty easy. Download Rufus and open it.
Select your USB device and then change the settings as follow:
- Boot selection: Non bootable
- Partition scheme: GPT
- Target system: BIOS or UEFI
- Volume label: Use your own label as you like
- File system: FAT32 (default)
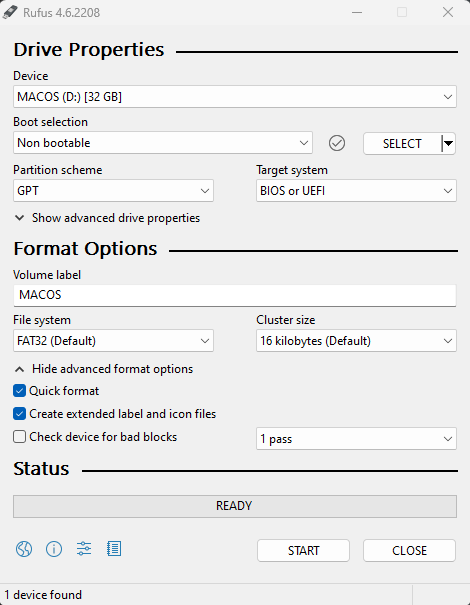
Click Start to format.
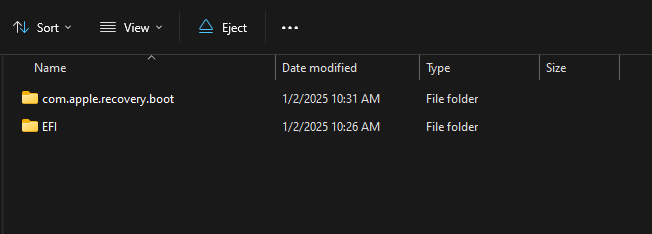
Now copy the folder com.apple.recovery.boot containing 2 base image files that we downloaded in the previous step above to the root of your USB drive. Make sure the two files BaseSystem.chunklist and BaseSystem.dmg are copied. And then copy EFI folder located inside the OpenCore package (OpenCore-1.0.3-RELEASE\X64).
Now your USB drive content should look like this
At this point, we have successfully creating USB installer for macOS Sequoia. Please note that there are additional steps to fully configure the EFI. Please stay tune on this blog.
Leave a Reply