In my previous post, I have written how to obtain the latest macOS 12 Monterey Beta installer. And today, I will show you how to create macOS Monterey USB Installer for Hackintosh. In this article, I will only show how to create the USB. I am not going to discuss the full steps to create the EFI bootloader. I hope I can write about this on the other post. Here are the things we need to prepare to create the installer
- a USB flash drive with 16 GB size
- macOS Big Sur (or Hackintosh)
- macOS Monterey Installer
Steps to Create macOS Monterey USB Installer
Step 1. Obtain the macOS Monterey Installer
Please visit this article below to find out how we can download macOS Monterey full installer on a Mac or Hackintosh. You don’t need Apple Developer Account to do this.
https://manjaro.site/how-to-download-macos-12-monterey-beta-without-developer-account/
Step 2. Format the USB Disk
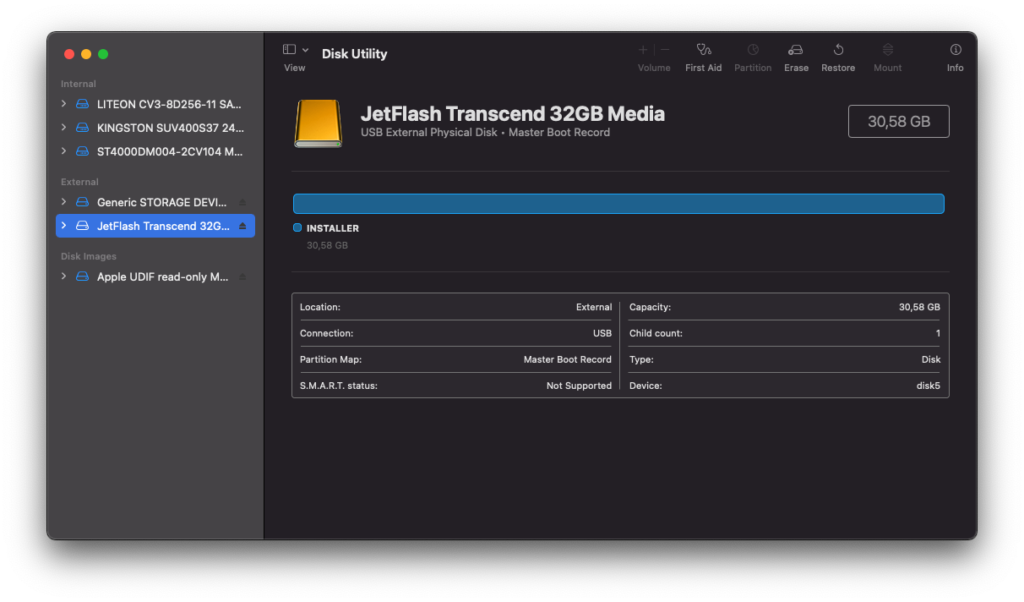
Plug in your USB drive to the USB port and then Open Disk Utility. Make sure to Show all devices. And then select your USB drive from the list.
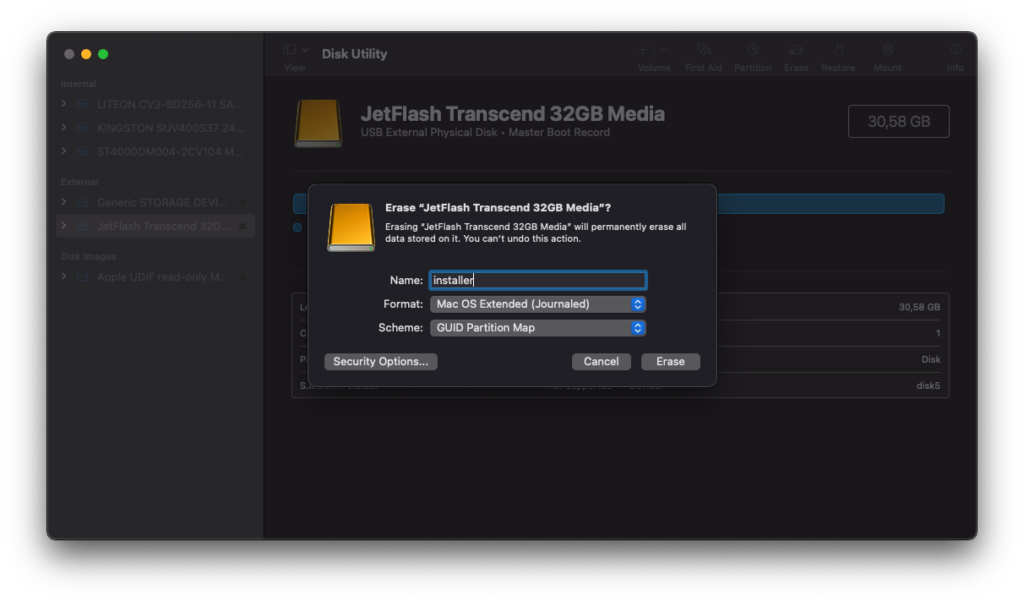
Click Erase button and then make sure you select GUID Partition Map and Mac OS Extended (Journaled) from the list. Give it a name such as Installer.
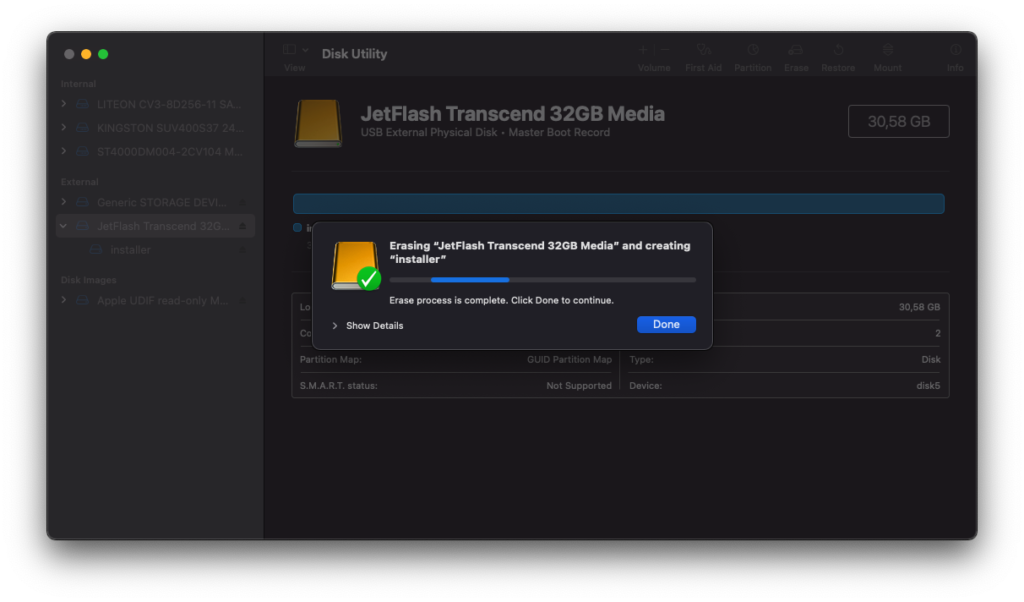
Click Erase to start formatting the disk. Make sure there is no error.
Step 3. Copy the macOS Monterey Installer to USB
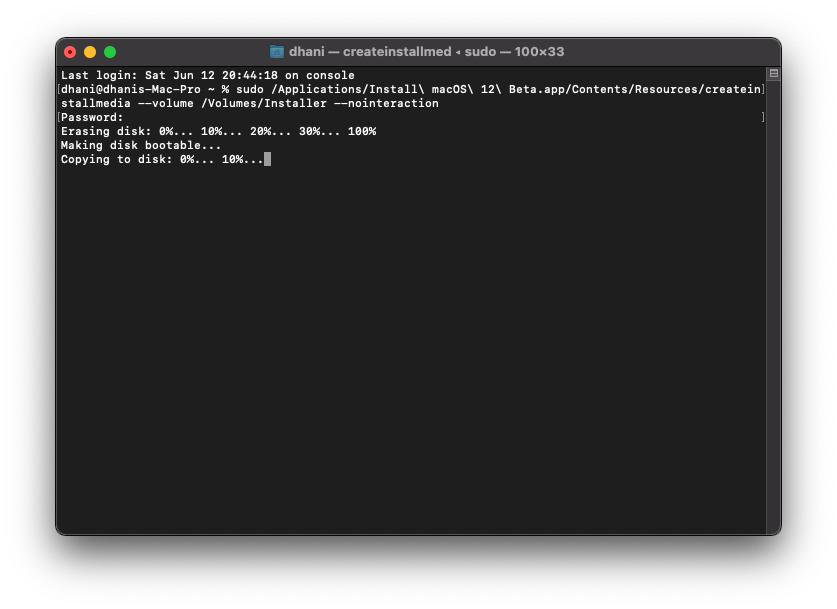
Open Terminal and then type or copy this command
sudo /Applications/Install\ macOS\ 12\ Beta.app/Contents/Resources/createinstallmedia --volume /Volumes/Installer --nointeraction
You will need to change “Installer” to anything you put on the USB Name on the previous step. Enter your password and then wait until the process completes. This process take sometimes so be patient.
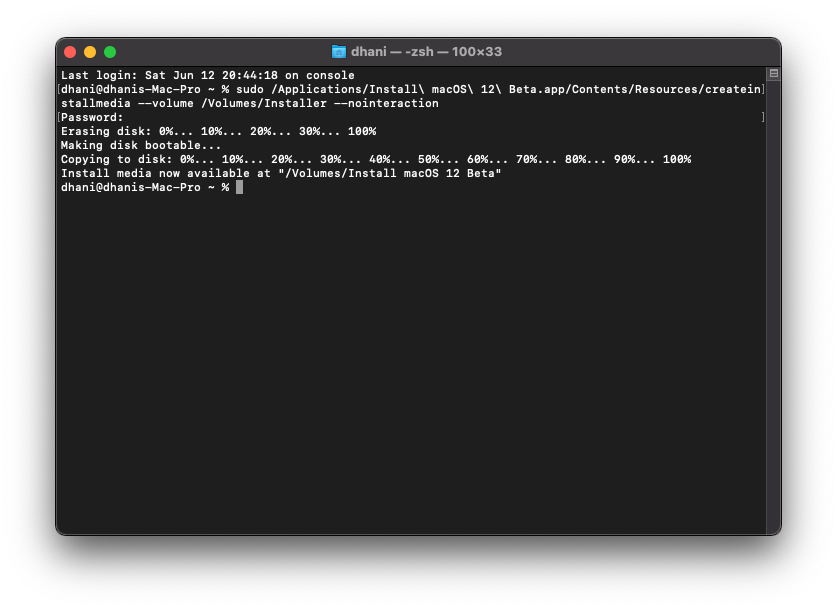
Done. Now you have successfully created the macOS Monterey USB Installer. For Hackintosh users, you will need to configure EFI and copy it to the EFI partition in the USB drive.

Leave a Reply