Hello everyone, in this article, I am going to show you how to connect to the iSCSI target on Windows 10. Windows 10 comes with a pre-installed iSCSI Initiator that can be configured pretty easily. To accomplish this task, I would assume you already have a running iSCSI Target server. You can easily create a new iSCSI Target using TrueNAS as shown in this article.
Steps to Connect to iSCSI Target on Windows 10
I assume you already have a working iSCSI Target server on your network. You will need some information about your Target server to connect to it.
Step 1. Run the iSCSI Initiator
By default, Windows 10 comes with iSCSI Initiator installed. But this service is not enabled by default. First, we need to run or enable iSCSI Initiator on Windows 10. To do this, search for iSCSI Initiator from Windows start menu
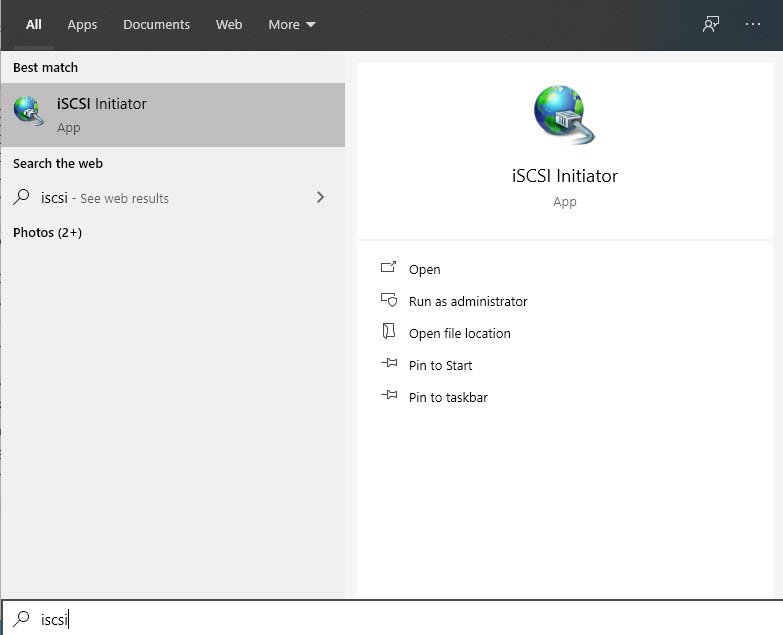
Choose Open and simply press Yes when it asks to start the iSCSI Initiator service.
Step 2. Configure iSCSI Initiator
On the iSCSI Initiator Properties window, click the Discovery tab and then click Discover Portal. Enter the target portal IP address and port. The default port is 3260.
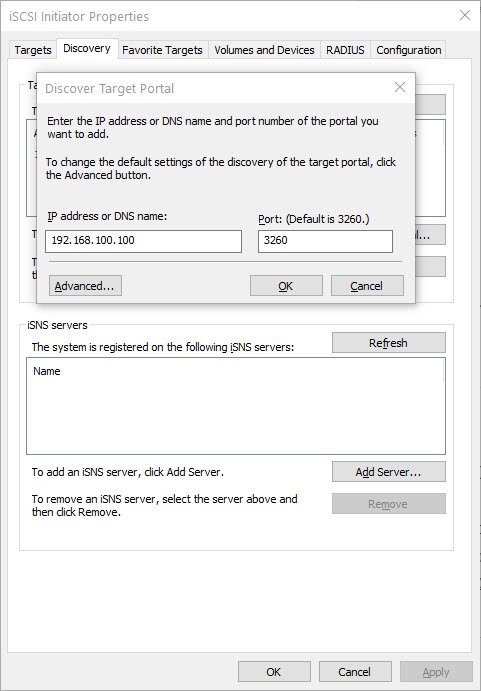
Hit OK and now we have successfully connected a new portal
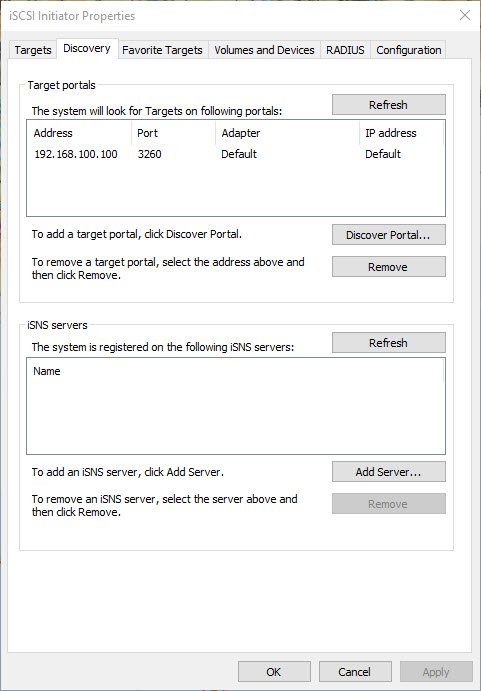
To see the available Target storage, click the Targets tab. Now you can connect to any available target and then click Connect.
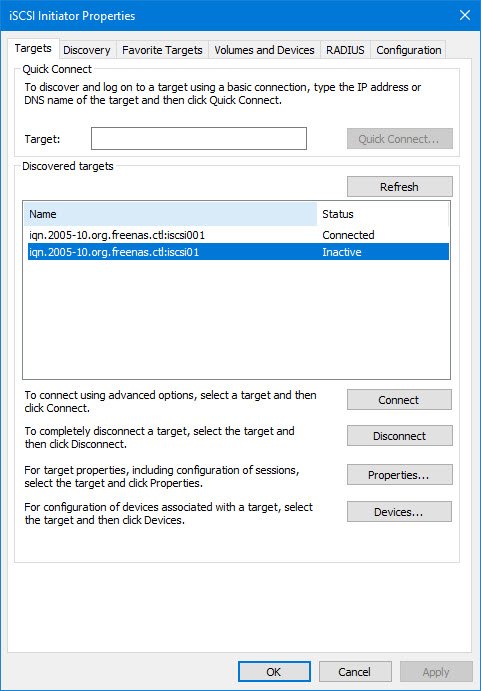
You will see the status of the Target connection. To disconnect a Target, simply select the Target and then click Disconnect.

Leave a Reply