
If you follow my guides, you should be able to install Oracle 19c on Windows 10, Windows Server 2019, or CentOS 8. In this particular post, I will guide you on how to configure the Oracle 19c server for remote access. In other words, we will enable the remote administration to the database server. There are few things that we need to configure so we can access and manage the Oracle 19c from the network.
This guide is based on the Windows Server 2019 installation. If you installed Oracle 19 on CentOS, you can read my tutorial here.
Configure Oracle Database for Remote Access
Step 1. Configure Windows Firewall
If you are using Windows Firewall on your Windows Server 2019, you must configure it to allow the ports that are used by the Oracle server. By default, the Oracle database uses TCP port number 1521. So, we need to allow this port 1521 in Windows Firewall. To do this go to Windows Defender Firewall settings.
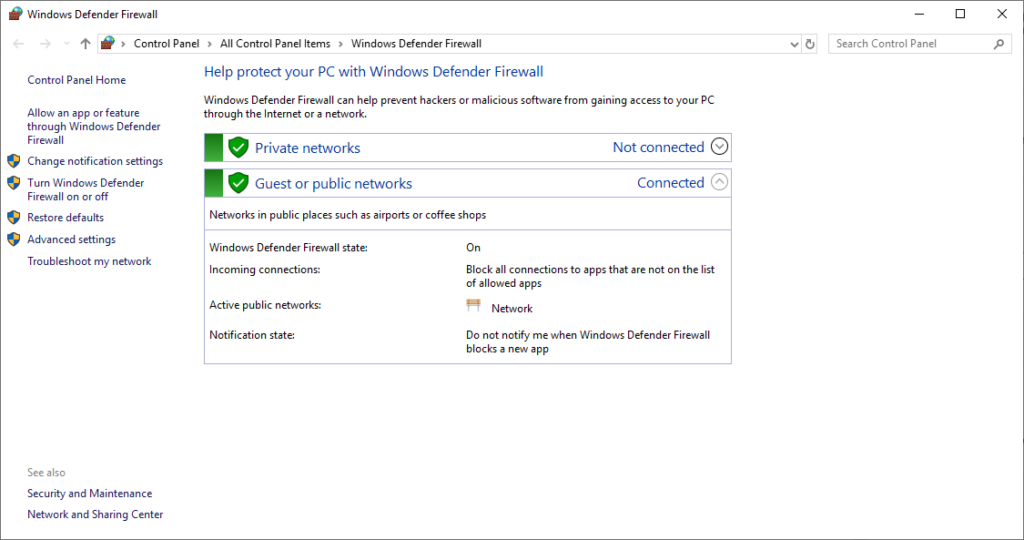
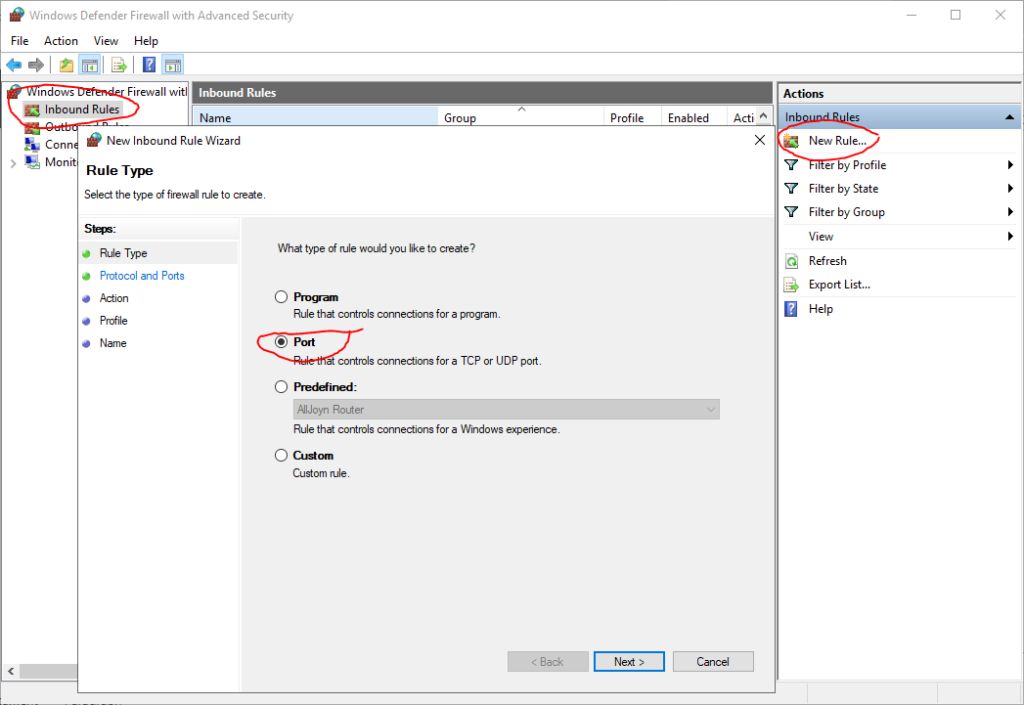
Click Advanced Settings. And then, Inbound Rules. Click New Rule and choose Port from the list.
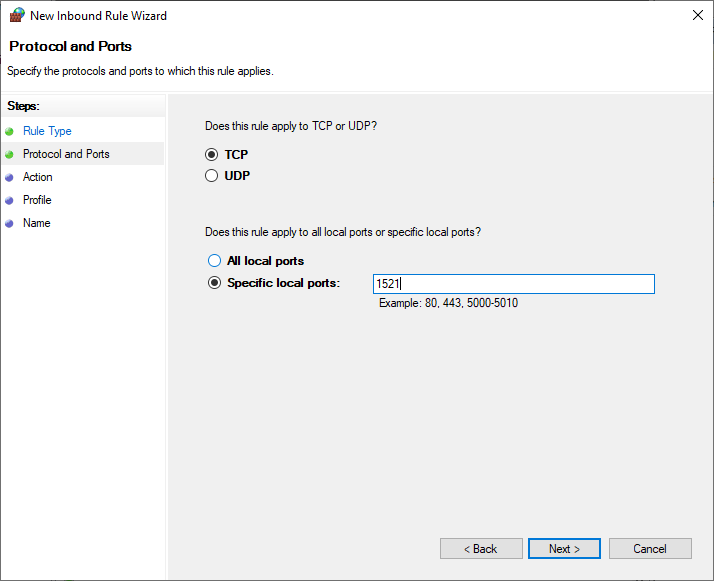
Click Next and then type 1521 on Specific local ports. Don’t forget to choose TCP.
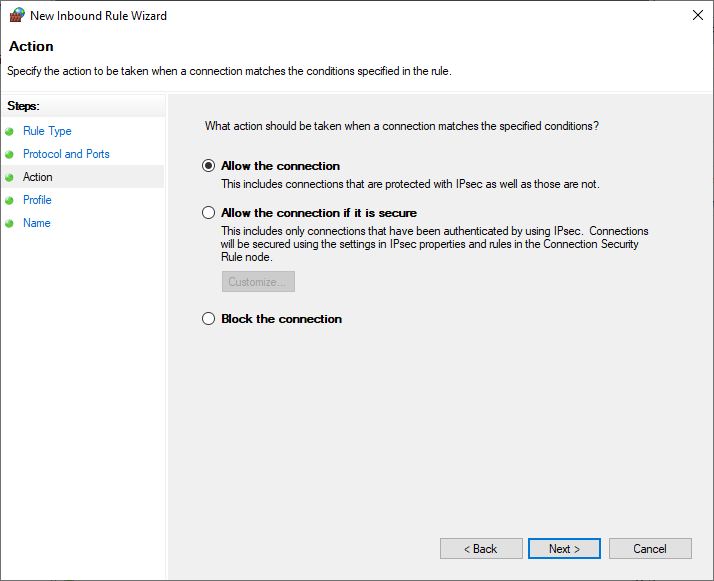
Click Next and choose Allow the connection on the following page.
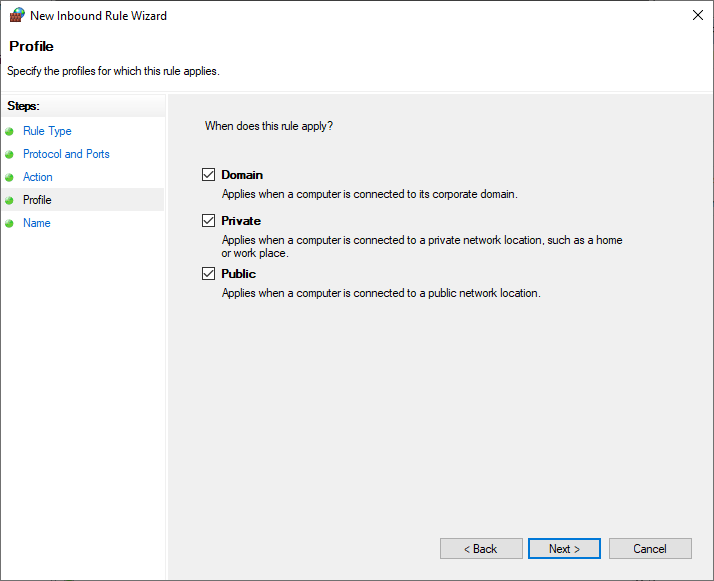
Select when this new rule apply. I choose all options: Domain, Private and Public.
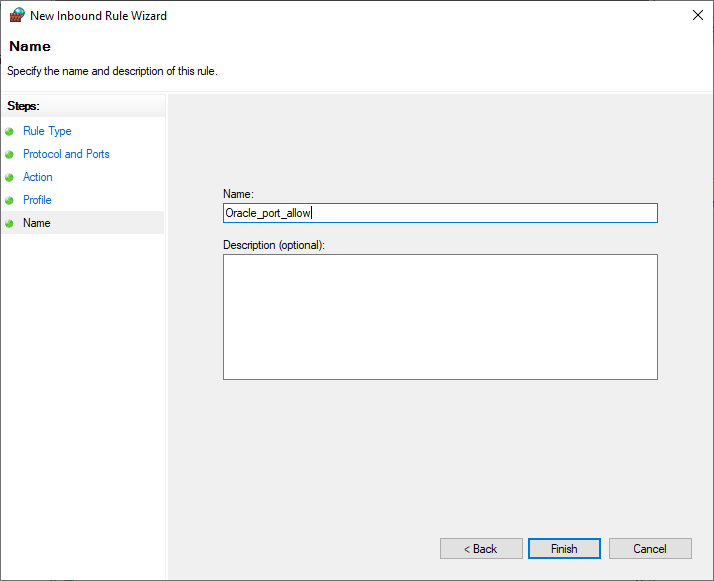
Finally, specify a name for this rule.
At this point, we have successfully allow the Oracle database to be accessed from the network.
Step 2. Configure Oracle Net Listener
Oracle Net Listener is a separate process that runs on the database server computer. It receives incoming client connection requests and manages the traffic of these requests to the database server.
I thin the official Oracle documentation has a complete and better explanation about this matter. I would suggest you to visit their page below:
https://docs.oracle.com/cd/E11882_01/network.112/e41945/listenercfg.htm#NETAG297
In short, you can follow this guide below to create your own Oracle Net Listener.
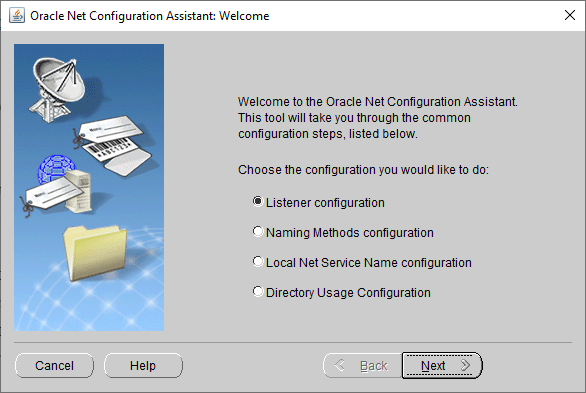
- Open Net Configuration Assistant program from Windows start menu
- Choose Listener configuration from the list. Click Next
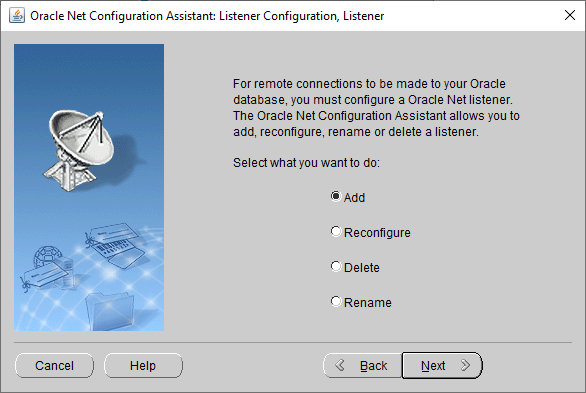
- Choose Add and press Next
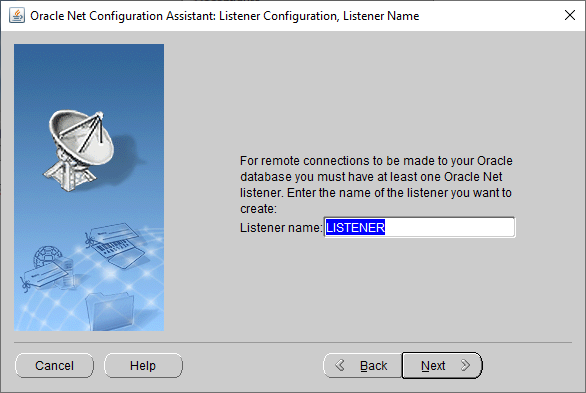
- Give the new listener a name
- Select the protocol from the list. Usually, we use TCP protocol
- Specify the port number. The default port number is 1521
- Wait until the process completes.
That’s it. You will also need to install Oracle instant client on your remote computer. Please read the following article to install Oracle instant client and sqlplus utility on various OS

Leave a Reply