My Sapphire Radeon RX 580 card is broken and unusable. I have so many Hackintosh success story with this card. I have an old graphic card, XFX Radeon R7 250 series. But as mentioned in Dortania page, this graphic card supports Hackintosh but it requires a FakeID patching in order to work properly. So in this article, I am going to show you how to apply FakeID to AMD Radeon R7 250 series. I hope it useful for you who have this card and want to install macOS Big Sur or even Monterey on your PC.
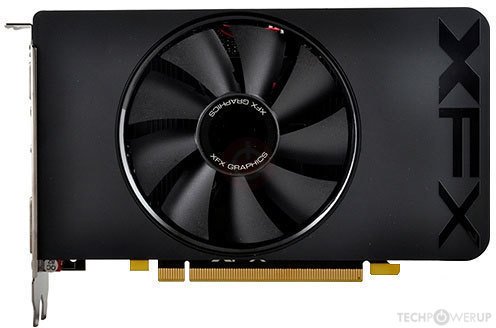
If you have the following graphic cards and you are about to use it in your Hackintosh build, you will need to apply this FakeID to your card. Otherwise it won’t work.
- Radeon R9 390, 290, 280
- Radeon R7 250, 270, 350, 240
For the complete list of graphic cards that need FakeID, please visit this page. So basically, this spoofing method will faked these graphic card to the “X” varian of it, which is natively supported on macOS.
To apply the FakeID, I boot my PC with a Ubuntu 21.04 USB stick. If you know Linux a little bit, rather than installing Windows, it’s better to use Linux, especially Ubuntu. I have been testing this method to work nicely on my XFX Radeon R7 250 graphic car. It’s an old card but I can install Big Sur with it.
Steps to Apply FakeID to AMD Radeon R7 250
In general, there are 4 steps to Spoof or apply the fake id to the graphic card for Hackintosh.
- Find the graphic card PCI ID
- Find the ACPI path
- Making the SSDT
Step 1. Find the Graphic Card PCI ID
Actually, there is a website where you can look up the PCI ID of your graphic card. But for me, doing this in Ubuntu Linux is way easier and more satisfying. Boot up Ubuntu Live USB and do the following.
Open Terminal and then run this command
lspci -vmmnnD -d 1002::0300
Output:
Slot: 0000:01:00.0
Class: VGA compatible controller [0300]
Vendor: Advanced Micro Devices, Inc. [AMD/ATI] [1002]
Device: Oland XT [Radeon HD 8670 / R7 250/350] [6610]
SVendor: XFX Pine Group Inc. [1682]
SDevice: Oland XT [Radeon HD 8670 / R7 250/350] [7250]
From the output, we should make a note of the following:
- 0000:01:00.0: Slot ID (We need this to get the ACPI Path)
- 1002: Vendor ID (This is the AMD vendor ID, all AMD devices have the same ID)
- 6610 : The Device ID (We’re going to need this)
Step 2. Find the ACPI Path
Next, use this command
cat /sys/bus/pci/devices/SLOTID/firmware_node/path
Change SLOTID with the actual slot id you get from the first command. In my case, it would be:
cat /sys/bus/pci/devices/0000:01:00.0/firmware_node/path
Output
\_SB_.PCI0.PEG0.PEGP
Step 3. Making the SSDT
After we get our PCI ID and ACPI Path, now download the SSDT-GPU-SPOOF. Extract and open the .dsl file using text editor
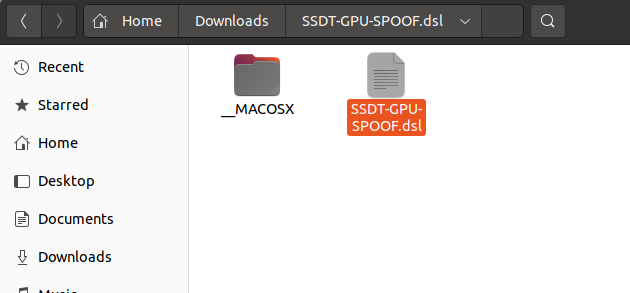
This is how it looks
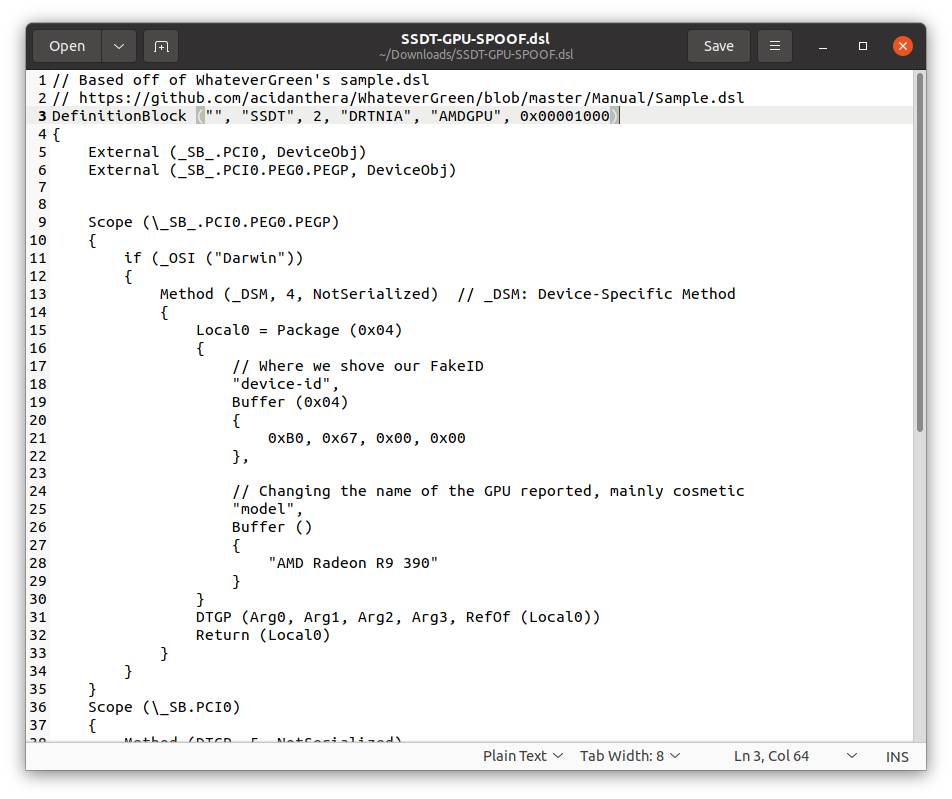
From the command above, this is my ACPI Path: _SB_.PCI0.PEG0.PEGP. In your case, it could be different. We are going to match this with the .dsl file. So, we need to replace all the mentions of
- PCI0 with PCI0
- PEG0 with PEG0
Fortunately, the .dsl sample I downloaded already match with my ACPI path. So actually, I don’t have to replace anything. But, in your case, you may need to replace PCI0 and PEG0 with your actual code in the ACPI path. Let’s continue to apply a FakeID.
Still in the .dsl file, find the following lines:
// Where we shove our FakeID
"device-id",
Buffer (0x04)
{
0xB0, 0x67, 0x00, 0x00
},
And this is my PCI ID I get from the step 1: 6610
So, I need to change the fake id into this one. Note how the swapped number should be applied.
// Where we shove our FakeID
"device-id",
Buffer (0x04)
{
0x10, 0x66, 0x00, 0x00
},
That’s it. Now we can save and close the SSD-GPU-SPOOF.dsl file.
Step 4. Compile the SSDT
Now we are ready to compile the SSDT-GPU-SPOOF.dsl into SSDT-GPU-SPOOF.aml. OpenCore only use .aml. So, we need to compile the .dsl to .aml file. We are going to use the software called, iasl. We can install this from Ubuntu repository with this command
sudo apt update && sudo apt install iasl
Now let’s compile the file using Terminal
iasl ~/Downloads/SSDT-GPU-SPOOF.dsl/SSDT-GPU-SPOOF.dsl
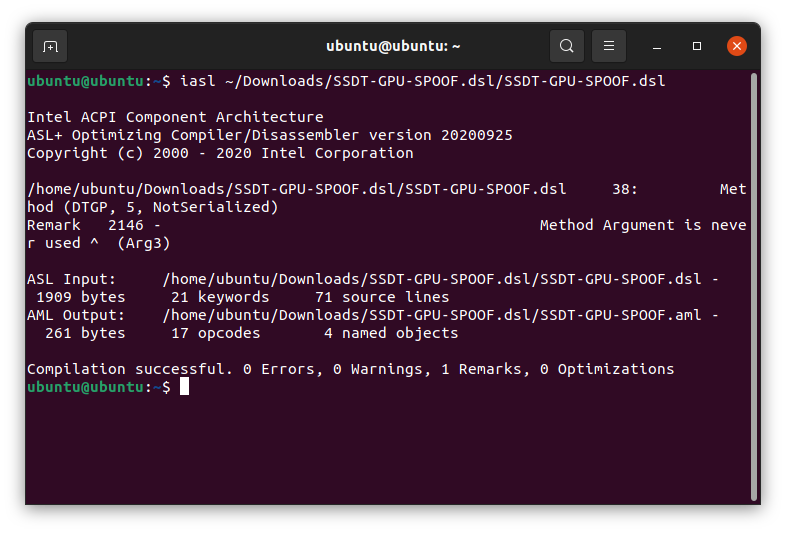
Change the directory to your actual .dsl file. After the command, you will see the .aml file in that directory.

At this point, we have successfully created our custom SSDT for the Radeon R7 250 series. Now we need to use it in our EFI OpenCore folder and.
Step 5. Apply the SSDT on OpenCore EFI folder
Copy the SSDT-GPU-SPOOF.aml into the following folder in your EFI OpenCore folder
EFI/OC/ACPI/
And then make sure the SSDT-GPU-SPOOF also listed in the config.plist. You can use the menu “OC Clean Snapshot” from the ProperTree editor to automatically read and add all the ACPI file entries to the config.plist.
Step 6. Add the Args Extras
In the config.plist, under NVRAM section, add this line to apply the args:
radpg=15
This arg is required for HD 7730/7750/7770/R7 250/R7 250X GPU initialization).
Done. Thanks for reading this how to apply FakeID for the AMD Radeon R7 250 graphic card series. I hope you find this article useful for you. Cheers.

Leave a Reply