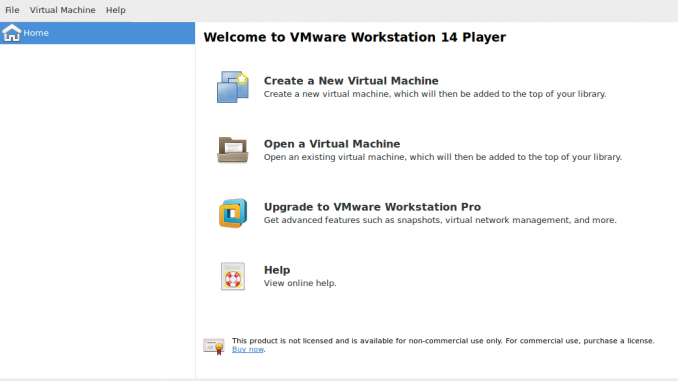
Hello everyone, welcome to my website. Today, we are going to learn the basic operation of the VMWare Player. For you who new to this application, the VMWare Player is a free virtualization software which allows us to create virtual machines. If you need more features, you may want to switch to VMWare Workstation. But, if you just want to play around, testing new operating system on your current OS, VMWare Player is a good way to start. On this article, I will guide you to create new virtual machine on VMWare Player 14.
Steps to create new virtual machine on VMWare Player 14
Step 1. Download and install VMWare Player
You can download and install VMWare Player for free. You can download and install it on Windows OS and also on Linux OS. Use the link we provided below to download VMWare Player
Install VMWare Player on Linux
Complete the download step above and then you should have a .bundle file. For example: VMware-Player-14.0.0-6661328.x86_64.bundle. Now open Terminal and make the file executable
chmod +x VMware-Player-14.0.0-6661328.x86_64.bundle
Now we can start the installation process:
sudo ./VMware-Player-14.0.0-6661328.x86_64.bundle
The graphical installation wizard will open up. Follow the wizard until completed. We’ve compiled some screenshots showing the VMWare Player 14.0 Installation steps on Ubuntu 16.04.
Please note that if you have any previous version of VMWare Player on your Linux, it will be uninstalled first and then install the version 14. Now open VMWare Player 14 to start using it.
So now you have a running VMWare Player 14 on your Linux.
Step 2. Create new Virtual Machine
From the VMware Player main window, click Create a new Virtual Machine. It will bring up a new wizard window. On the first step, we need to provide the ISO file of the operating system we want to install.
There are three options on this step.
- Use your physical CD/DVD ROM device. If you choose this option, you will need to insert your OS installation media to your CD/DVD ROM device.
- Use ISO Image. If you have the ISO file, browse to the ISO file. VMWare Player will automatically detect the OS of the ISO. But not all OSes are supported.
- I will Install the Operating System later. Choose this option if you wish to install the OS later.
On this example, I am using a Linux Mint 18.3 ISO file. If VMware unable to detect the OS, we need to specify our OS on the next step.
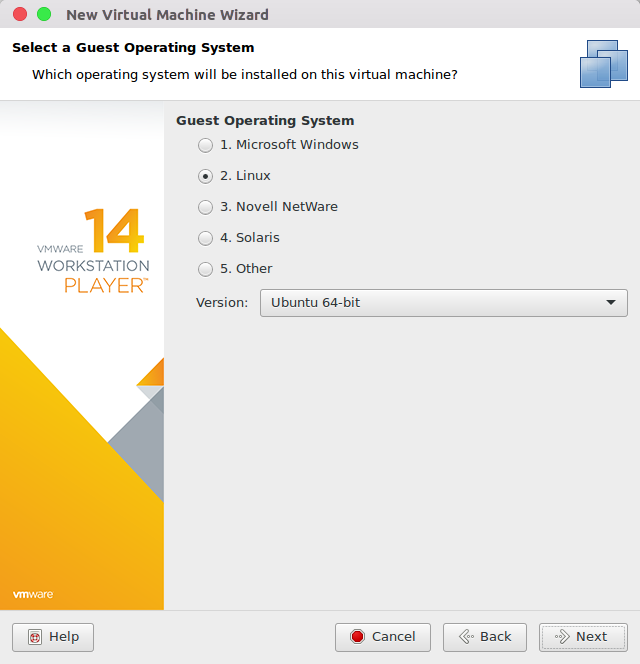
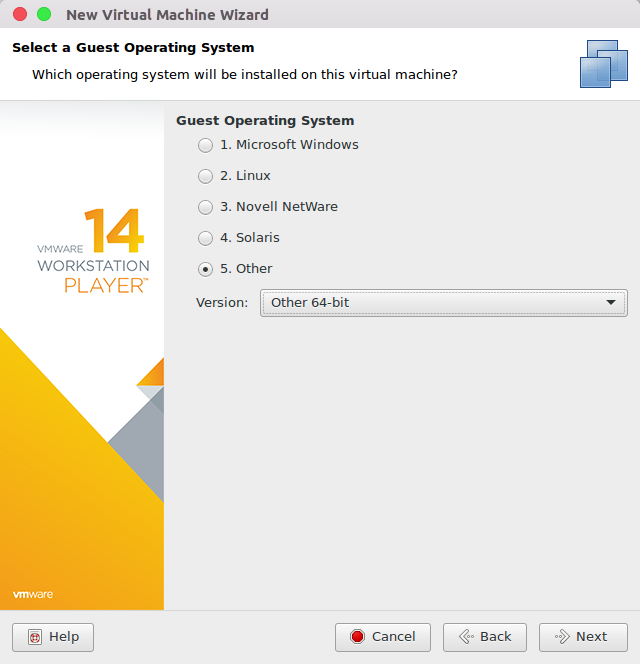
Select the Guest Operating System from the list. If your OS is not in the list, click Other and select closest match to your OS.
Click Next and then type the name of the Virtual Machine. You can also change the location of the VM.
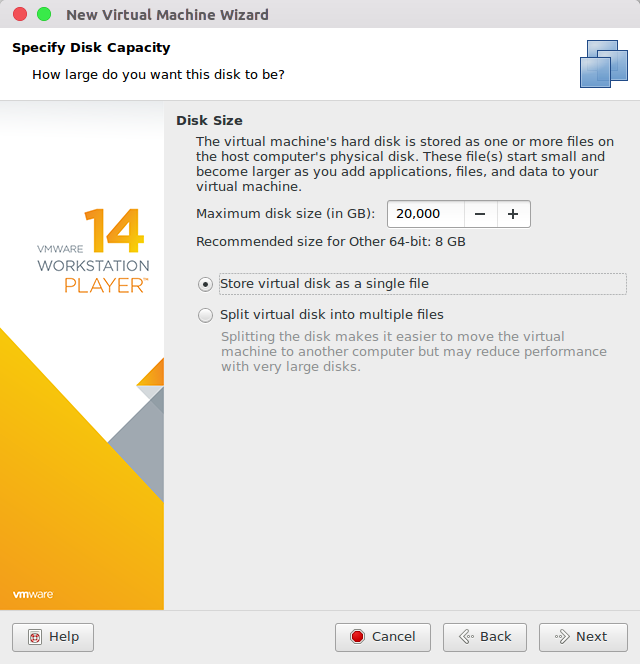
Now specify the disk size
On this step we will create a new virtual disk for our guest machine. You can change the disk size to any number. Also, you can choose how the virtual disk will be treated, as a single file or split to multiple file. We recommend to use the single file since its easier to manage.
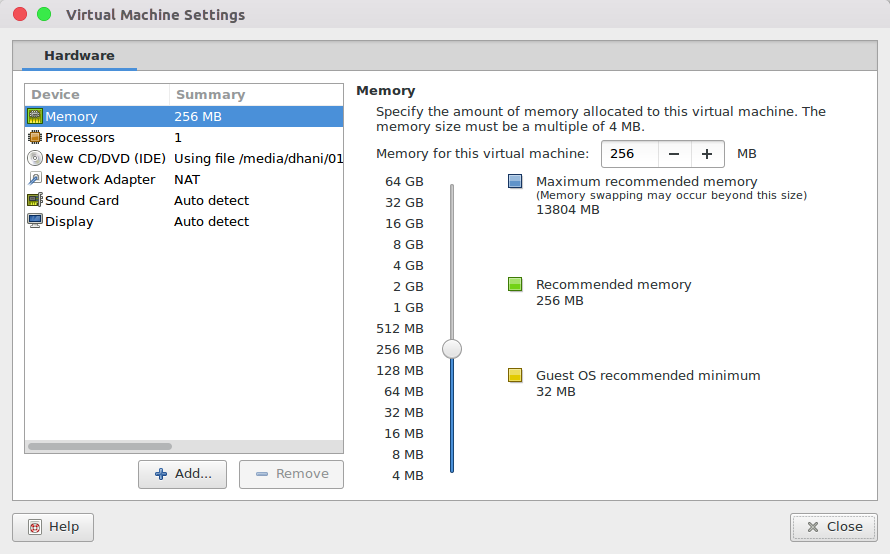
Click Finish to complete the steps. At this point we have successfully created a new virtual machine. If you want, you can change some hardware settings. Click Customize Hardware to change some settings. Here we can adjust the memory size, processor numbers etc.
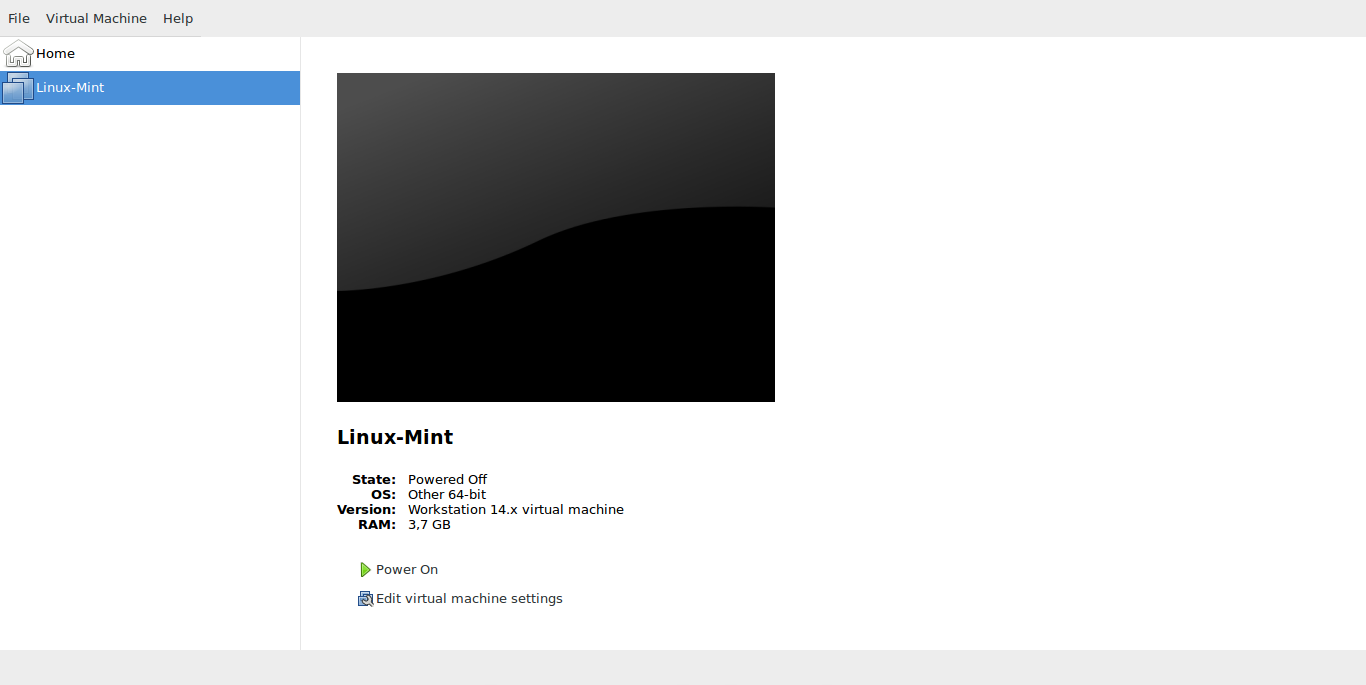
OK so now we have successfully created new virtual machine on VMWare Player. You can start the VM now.
Final Thoughts
VMWare Player 14 is a great tool for you who need to test, or build a virtual environment for free. It is free for non commercial purposes. On this article you’ve learned how to install VMWare Player 14 and how to create new virtual machine on VMWare Player 14. Thanks for reading this post and please share it.




Leave a Reply