This short tutorial will show you how to add new hard disk to FreeNAS 9.10. FreeNAS is another powerful NAS (Network Attached Storage) appliance available for free. Even it comes at no cost, doesn’t mean that FreeNAS lacks features. It has any features you need on a NAS server.
Scenario
On this example, my FreeNAS is installed on top of Proxmox VE as a guest machine. I add two more hard disks to it (vtbd0 and vtbd1). These disks will not usable until we configure them correctly. I will use them in mirror mode.
Steps to add new hard disk to FreeNAS 9.10
Step 1. Check the disks
Log in to FreeNAS web admin and then go to Storage | View disks
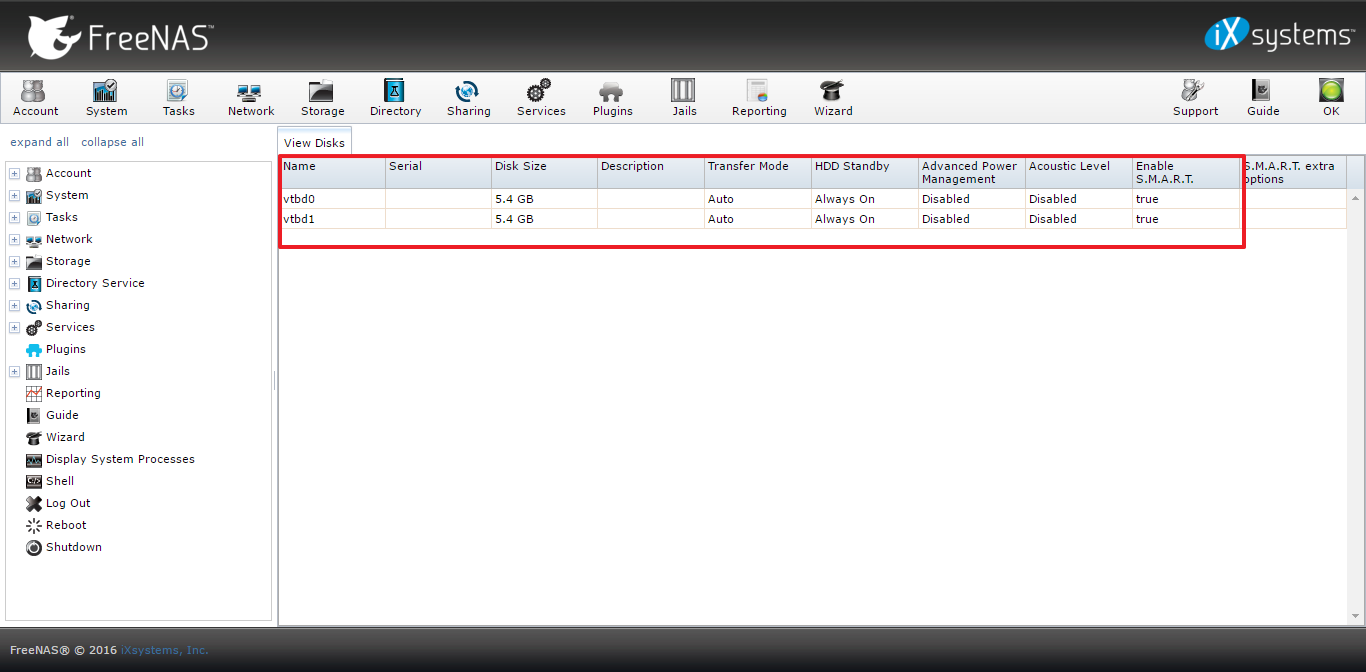
Make sure all your hard drives are listed here.
Step 2. Create new Volume
This step will create a new volume on FreeNAS. Go to Storage | Volume Manager
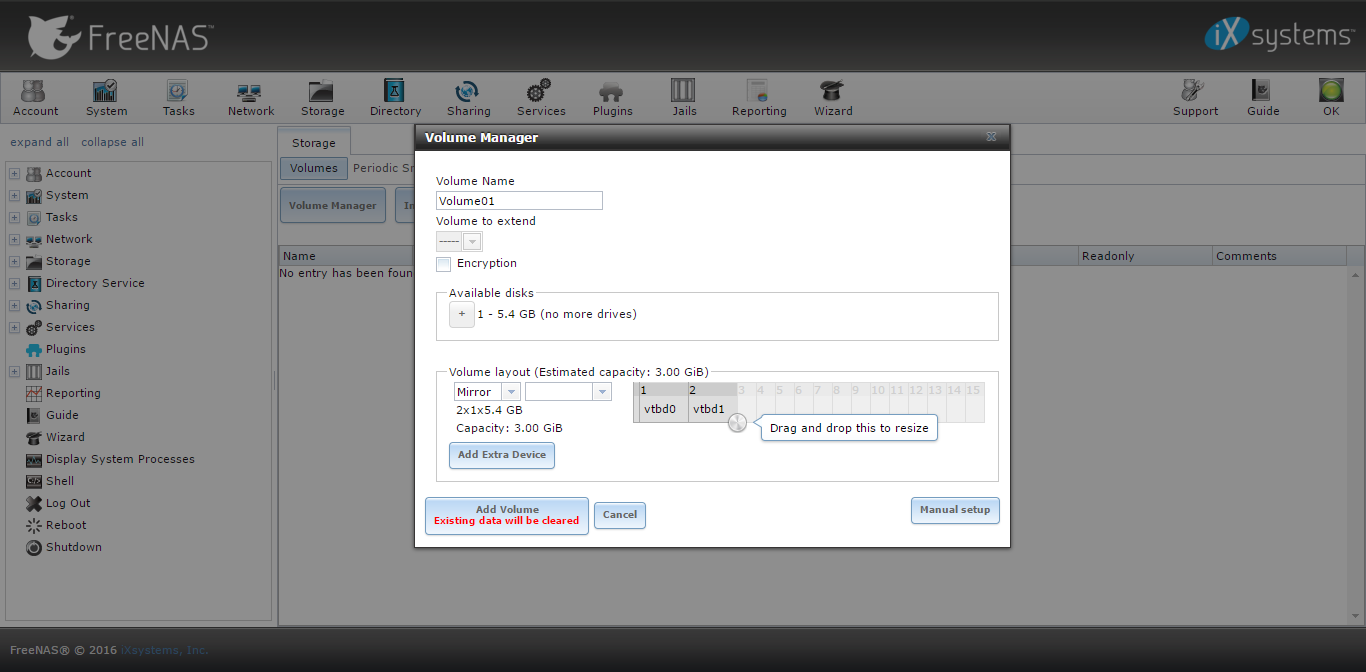
Give name to the new volume. And then add the disks to the new volume, simply by clicking the + symbol next to Available disks. Click Add Volume to start the process. Once the process completed, you will see the new volume is listed on the Volumes.
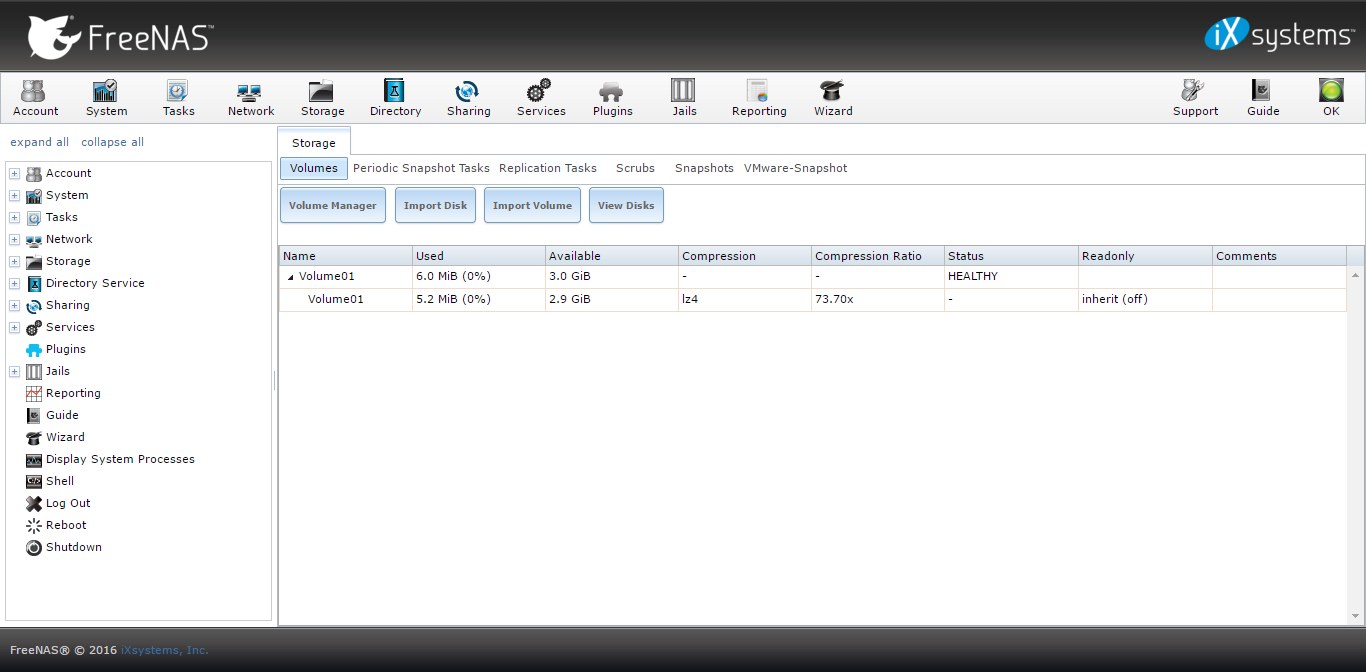
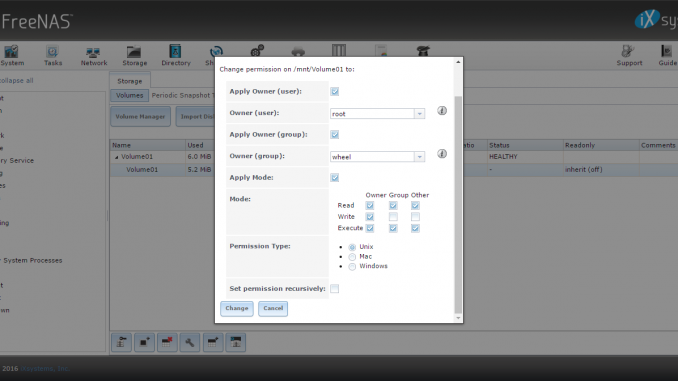
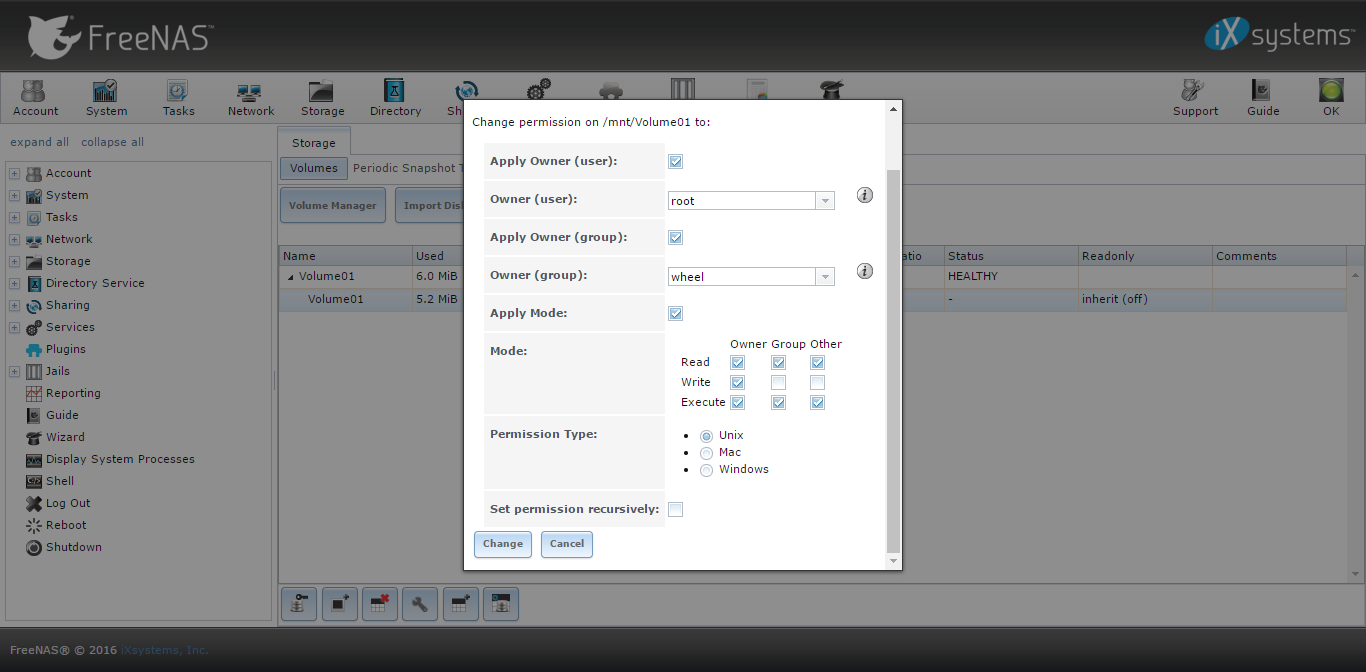
Additionally, you can change the permission of this new volume by clicking the “Change Permission” button.
That’s it. Thank you, hope that useful for us. If you have any questions, please leave us comments on the comment box below. If you think this post is useful, please consider share this article with others.

Leave a Reply