In this article, I am going to show you how to install Nextcloud on Ubuntu 20.04 server. Nextcloud is a free and open-source cloud file sharing application. With Nextcloud, you can have your own cloud storage and sharing service for your organization. I am going to use LAMP (Linux, Apache, MySQL and PHP) on this installation.
NextCloud Main Features
- Free and open-souce
- End-to-end encryption
- Easy to sync using the sync client for Linux, Windows and Mac
- Extensive application from the app store
Prerequisites
Before we can install NextCloud on Ubuntu 20.04, we need to correctly setup the web server with MySQL and PHP. Please read the following article to install LAMP on Ubuntu 20.04.
Follow the steps on that page to install LAMP server. You don’t need to install WordPress on your server.
Steps to Install NextCloud on Ubuntu 20.04
Step 1. Install LAMP
Again, please install and configure LAMP server on Ubuntu 20.04 before proceeding to the next steps. Make sure the web server, MySQL Server as well as PHP works properly.
Step 2. Download NextCloud
When this article is written, NextCloud 20 is available. You can download it from this link below.
Or, we can also download it via Terminal.
cd /tmp
wget https://download.nextcloud.com/server/releases/nextcloud-20.0.0.zip
Extract the Package. I will unzip the package to the /var/www/html/ directory.
sudo unzip nextcloud-20.0.0.zip -d /var/www/html/
If you don’t have unzip, you can install it with this command
sudo apt install unzip
So now, we should have a folder called nextcloud under /var/www/html. Next, we need to change the permission to that folder.
sudo chown -R www-data:www-data /var/www/html/nextcloud
Step 3. Create a New MySQL Database and User for NextCloud
In this step, we are going to create a new user and database for NextCloud. Login to MySQL via Terminal as root.
mysql -u root -p
Now create a new database called nextcloud. You can change it as you need.
mysql> create database nextcloud;
Now create a new user
mysql> create user nextcloud@localhost identified by '12345';
Grant privileges to nextcloud user
mysql> grant all privileges on nextcloud.* to nextcloud@localhost;
mysql> flush privileges;
mysql> exit
Step 4. Create Apache VirtualHost
Now we need to create a new VirtualHost for the NextCloud. To do this, we will create a new file called nextcloud.conf and put it inside /etc/apache2/sites-available/ directory.
sudo nano /etc/apache2/sites-available/nextcloud.conf
And then paste these lines to it. Please modify the information below to match your settings.
<VirtualHost *:80>
        DocumentRoot "/var/www/html/nextcloud"
        ServerName nextcloud.griyaku.lan
        ErrorLog ${APACHE_LOG_DIR}/nextcloud.error
        CustomLog ${APACHE_LOG_DIR}/nextcloud.access combined
        <Directory /var/www/html/nextcloud/>
            Require all granted
            Options FollowSymlinks MultiViews
            AllowOverride All
           <IfModule mod_dav.c>
               Dav off
           </IfModule>
        SetEnv HOME /var/www/html/nextcloud
        SetEnv HTTP_HOME /var/www/html/nextcloud
        Satisfy Any
       </Directory>
</VirtualHost>
Close and save the file. Now let’s enable this virtual host.
sudo a2ensite nextcloud.conf
We also need to enable some of the Apache modules
sudo a2enmod rewrite headers env dir mime setenvif ssl
Now restart Apache
sudo systemctl restart apache2
Install additional PHP modules
sudo apt install php-imagick php7.4-common php7.4-mysql php7.4-fpm php7.4-gd php7.4-json php7.4-curl php7.4-zip php7.4-xml php7.4-mbstring php7.4-bz2 php7.4-intl php7.4-bcmath php7.4-gmp
Finally, restart Apache
sudo systemctl restart apache2
Enable HTTPS on NextCloud
In order to enable HTTPS access to the NextCloud server, do the following.
First, let’s make sure that port 80 and 443 is allowed through the firewall.
sudo iptables -I INPUT -p tcp --dport 80 -j ACCEPT
sudo iptables -I INPUT -p tcp --dport 443 -j ACCEPT
Install Let’s Encrypt on Ubuntu 20.04
sudo apt install certbot python3-certbot-apache
Obtain certificate
sudo certbot --apache --agree-tos --redirect --staple-ocsp --email admin@manjaro.site -d nextcloud.manjaro.site
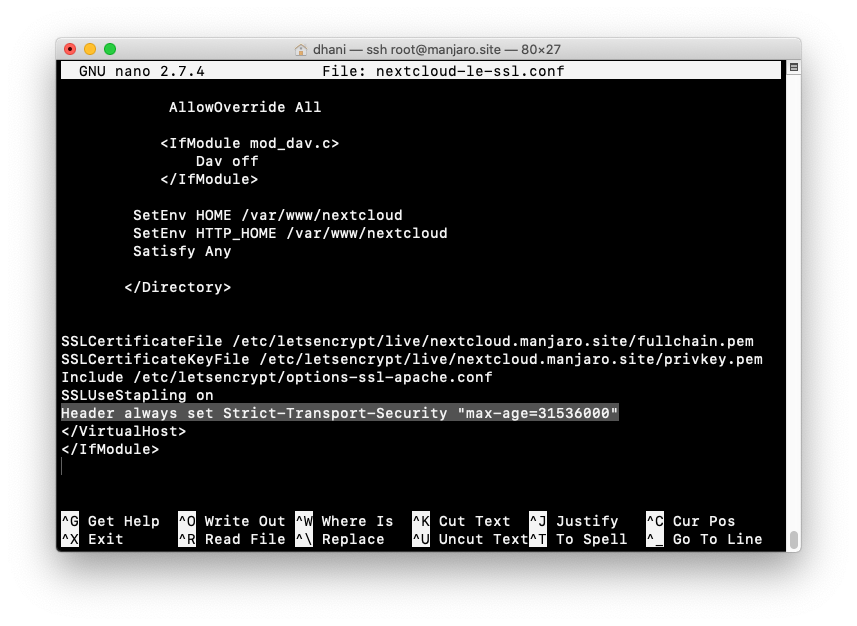
Edit the nextcloud-le-ssl.conf
sudo nano /etc/apache2/sites-available/nextcloud-le-ssl.conf
And then copy and paste the following line
Header always set Strict-Transport-Security "max-age=31536000"

Restart Apache
sudo systemctl restart apache2
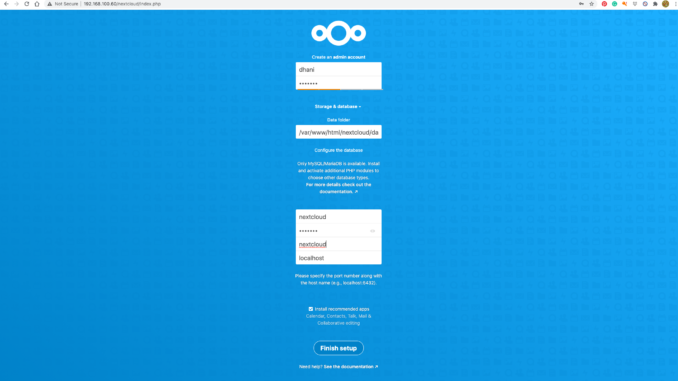
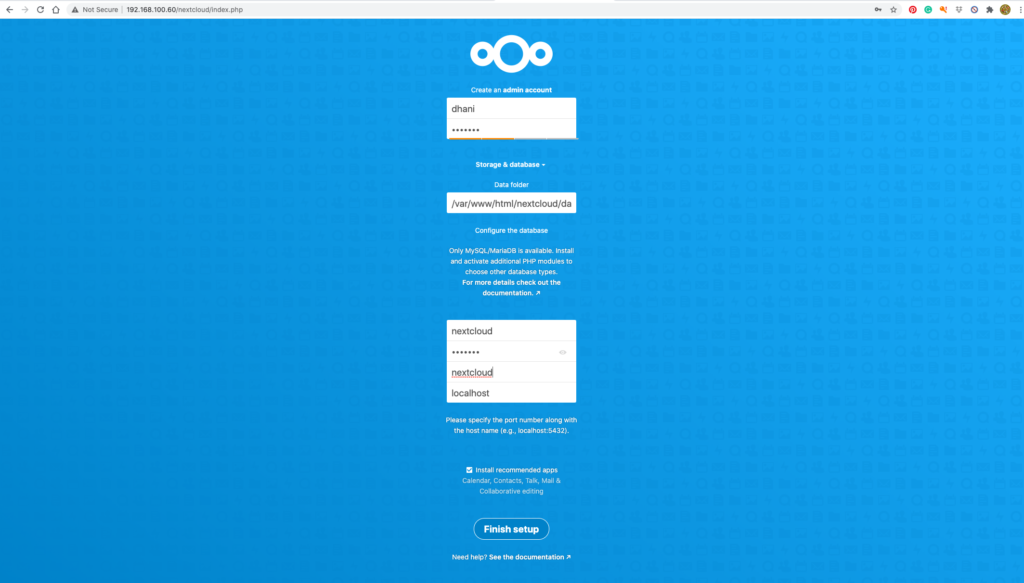
Now open the web browser and type the server address. In this example, my Nextcloud address would be
https://nextcloud.manjaro.site

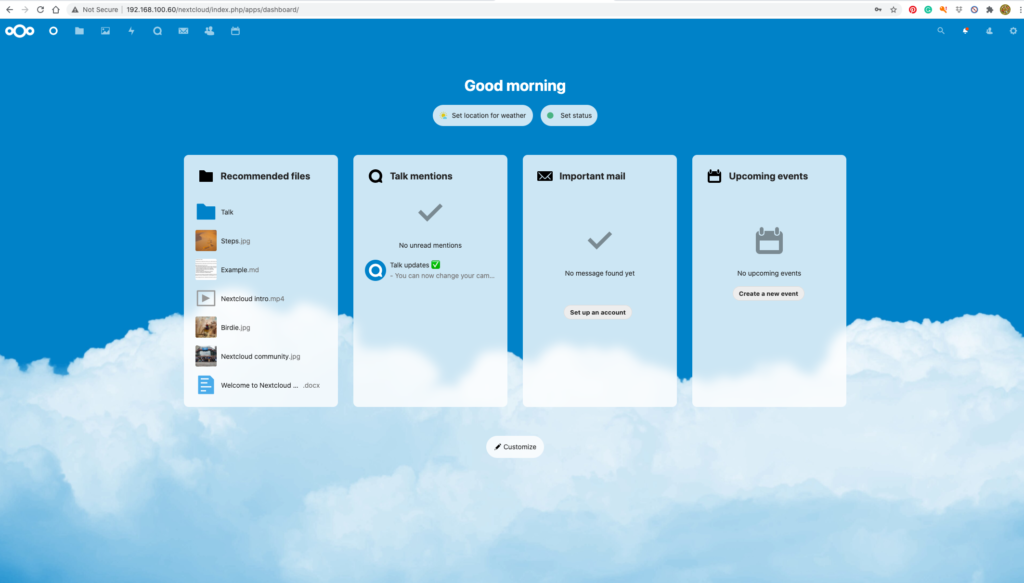
Enter the details on that page to configure NextCloud for the first time. Finally, enjoy NextCloud.

Done. Enjoy NextCloud on Ubuntu 20.04 with HTTPS security enabled.

Leave a Reply