Hello everyone, in this article I will guide you on how to install PostgreSQL Server on Linux Mint 20. Linux Mint 20 is a great Linux desktop but we can also use it for server use. Installing PostgreSQL Server is pretty much easy. I have been using PostgreSQL Server to store my spatial database. The PostGIS extension is very helpful for GIS professionals. It supports many GIS software such as MapInfo Professional, QGIS, Global Mapper, and many more. Please check out my GIS Tutorial website for more articles about GIS.
Steps to Install PostgreSQL Server on Linux Mint 20
First, we need to update our system using apt update command. This will ensure we have the latest package available for the installation.
sudo apt update
sudo apt upgrade
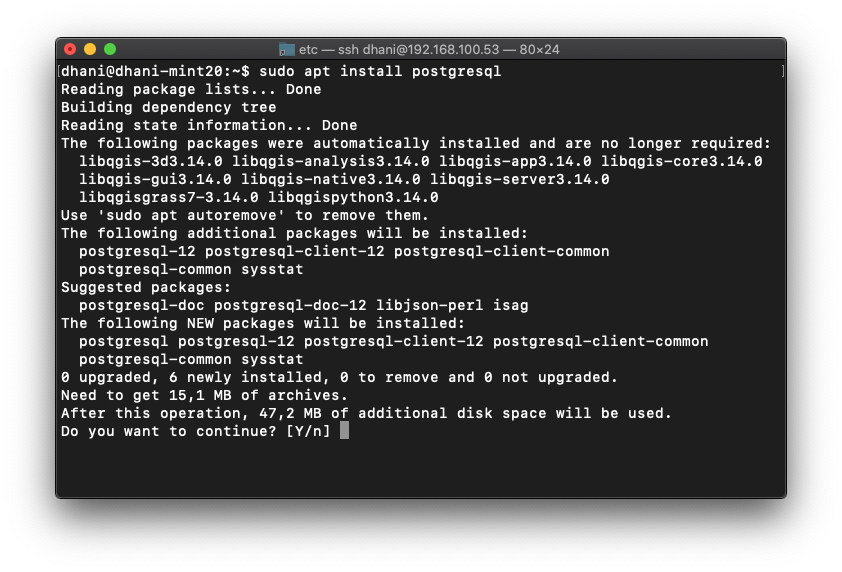
Next, lets install Postgresql server with this command
sudo apt install postgresql

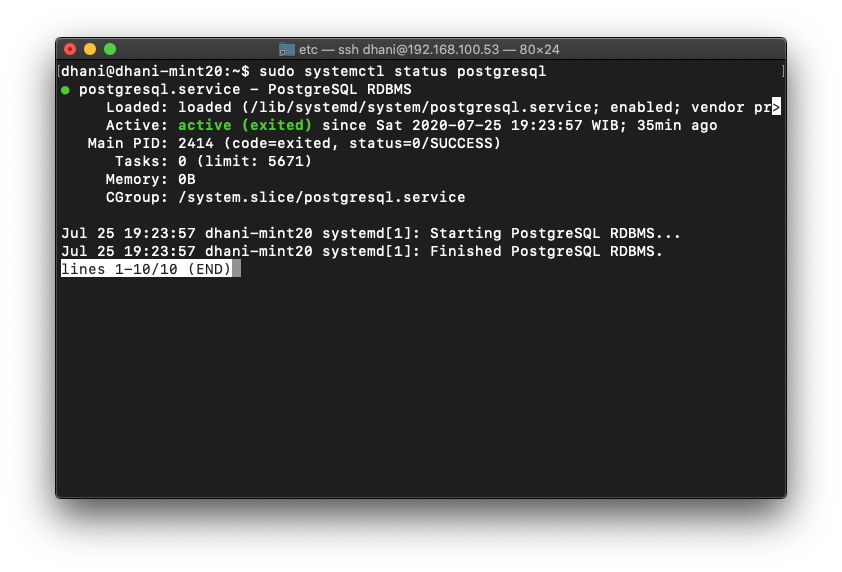
Wait until the installation process completes. Now make sure the service is up and running.
sudo systemctl status postgresql

Next, let’s try to login to the Postgresql Server.
sudo -i -u postgres
and run the psql command
psql
Now you are entering the Postgresql console. To exit, type
postgres=# \q
Done. At this point, you have successfully installed Postgresql Server on Linux Mint 20. Now let’s create a new user.
Create a new user (role)
postgres=# CREATE USER dhani WITH PASSWORD '12345';
CREATE ROLE
The command will create a new user called dhani with password 12345. You can modify it for your own purposes.
Change postgres user password
By default, postgres user does not have a password. We can create a new one
postgres=# ALTER USER postgres WITH PASSWORD '12345';
ALTER ROLE
Create a new database
postgres=# CREATE DATABASE gis;
CREATE DATABASE
The command will create a new database called gis.
Enable Remote Access to PostgreSQL Server
If you want the server to be accessible from the network, you will need to edit the configuration files below.
pg_hba.conf
sudo nano /etc/postgres/12/main/pg_hba.conf
Add the following line to the pg_hba.conf file. This will allow the server to be accessed from anywhere, including the internet. Change it accordingly if you want something else.
host all all 0.0.0.0/0 md5
postgres.conf
sudo nano /etc/postgresql/12/main/postgres.conf
Add this line to it
listen_addresses = '*'
Now restart the server
sudo systemctl restart postgresql
So that’s is. Thanks for reading this tutorial to install PostgreSQL Server on Linux Mint.

Leave a Reply