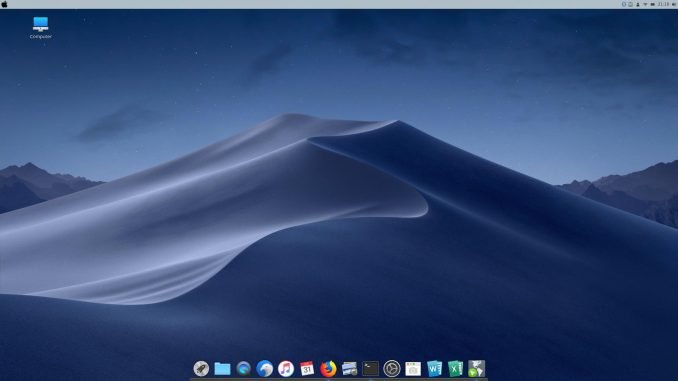
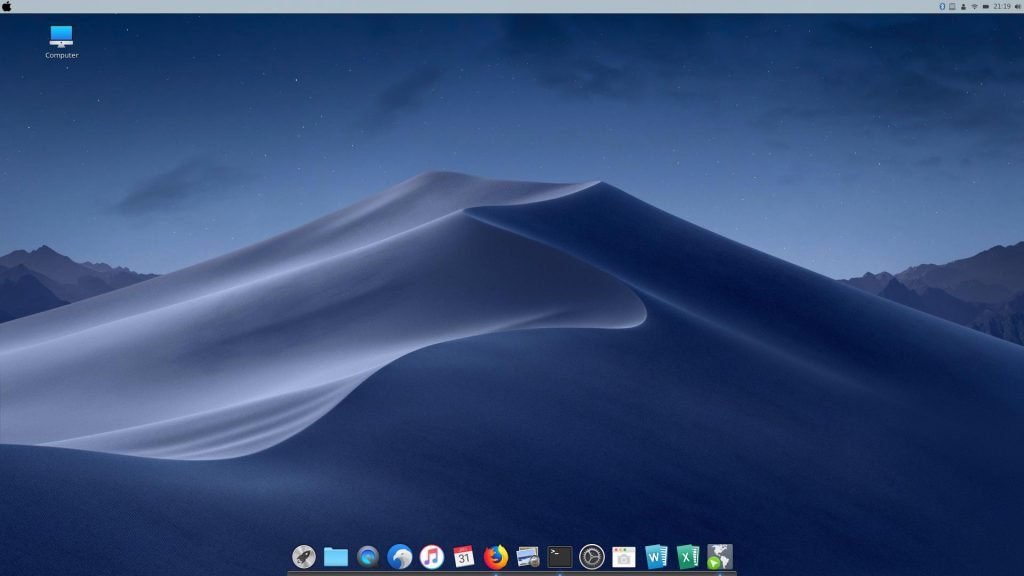
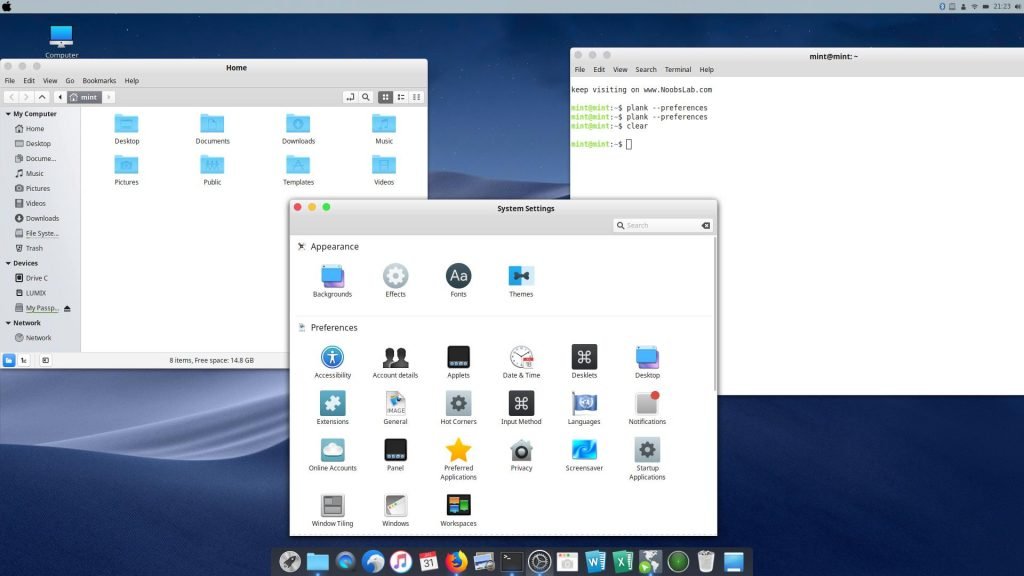
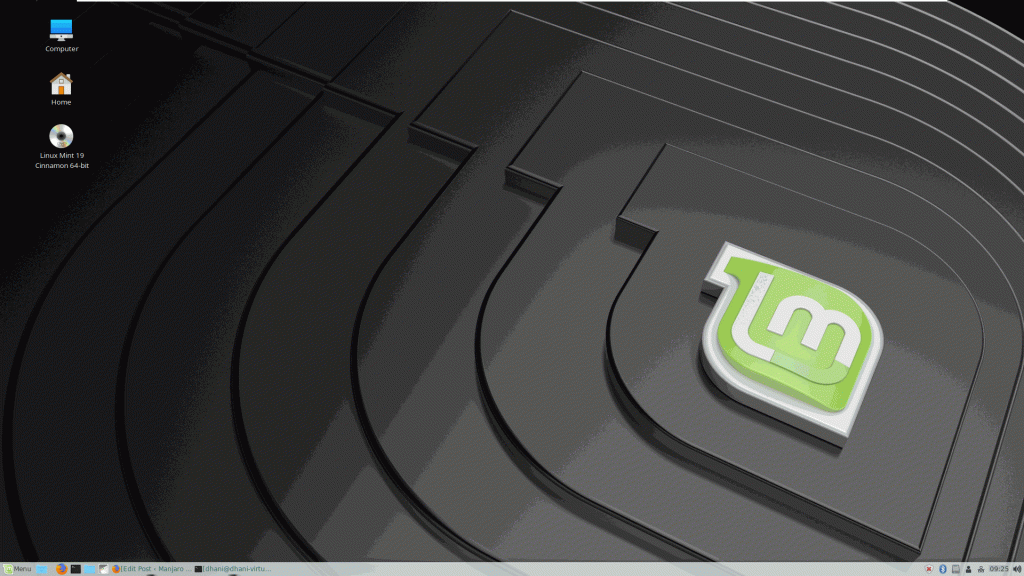
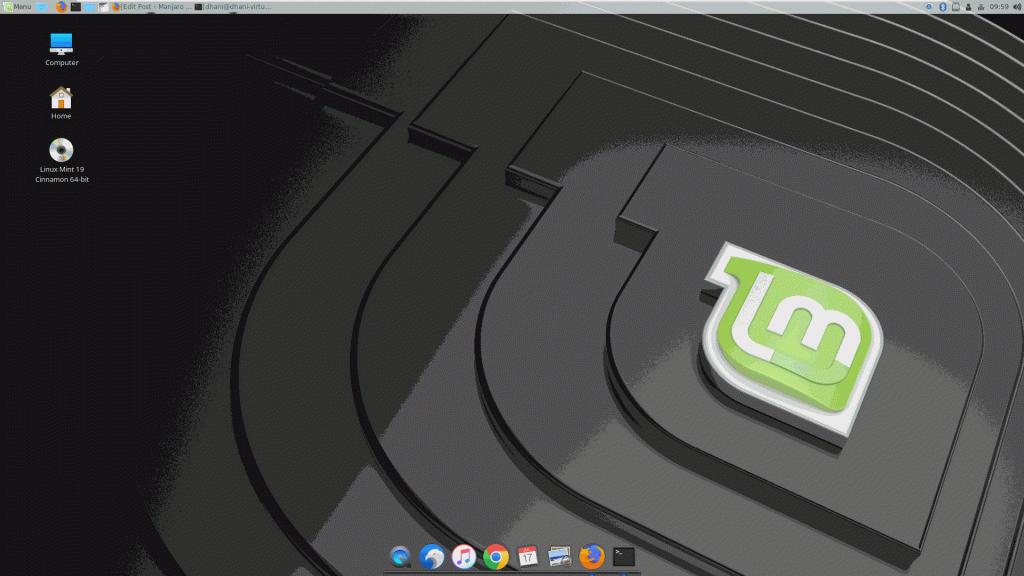
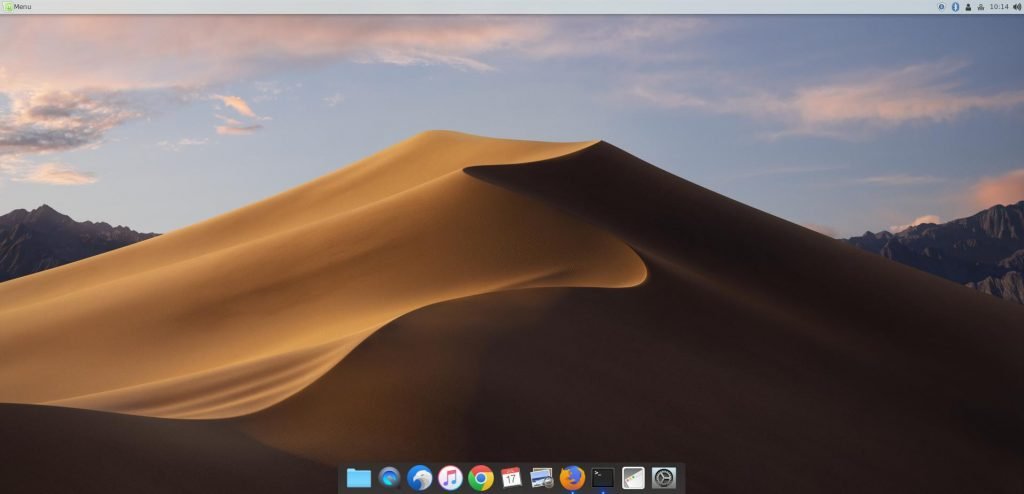
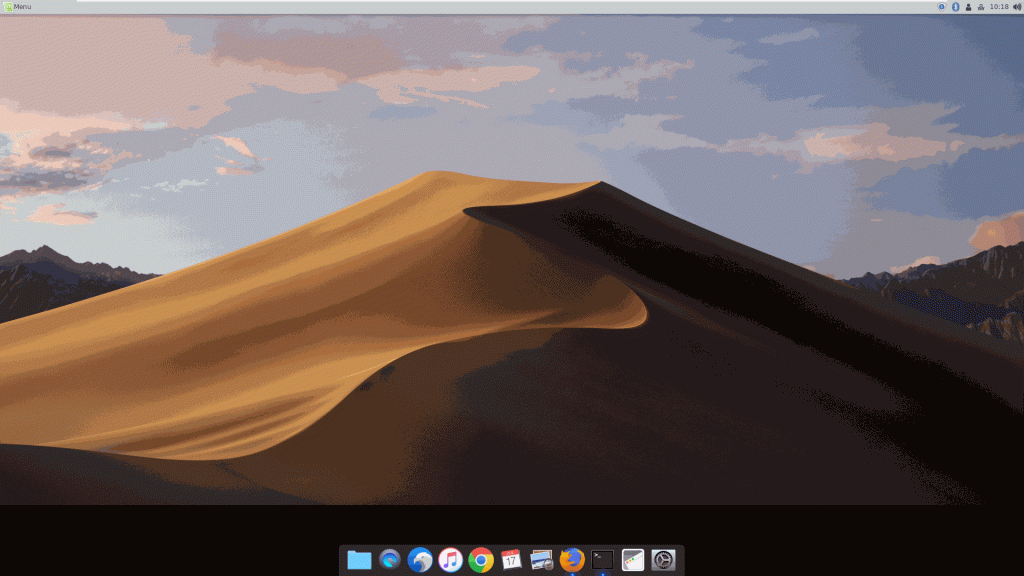
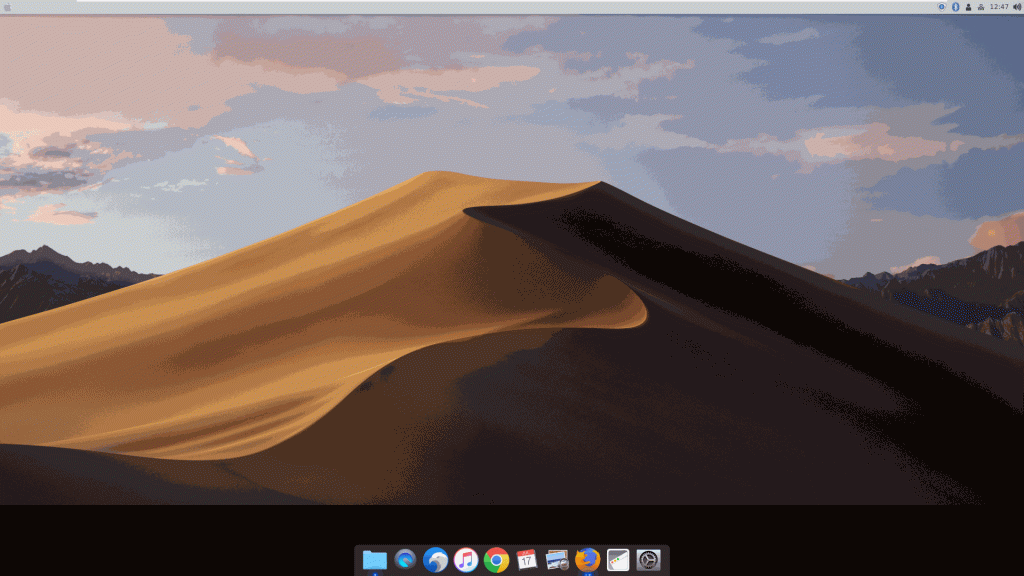
It’s been a week I am using the new Linux Mint 19 on my laptop. So far, I am very satisfied with the performance of my Linux Mint 19 laptop. It is very fast, lightweight and also very beautiful. Overall I love the Cinnamon desktop even I do not like the Application menu. I prefer the Gnome style for the application menu. Also, I don’t like the default Linux Mint 19 theme and icon theme. It is not bad, it’s just not my style. I always use the Mac OS X theme on almost every Linux distribution I use. So, this article will be about how to make Linux Mint 19 looks like Mac OS X Mojave. before we go through the installation and modification, here are some screenshots of my Linux Mint 19 with Mac OS X theme.
If you like Mac OS X Mojave theme, you may follow my guide below to make your Linux Mint 19 looks like Mac OS X Mojave. There are some steps that requires typing some commands on Terminal. But even if you are new to Linux Mint, you should be able to follow my guide. This guide has been modified from the original and most popular MacBuntu 18.04 Transformation Pack by Noobslab Team. They provide a complete, almost perfect Mac OS X style for Ubuntu and derivatives. You should check their website.
If you like the dark version, it is also available.
Steps to make Linux Mint 19 Looks Like Mac OS X Mojave
Step 1. Install the Mac OS GTK3 Theme and Icon Theme
The easiest way to install the Mac OS X Theme and Icon Theme is by using the PPA provided by Nooblabs team. Open Terminal and then execute this command to install the required theme
sudo add-apt-repository ppa:noobslab/macbuntu
sudo apt-get update
sudo apt-get install macbuntu-os-icons-v1804
sudo apt-get install macbuntu-os-ithemes-v1804
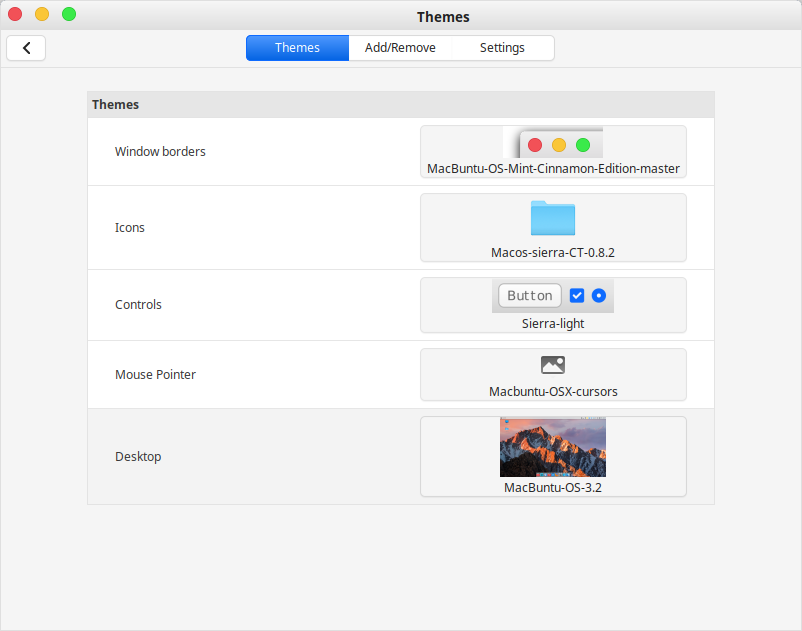
The command will install the macbuntu icon theme and gtk3 theme. Once the installation completes, open System Settings and then go to Themes. Now change the Window borders, Icons, Control, Mouse Pointer and Desktop with the Macbuntu. There are several macbuntu theme versions. You are free to try and select which the best for you.
At this point, your window border now should looks like Mac OS X. But to make it even better, continue with the following steps
Step 2. Install Plank and Theme
Plank is a Mac style dock that usually appear at the bottom of the screen. Before we install this dock, we better move the default Linux Mint panel to the top. Watch the following animated picture to see how to move the panel. Click the image to see the full size.
Now let’s install plank
sudo apt install plank
Now run Plank from the application menu. Now you should have Plank dock on your screen.
Change Plank Theme
Now, let’s install the Plank theme so it looks like the Mac OS X.
sudo add-apt-repository ppa:noobslab/macbuntu
sudo apt-get update
sudo apt-get install macbuntu-os-plank-theme-v1804
Now let’s change the Plank theme. Execute this command on Terminal to open the Plank’s preferences
plank --preferences
Download Mac OS X Wallpaper
To make it more Mac OS X look alike, you can download the Mac OS X Wallpaper from this link. There are some great wallpaper in 5K that will make your Linux Mint looks like Mac OS X Mojave. As you can see, it’s better now.
Change the Linux Mint Custom Menu
On the picture above, you still can see the Linux Mint menu at the top left corner. Let’s change it to Mac icon. You can download the .PNG file from this link. And then right click the Menu at the top left corner and select Configure.
Install Mac Fonts
To install the Mac style fonts, use the following command to download and install the Mac fonts. These are not the official Mac fonts but at least it looks pretty similar.
wget -O mac-fonts.zip http://drive.noobslab.com/data/Mac/macfonts.zip
sudo unzip mac-fonts.zip -d /usr/share/fonts; rm mac-fonts.zip
sudo fc-cache -f -v
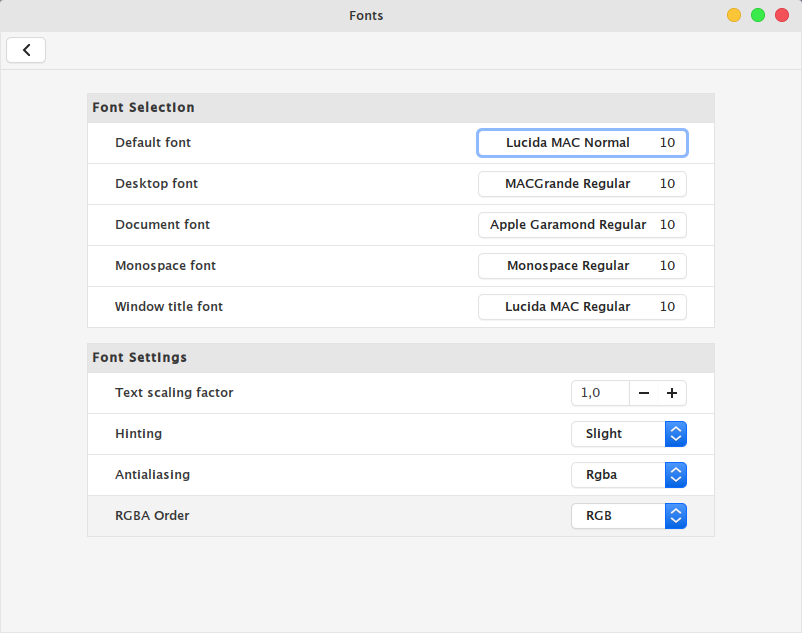
Now let’s apply our new fonts. Open System Settings and click Fonts. Change the system fonts as you like. Here is my settings.
Install Slingscold Application Launcher
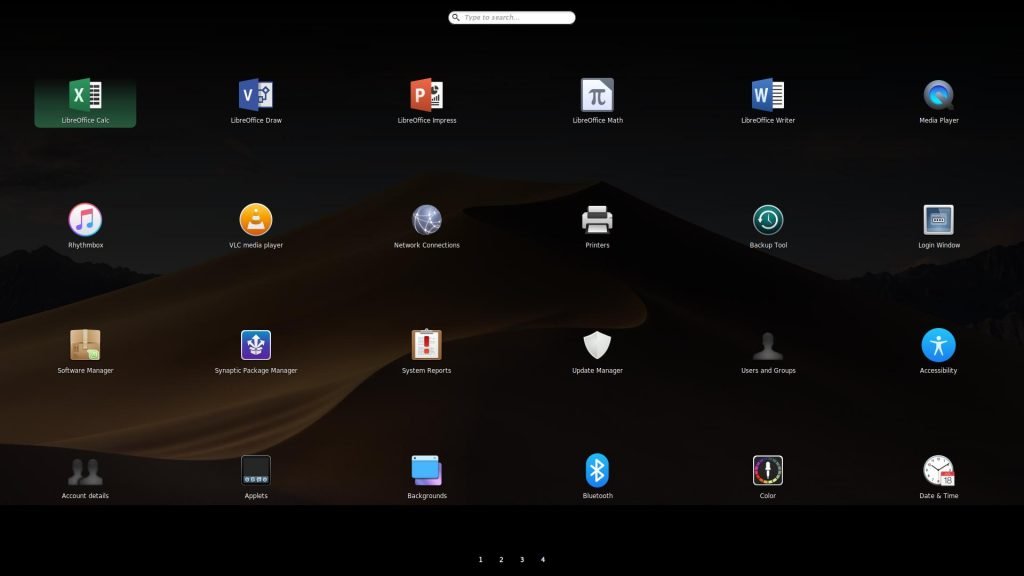
Slingscold is a Mac style application launcher. It is a full screen launcher that will change the way you access or open your installed applications. Here is the Slingscold in action. Pretty cool right?
To install the Slingscold, use the following command:
sudo add-apt-repository ppa:noobslab/macbuntu
sudo apt update
sudo apt install slingscold
Now, this is a tricky part. To add Slingscold shortcut/icon to the Plank dock, you will need to manually drag and drop the Slingscold icon from the /usr/share/applications folder. See how I do it below
That’s it. I am pretty satisfied with the result I get here. My Linux Mint 19 now looks like Mac OS X Mojave. It’s not perfect but it’s pretty good. Thank you for reading, share the article if you like it and keep support us.


Fanks! It’s very cool! I’m installing to my Ubuntu by you tutorial! Hello from Kazakhastan,Almaty city
Will it work with Xfce desktop? Else I need to install the Cinnamon in my Mint
fanks!, Bro.
It actually works. Many many thanks. May the mighty forces of the mango trees in the world be with you
как после добавления дока, выключить терминал чтобы док не рухнул вместе с ним?
Sorry, just I’m from Russia, and I want to say “Thank u, Great Wizard”)
Thank you!! You are awesome!! I love how my desktop looks now!! Keep up the good work you do!!
When typing “plank –preferences” the plank shows up but as soon as I close the terminal the plank disappear. Any clues why?
Vím jak to opravit – vytvoř na ploše spouštěč, (Pravé tlačítko – Vytvořit spouštěč), a napiš do “Příkaz :” “plank –preferences” – ale vypni volbu “Spouštět v terminálu”. Potom jen otevři spouštěč, zavři nastavení a hotovo !
Try this:
1. Open Plank.
2. Press and hold CTRL and press with the right mouse button on the plank.
3. Press preferences.
Thanks a lot! I have just moved to Linux Mint, any idea to fix blurry fonts as well? they dont look as good as on windows
hello
I read your blog it is very useful for me.I wish you for next time you write many blog which give many information for people.