I haven’t written an article about Debian 11 tutorial on this blog. Today, we are going to learn how to install WordPress on Debian 11. I have just created a new Linode server and I want to use it for my new blog. I prefer to manage and install all the installations by myself. If you want to start your own blog without any complicated limitations from the web hosting provider, I would recommend you to build your own web server and then install WordPress on it. Debian 11 is a great choice for the server OS. It is stable and powerful.
Steps to install WordPress on Debian 11
This would be a long article because I will try to explain every step that I took to build my WordPress-powered website on Debian 11. I assume you already had a server in the cloud with Debian 11 installed on it. Please check out the Linode website to find the low price cloud server you can run in a matter of seconds. In this article, we will learn the following:
- Install LAMP Server
- Install WordPress
- Configure HTTPS for WordPress
Step 1. Install LAMP Server on Debian 11
Install Apache Web Server
Before we do the installation, it is recommended to update our system. Log in to the cloud server via SSH and then use this update command
apt update && apt upgrade
Next, we are going to install Apache Web Server on Debian 11 server
apt install apache2
Now start the webserver and enable it during system boot
systemctl start apache2
systemctl enable apache2
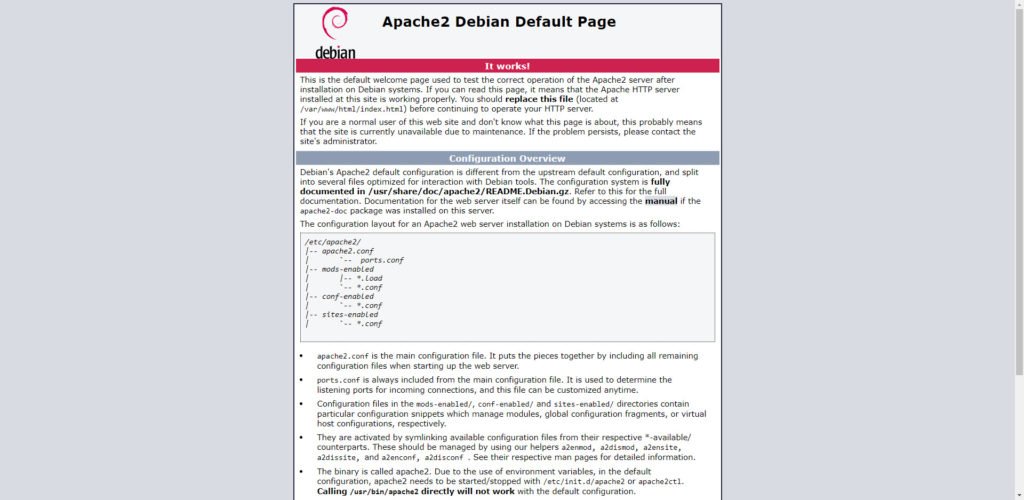
You can check if the Apache webserver is up and running by visiting the IP address of the cloud server using your web browser. Simply type the IP address of the server on a web browser. You should see something like this if the Apache webserver is up and running.

Install PHP 8
In this article, we will install PHP 8. But unfortunately, PHP 8 is not available through default Debian 11 repository. But don’t worry, we will sort this out.
Install file dependencies
apt-get install gnupg2 ca-certificates apt-transport-https software-properties-common -y
Add PHP repository
echo "deb https://packages.sury.org/php/ $(lsb_release -sc) main" | tee /etc/apt/sources.list.d/php.list
wget -qO - https://packages.sury.org/php/apt.gpg | apt-key add -
Install PHP 8.0 and some modules
apt update
apt-get install php libapache2-mod-php php-pear php-cgi php-common php-mbstring php-zip php-net-socket php-gd php-mysql php-bcmath unzip wget git -y
Now check the PHP version with this command
php -v
You should see something like this
PHP 8.1.4 (cli) (built: Mar 20 2022 16:52:39) (NTS)
Copyright (c) The PHP Group
Zend Engine v4.1.4, Copyright (c) Zend Technologies
with Zend OPcache v8.1.4, Copyright (c), by Zend Technologies
Install MariaDB Database Server
Now let’s install the database server. We will use the MariaDB, a fork of MySQL Database server.
apt-get install mariadb-server mariadb-client -y
Now start and enable MariaDB
systemctl start mariadb
systemctl enable mariadb
Now let’s secure MariaDB installation with this command.
mysql_secure_installation
You will need to answer some questions and create a new MariaDB root password
Switch to unix_socket authentication [Y/n] n
Change the root password? [Y/n] y
Remove anonymous users? [Y/n] y
Disallow root login remotely? [Y/n] n
Remove test database and access to it? [Y/n] y
Reload privilege tables now? [Y/n] y
At this point, we have successfully installed MariaDB database server.
Create WordPress Database
We need to create a new database to store WordPress data.
mysql -u root -p
Now create a new database called wordpress
CREATE DATABASE wordpress;
Now grant the privileges to the wordpressuser
GRANT ALL PRIVILEGES ON wordpress.* TO wordpressuser@localhost IDENTIFIED BY 'YourPassword';
FLUSH PRIVILEGES;
QUIT;
Step 2. Install WordPress
In the following steps, we are going to download and install WordPress. First, cd to the correct directory
cd /var/www/html
Now download the latest version of WordPress
wget https://wordpress.org/latest.zip
Now extract the zip package
unzip latest.zip
Now rename the wordpress folder created from the command above. Please change v-tech.id with your actual domain name.
mv wordpress v-tech.id
Now navigate to yourdomain.com and then copy the sample config
cd v-tech.id
cp wp-config-sample.php wp-config.php
Now let’s edit the wp-config.php and change the database settings based on our database we created earlier.
nano wp-config.php
Now type the correct database, user as well as database password here.
define( 'DB_NAME', 'wordpress' );
define( 'DB_USER', 'wordpressuser' );
define( 'DB_PASSWORD', 'YourPassword' );
define( 'DB_HOST', 'localhost' );
Done. Now close the editor using CTRL + X combination.
Now change the ownership of the v-tech.id folder to www-data
chown -R www-data:www-data /var/www/html/v-tech.id
Create Apache VirtualHost for WordPress
Now let’s create a new VirtualHost for our WordPress site.
nano /etc/apache2/sites-available/v-tech.id.conf
Now add the following lines
<VirtualHost *:80>
ServerAdmin user@yourdomain.com
        ServerName v-tech.id
        DocumentRoot /var/www/html/v-tech.id

        <Directory "/var/www/html/v-tech.id">
             AllowOverride All
        </Directory>

        ErrorLog ${APACHE_LOG_DIR}/yourdomain.error.log
        CustomLog ${APACHE_LOG_DIR}/yourdomain.access.log combined
</VirtualHost>
Now execute these three commands
a2ensite yourdomain
a2enmod rewrite
systemctl restart apache2
Enable HTTPS for WordPress
It is very important to enable the HTTPS for our WordPress site. We are going to install Let’s Encrypt for our WordPress site.
apt-get install certbot python3-certbot-apache -y
Now use this command
certbot --apache --agree-tos --redirect --hsts --uir --staple-ocsp --email user@yourdomain.com -d v-tech.id,www.v-tech.id
Make sure there is no error during the verification process.
Install WordPress via Web Interface.
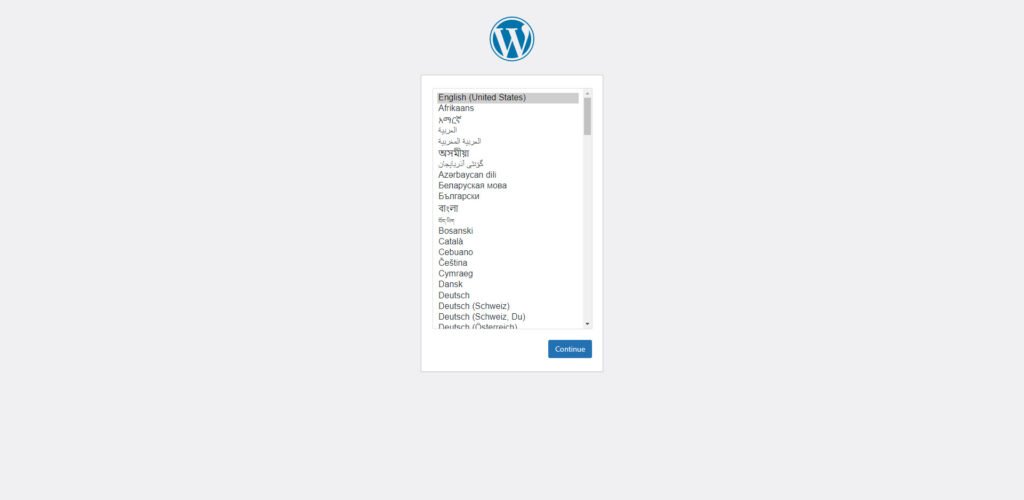
Now let’s access our WordPress site. We are going to perform the installation. Type the IP address or the domain name. You should see the following page.

Choose the installation language

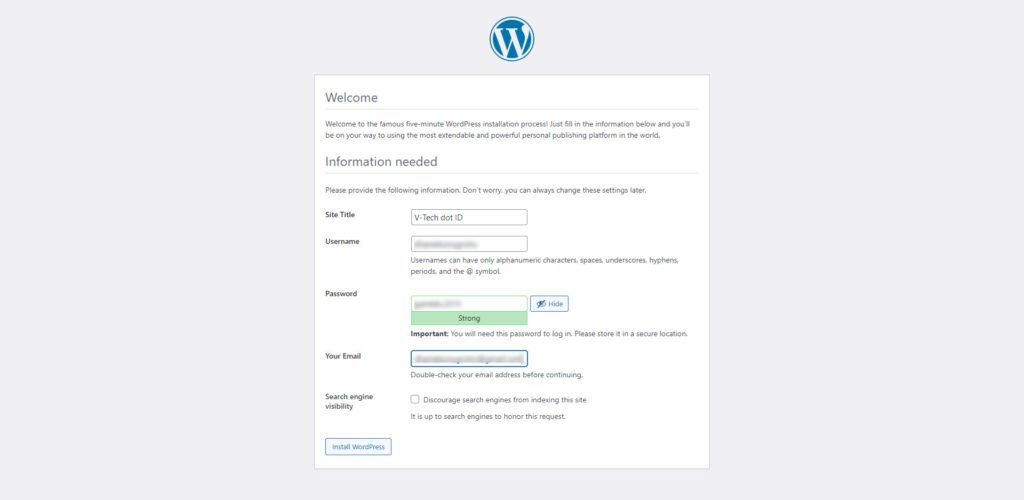
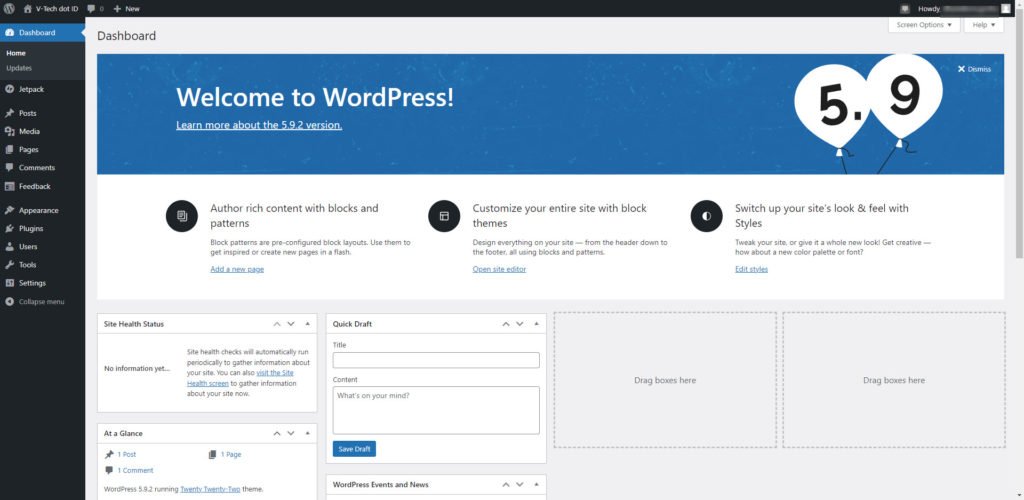
Click Install WordPress and wait until the installation process completes. Now enjoy WordPress. To access the admin page, use the following address:
https://yourdomain.com/wp-admin

Thanks for reading this article to install WordPress on Debian 11 server. Please drop me a comment if you need more information about this. Cheers.

Leave a Reply