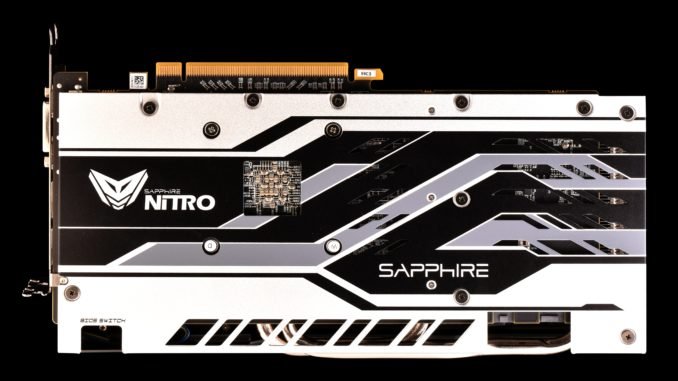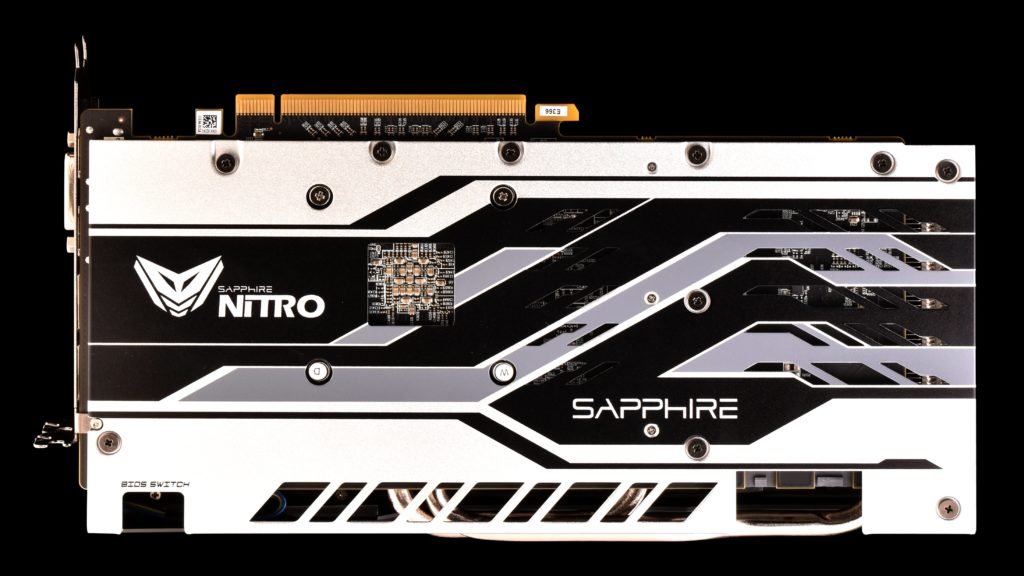
Yesterday, suddenly my graphic card stop working. My PC cannot boot properly. After some checking, I found that my VGA BIOS on my Sapphire Nitro+ Radeon RX 580 8 GB card has broken. Fortunately this graphic card has dual BIOS. So I can use the second BIOS to boot my PC. There is a BIOS switch located on the top of the SAPPHIRE logo. Now I try to flash the broken BIOS. Actually, flashing the VGA BIOS is not that hard. I use the TechPowerUp tool called AMD VBFLASH.
This AMD VBFLASH utility work very nice. I can install or flash the VGA BIOS to my 1st BIOS on the Sapphire Nitro+ Radeon RX 580 8 GB card. If you have this issue, you may follow my guide below. For your information, I do the flashing from Ubuntu 20.04. I created the Ubuntu 20.04 Live USB and then working from there. I do not recommend flashing from Windows.
Steps to Flash BIOS on Sapphire Nitro+ Radeon RX 580 8 GB
This guide is specific for the Sapphire Nitro+ Radeon RX 580 8 GB series with BIOS switch. If your card does not have Dual BIOS, you will need to boot your computer using the Integrated graphic card (if available) or you will need another graphic card to boot your PC.

Step 1. Create Ubuntu Live USB
You will need a working Windows or Linux or Mac to create the Ubuntu Live USB. If you are using Windows 10, you can use Rufus tool to create the Ubuntu Live USB.
Step 2. Switch the BIOS
Before booting your PC, make sure you switch the BIOS to the second BIOS (the one that is not broken) using the BIOS switch. If the second BIOS is also broken, then you cannot use this method. I will cover it in the next post.
Step 3. Boot the PC
Now boot the PC using the Ubuntu Live USB. If the second BIOS is working, you should be able to boot the PC without any issues.
Step 4. Download AMD VBFLASH utility
From Ubuntu Desktop, grab the latest version of AMD VBFLASH utility from the link below.
https://www.techpowerup.com/download/ati-atiflash/
Extract the file and you should have a new folder called amdvbflash_linux_4.69 or something like that. Inside the folder, there is a file called: amdvbflash. This is a command line tool to flash the BIOS from a Linux machine.
Step 5. Gather the BIOS Information
Next, we need to make the amdvbflash file executable. Open Terminal and then cd to the folder where you save the file. For example:
cd /home/ubuntu/Downloads/amdvbflash_linux_4.69
sudo chmod +x amdvbflash
Next, execute this command to get detailed information about your current VGA BIOS.
sudo ./amdvbflash -ai
Due take a note of the Adapter ID, Bios Version and Product Name. We will use this information later. In my case:
- Adapter ID = 0
- Bios Version is: 015.050.002.001.000000
- Product Name is: E366 Polaris20 XTX A1 GDDR5 256Mx32 8GB
Step 6. Download the Correct BIOS
With all that information above, now visit the TPU website below
https://www.techpowerup.com/vgabios/
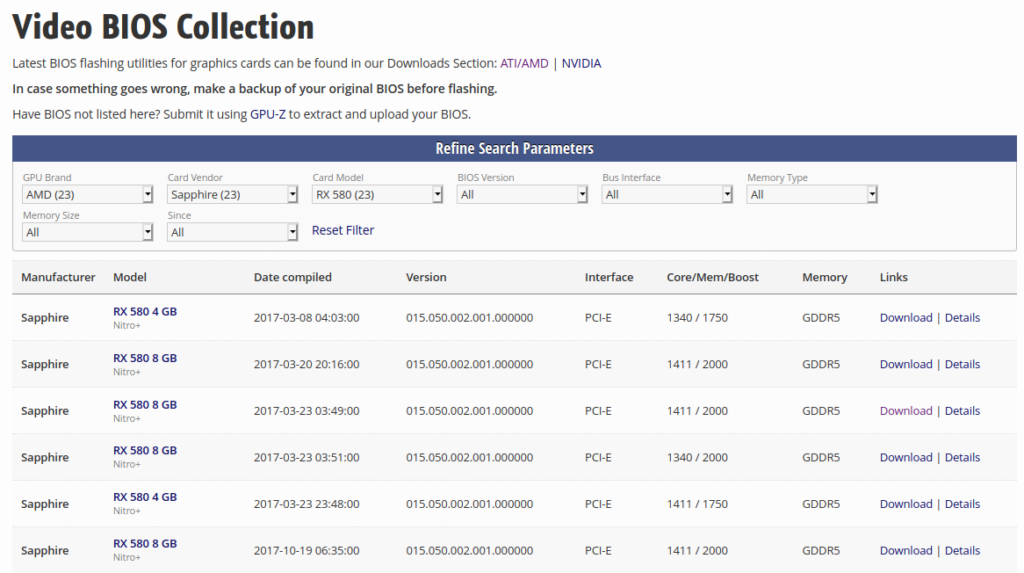
And then search for the correct graphic card using the menu on the website

Find the correct model and BIOS version. And then click Download to download the BIOS ROM file. Click Details for more information about the BIOS file.
Save the file inside the folder amdvbflash_linux_4.69 for ease of use. In my case, the ROM file name is: Sapphire.RX580.8192.170323.rom
Step 7. Flashing the BIOS
Important!!
Before we flash the BIOS, we need to switch back to the 1st BIOS (broken one). Slide the BIOS switch to the 1st BIOS while the system is ON.
First, let’s get the adapter number.
sudo ./amdvbflash -i
In my case, the adapter number/id is 0.

So, to start flashing, use this command:
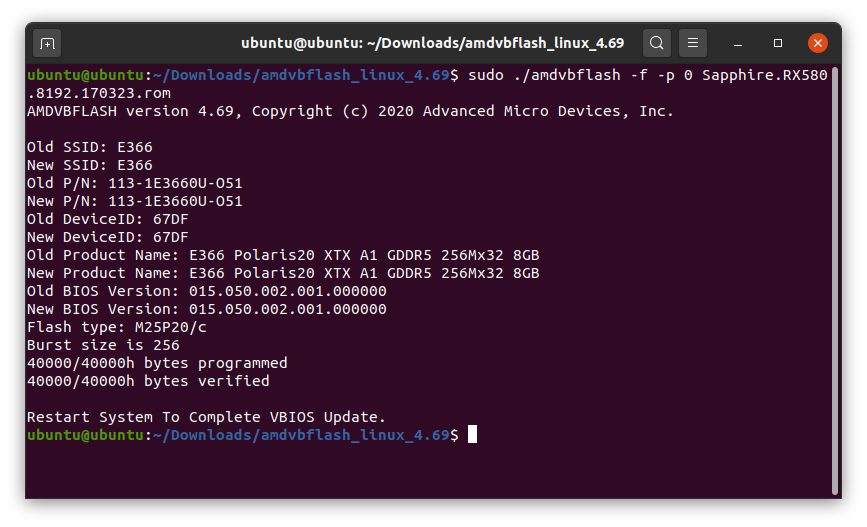
sudo ./amdvbflash -f -p 0 Sapphire.RX580.8192.170323.rom
Change 0 with your adapter ID. Also change Sapphire.RX580Sapphire.RX580.8192.170323.rom with your actual ROM file you downloaded from the previous step. If successful, it will shows something like this

Make sure there is no error and then reboot the PC to complete the flash process.
Thank you for reading this article. I hope it is useful. See you next time.


Leave a Reply