

The new Ubuntu 24.10 (Oracular Oriole) is a beautiful Linux distribution which offers a simple and elegant desktop. It comes with many new features and improvements. This 24.10 edition is a regular release, not the LTS (Long Term Support) Edition. In this article we will guide you how to install Ubuntu 24.10 in Proxmox with GPU Passthrough.
Why Proxmox?
Since we will use this Ubuntu 24.10 as a temporary testing system, it is good to have it installed in a Proxmox VE. We don’t have to worry about allocating a new physical hard disk for the Ubuntu installation as if we install it on a dedicated PC.
What is GPU Passthrough?
GPU Passthrough is a feature that allows you to connect a physical video card installed on a physical host to a virtual machine without emulation. As a result, the virtual machine can use a physical graphics adapter directly.
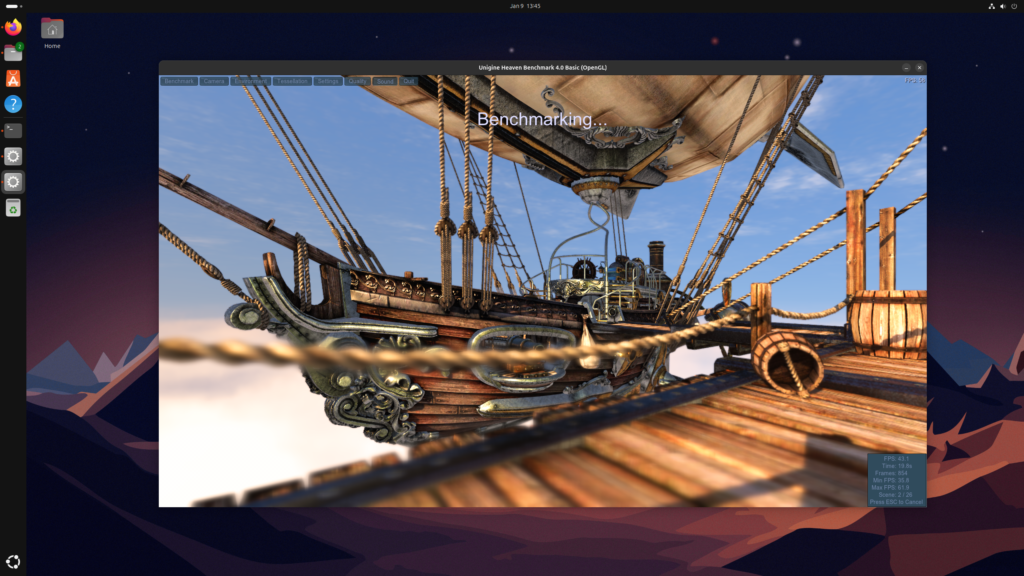
Enabling GPU Passthrough in Ubuntu 24.10 virtual machine will take you to the whole new level of virtual machine experience. Forget about slow, sluggish Desktop experience in your Ubuntu virtual machine.
Ubuntu 24.10 Installation Steps in Proxmox VE
Step 1. Download Ubuntu 24.10 ISO
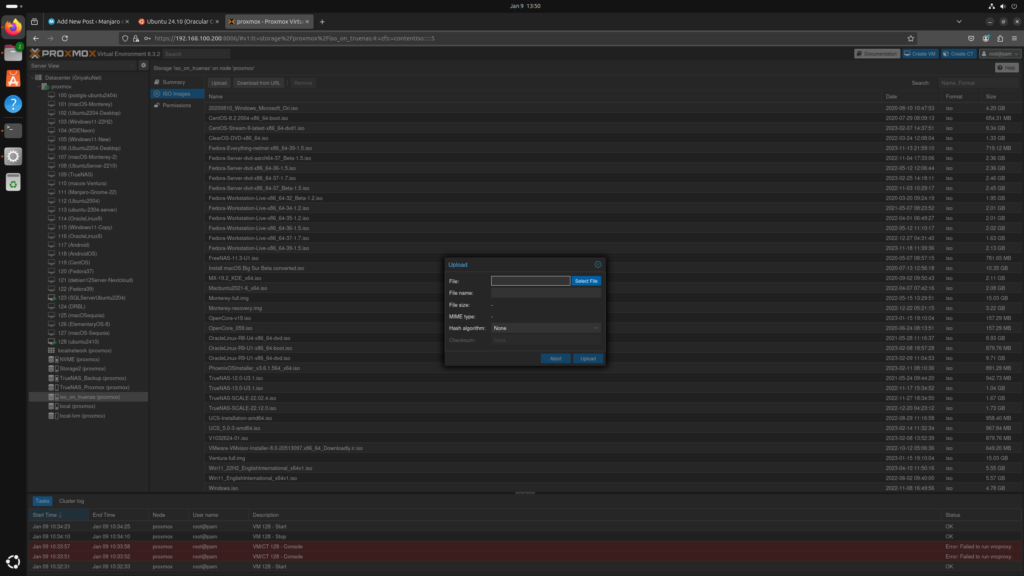
Please download the ISO if you haven’t done so. You can get the ISO file from this link. Save it and then upload it to Proxmox ISO folder. You can upload the ISO through the Proxmox web dashboard.
Step 2. Create a New Virtual Machine
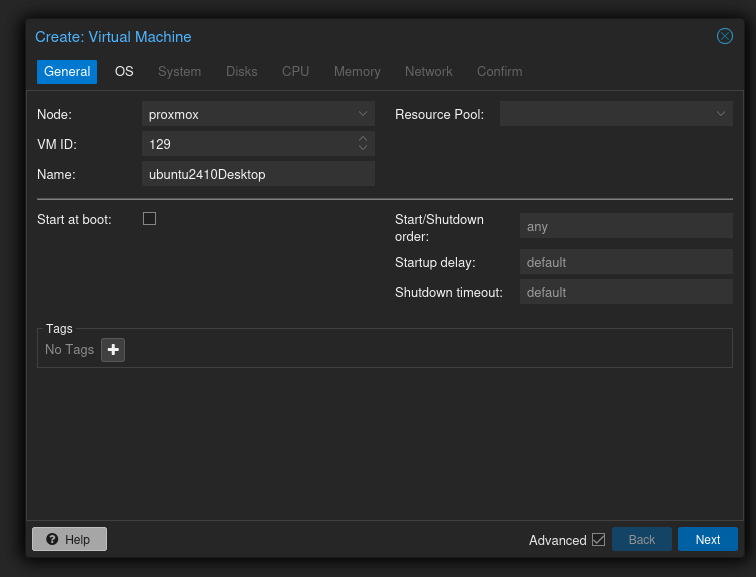
Now we need to create a new Virtual Machine for our Ubuntu 24.10. Click Create VM and then the creation wizard window will open up. Give the new virtual machine a unique name, without space. You can enable the Start at boot option if you wish.
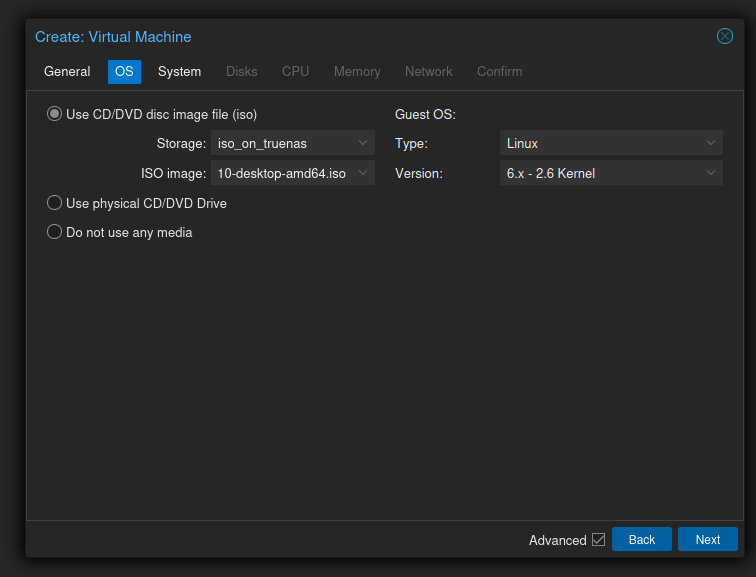
Click Next and then choose the Ubuntu 24.10 ISO from the list. Make sure the Guest OS settings are set as follows:
- Type: Linux
- Version: 6.x – 2.6 Kernel
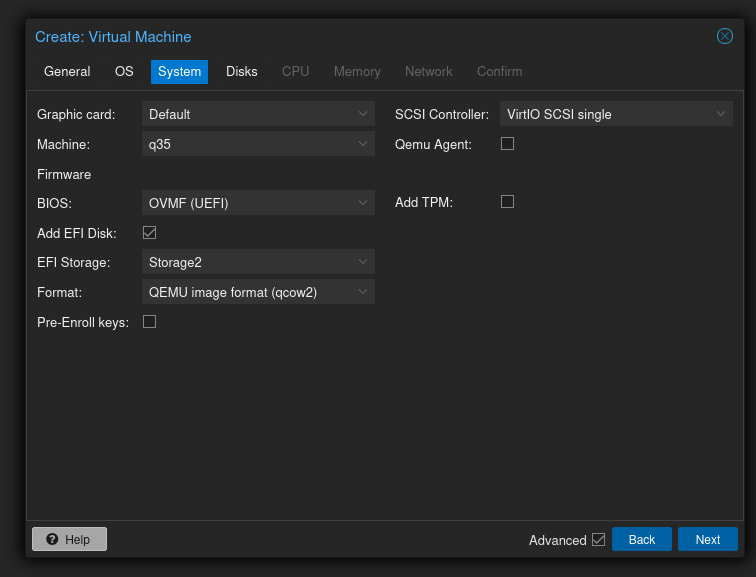
Next we need to set the System. I would recommend to use the following settings in this page:
- Graphic card: Default
- Machine: q35
- BIOS: OMVF(UEFI)
- Add EFI Disk and specify where to store the EFI Disk. Leave everything else as is.
- Uncheck Pre-Enroll keys
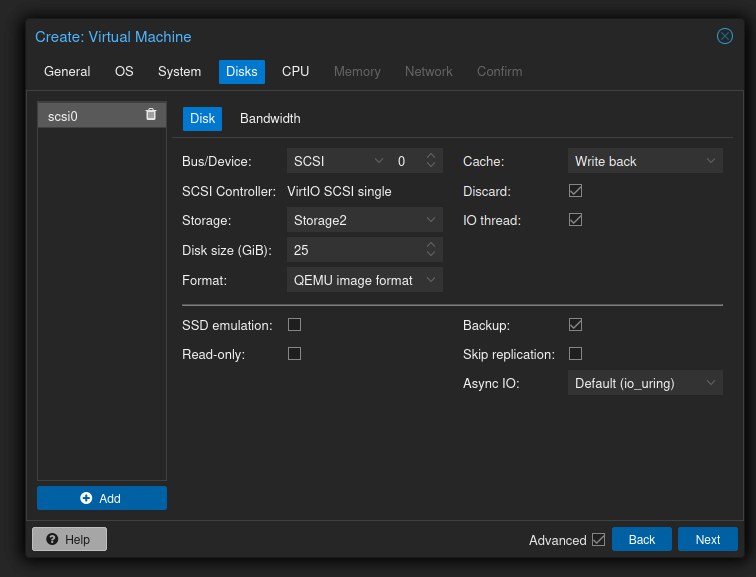
Next we need to add a new storage for our Ubuntu 24.10. The settings shown below could be different from yours. But I just want to point out the Cache option set to Write back and enable Discard.
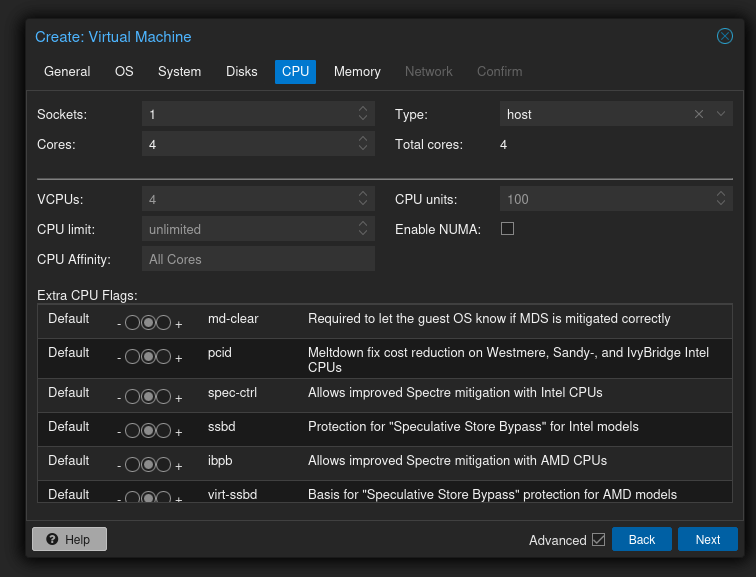
Now we are ready to set the CPU. In this case, I put 1 socket and 4 cores. Also I change the Type to Host.
Now for the memory, I assigned 4 GB. You can opt out the Balooning Device if you want. This option is basically will reduce the memory usage, and give back to the host when not being used by the virtual machine.

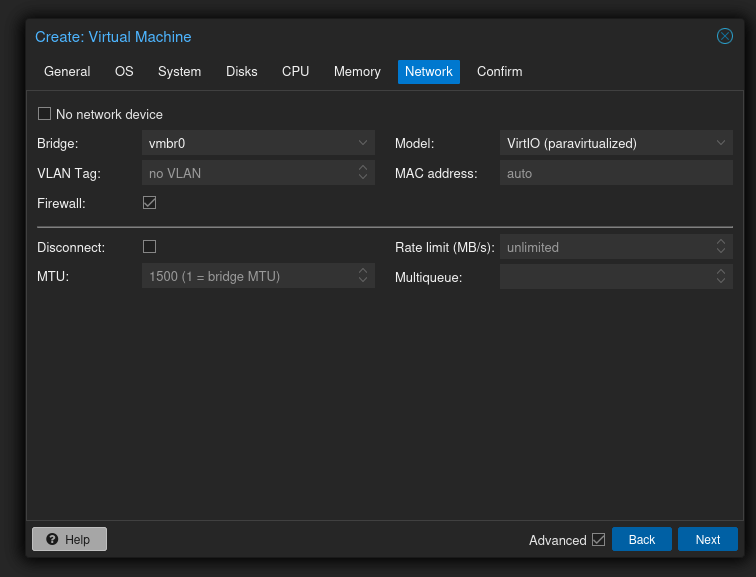
For the network, we leave everything as is
Final check
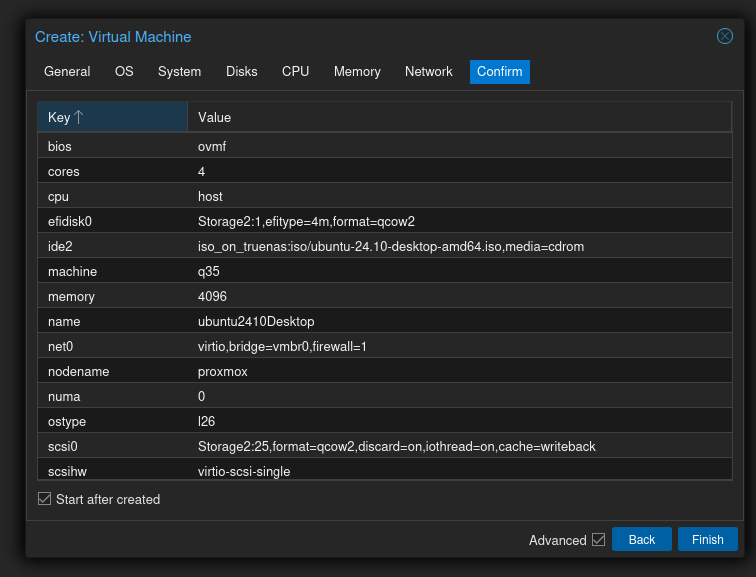
Now boot the virtual machine and click Console in the Proxmox web dashboard. Proceed with the Ubuntu 24.10 installation process. You can watch the following video for the complete steps explained in this article.
I made a complete video on how to install Ubuntu 24.10 in Proxmox with GPU Passthrough. Enable the translation because the video is in Bahasa.
Leave a Reply