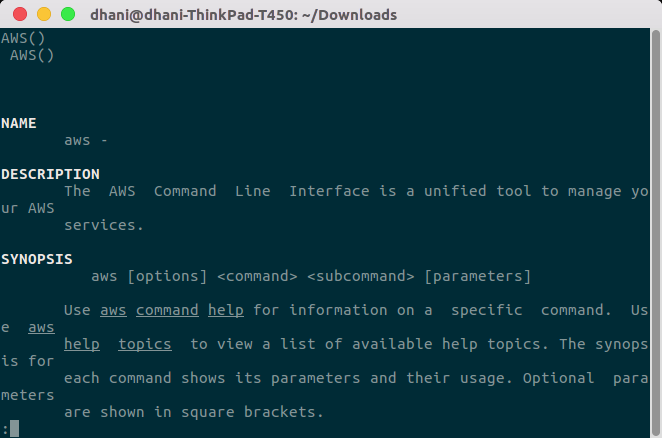
Hello everyone, today we will learn how to install AWS CLI on Ubuntu 16.04. Amazon CLI is a great command line tool for managing various Amazon AWS services. It’s pretty handy to access and manage the Amazon services directly from Terminal console on Linux. Before we go through the installation let’s take a look at the AWS Command line basic.
What is AWS Command Line Interface (CLI) ?
AWS CLI is set of open source tool that is built on top of Amazon AWS SDK for Python. It provides users the interactive way to communicate with the AWS. This CLI can be accessed from various shell programs such as Bash, Zsh and tsch. If you are using Windows, you can run the commands using PowerShell or Windows command processor. You can use Putty to interact with your AWS from Windows. For more information, please visit the official information about AWS CLI.
How to install AWS CLI on Ubuntu 16.04?
Install pip
Before we can actually install AWS CLI, we need to install some other packages on Ubuntu. We need to install pip, python and some other related packages. See how to install pip on Ubuntu 16.04.
Install AWS CLI
Once pip is installed, we can now continue to install AWS CLI. Execute the following command on Terminal:
pip install awscli --upgrade --user
Wait few seconds until the installation process is completed. Now check the aws version
aws --version
Output:
dhani@dhani-ThinkPad-T450:~/Downloads$ aws --version
aws-cli/1.11.82 Python/2.7.12 Linux/4.4.0-93-generic botocore/1.5.45
OK, at this point aws cli is installed. If you are willing to uninstall it, use this command.
pip uninstall awscli
For more information about aws cli, please visit the official Amazon AWS CLI User Guide. Thanks for reading this how to install AWS CLI on Ubuntu 16.04. See you on the next tutorial.


Leave a Reply