

The new Fedora 41 is now available. But I still have an old Fedora 39 virtual machine on my Proxmox. Now I want to upgrade my VM from Fedora 39 to Fedora 40. And then perhaps I will upgrade to version 41. In this guide, we’ll walk you through the process of upgrading system from Fedora 39 to Fedora 40. I hope this guide will be useful for your reference.
If you’re running Fedora 39 and wondering how to make the leap to Fedora 40 without any hassle, you’re in the right place. In this guide, I’ll show you exactly how to upgrade your system step by step. Whether you’re a long-time Fedora user or new to the Linux world, this process is simpler than you might think. Let’s get started and make sure your upgrade is smooth and stress-free!
Steps to Upgrade Fedora 39 to Fedora 40
There are few things that we need to take care prior to the upgrade especially when you have important data in the system.
Step 1. Backup Your Data
Although Fedora’s upgrade process is reliable, it’s always a good idea to back up your critical files and settings. Use tools like rsync, Deja Dup, or simply copy your data to an external drive or cloud storage.
Step 2. Check Current Fedora Version
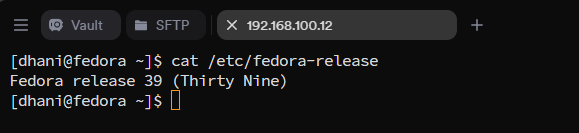
Open Terminal and run the following command to confirm you’re on Fedora 39
cat /etc/os-releaseIt will tells you which Fedora version you are on.
Step 3. Update Your System
Make sure Fedora 39 is fully updated before starting the upgrade process. Run:
sudo dnf update -y
sudo dnf --refresh upgrade
Reboot your system
sudo rebootStep 4. Install DNF Plugin for System Upgrades
The DNF system upgrade plugin simplifies the process. If it’s not already installed, add it using this command.
sudo dnf install dnf-plugin-system-upgrade -yIn most cases, this DNF system is already installed.
Step 5. Download Fedora 40 Upgrade packages
sudo dnf system-upgrade download --releasever=40This will download Fedora 40 and all necessary files

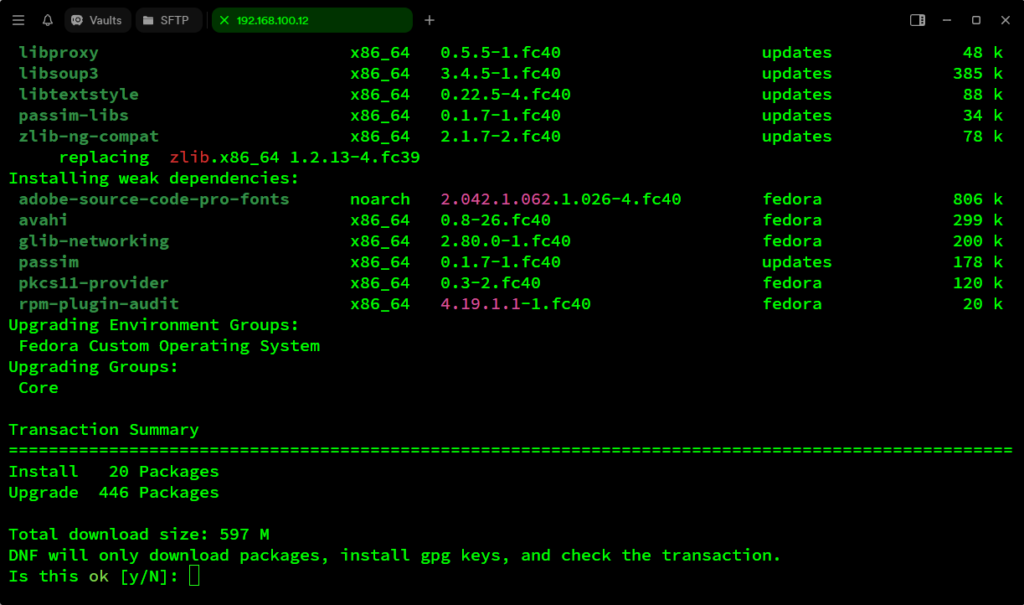
Wait until the download process complete. Once complete, run this command
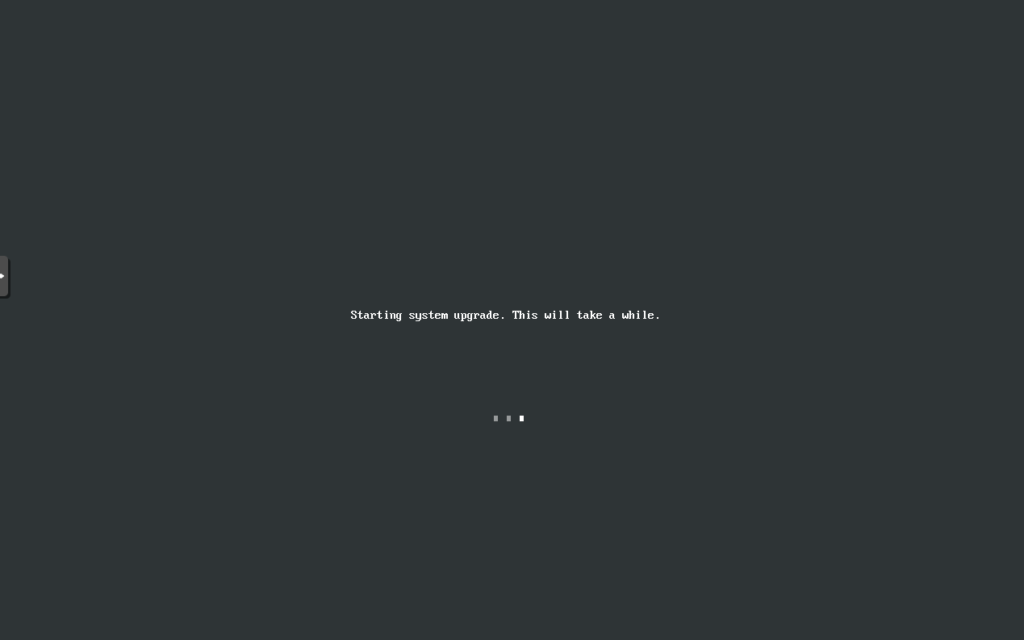
sudo dnf system-upgrade rebootFedora will reboot and start the upgrade process.
After the Upgrade
Verify the Upgrade
After your system reboots, confirm the upgrade by checking your Fedora version:
cat /etc/os-release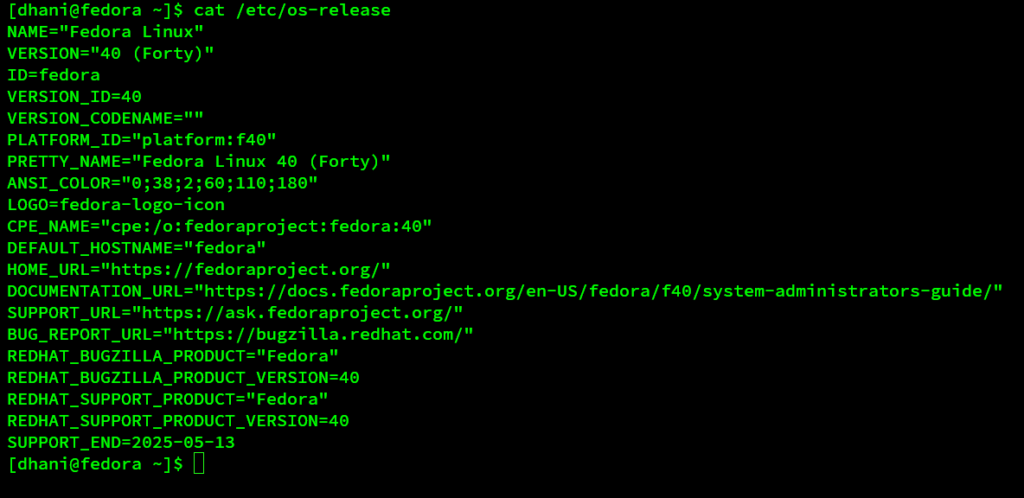
Clean Up
Remove any unnecessary packages to free up space:
sudo dnf autoremove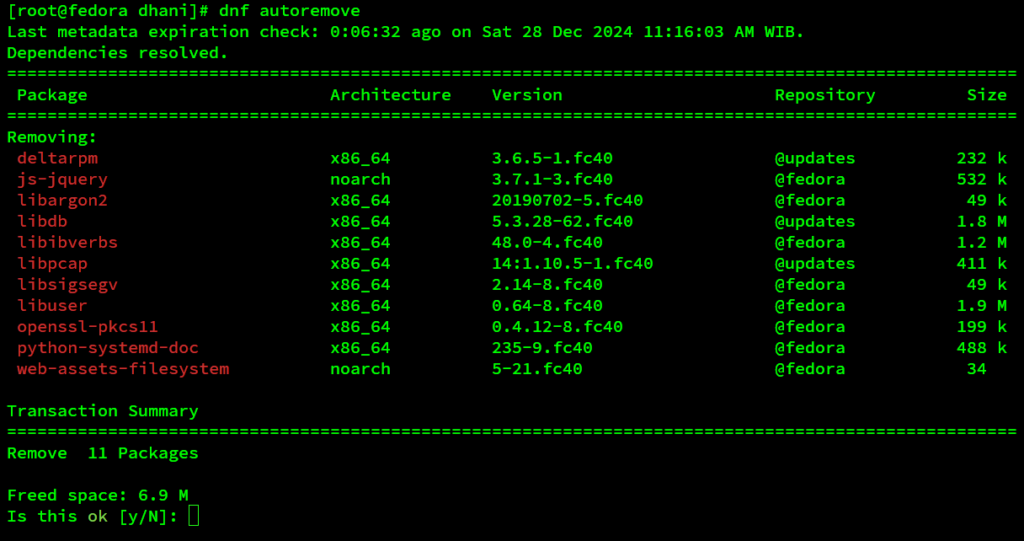
Troubleshooting Tips
- Stuck on Boot: If your system doesn’t boot properly after the upgrade, try booting into an older kernel from the GRUB menu.
- Broken Packages: Use the following command to attempt a fix:
sudo dnf distro-sync - Logs: Check system logs for errors using:
journalctl -xe
Conclusion
Upgrading from Fedora 39 to Fedora 40 is a simple process that ensures you’re using the latest and greatest Linux has to offer. By following this guide, you’ll have your system up and running with Fedora 40 in no time. Enjoy exploring the new features and improvements, and don’t forget to share your experience in the comments below!
Leave a Reply