In my previous article, we’ve learned how to install Microsoft SQL Server on Ubuntu system. Now, I will guide you how to uninstall Microsoft SQL Server on Ubuntu machine properly. It is great to have the SQL Server running on a Linux system. Personally, I use the SQL Server for my spatial database storage. It works very well with most GIS software that I use.
Please note that the following method will remove the Microsoft SQL Server from Ubuntu as well as the data. So please make sure you already back up your data before removing the SQL Server. I am not responsible for any data loss.
Steps to Uninstall Microsoft SQL Server from Ubuntu
Step 1. Check MS SQL Server service status
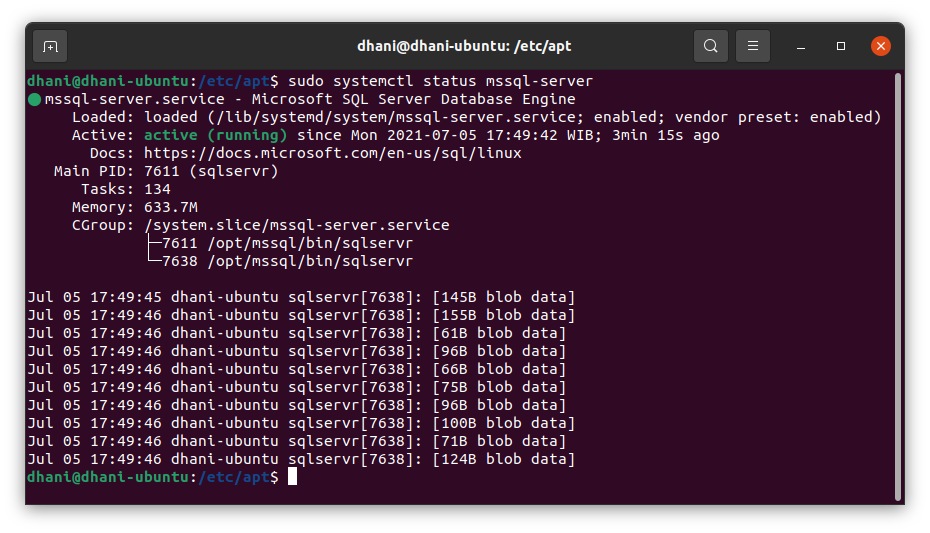
First, we need to check the service status. To do this, simply use this command in Terminal
sudo systemctl status mssql-server
Output

As you can see the SQL Server is currently active.
Step 2. Stop MSSQL Server service
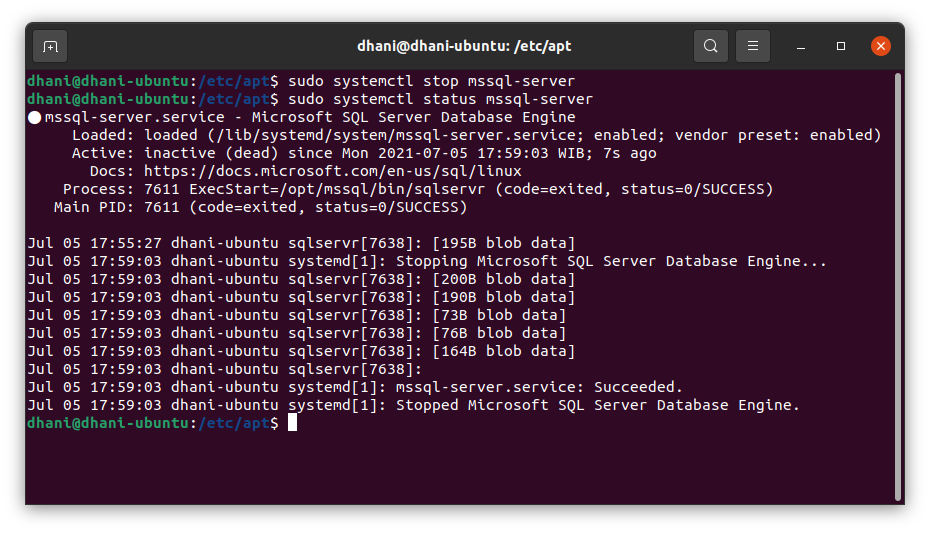
I would recommend to stop the mssql-server prior to the uninstall process. To do this, we will use the following command
sudo systemctl stop mssql-server
And then check the status again
sudo systemctl status mssql-server

Step 3. Remove mssql-server
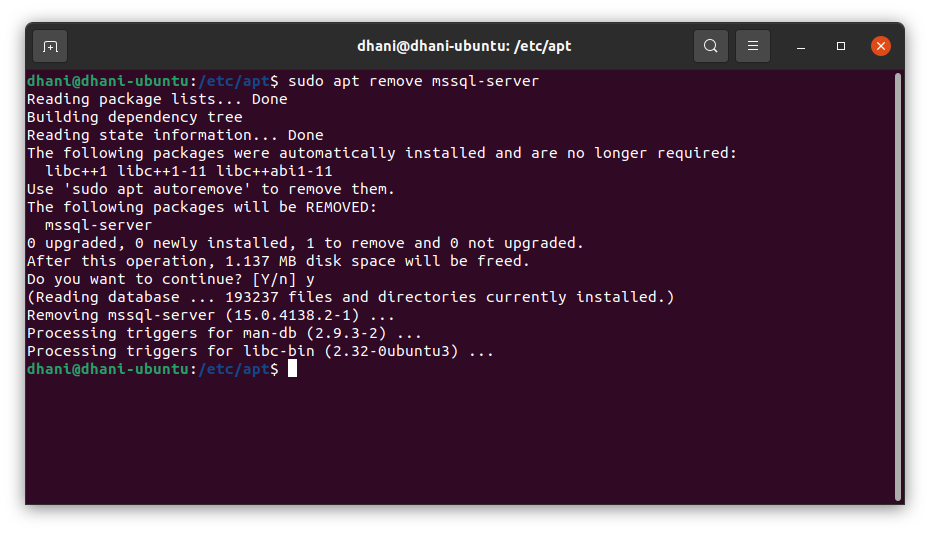
Now we are ready to remove the package. We will use this command to remove mssql-server package from Ubuntu system.
sudo apt remove mssql-server
Output

Make sure there is no error during this process. At this stage, our mssql-server package has been removed. Now we can continue to the next step to remove the sql data. Please do this with cautions because this will remove your data permanently.
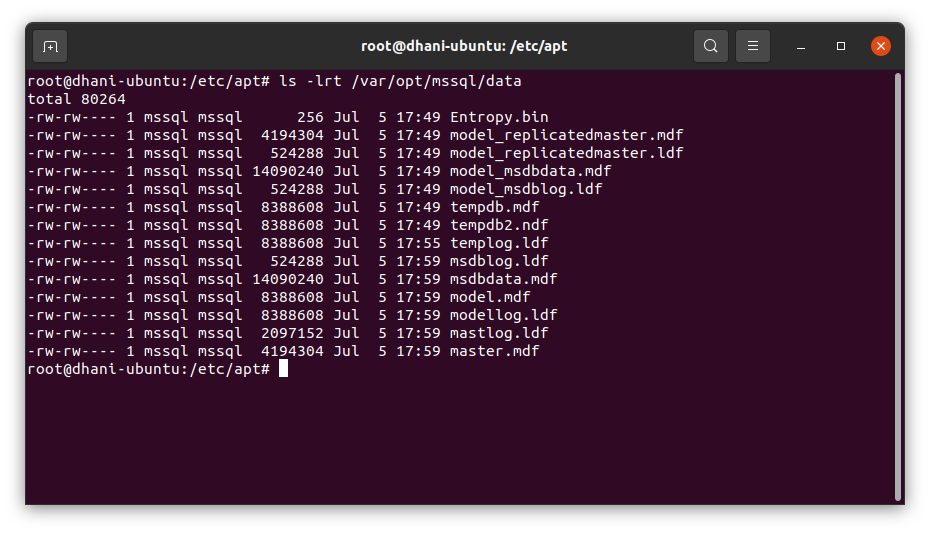
The default data location is in the /var/opt/mssql/data. You may check the content of this folder. Use this command as root.
ls -lrt /var/opt/mssql/data
You should see something like this.

Now we are going to remove the /var/opt/mssql folder.
sudo rm -rf /var/opt/mssql
Done.
At this point, we have successfully uninstalled Microsoft SQL Server from Ubuntu and also remove the data from the system. I hope you enjoy the article. Stay safe and see you next time.

Leave a Reply