Hello everyone, welcome to another tutorial for Apple Silicon Mac. In this article, I am going to explain how to install Windows 11 on an Apple Silicone Mac. As you might know, there is no way to use Boot Camp on Apple Silicon Mac. But don’t worry, we will try another way to make Windows 11 runs on Mac. UTM is free virtualization software for Mac. With this tool, we can run different operating systems including Windows 11 on Apple Silicone Mac, as a Virtual Machine.
Well, the Windows 11 performance will not be as good as if it’s installed on Boot Camp. If you are going to use Windows 11 for gaming or heavy 3D application, then this is not for you. But if you will only use it for some light applications, then you can follow this guide. This will be a pretty long tutorial because I will explain every step I took to get this done.
Common Error
Before we go through the installation, if you install directly using UTM and Windows 11 ARM VHDK file, you may get the error that the installation cannot continue. The error is basically because the VM cannot connect to the internet. So, the installation will not continue.
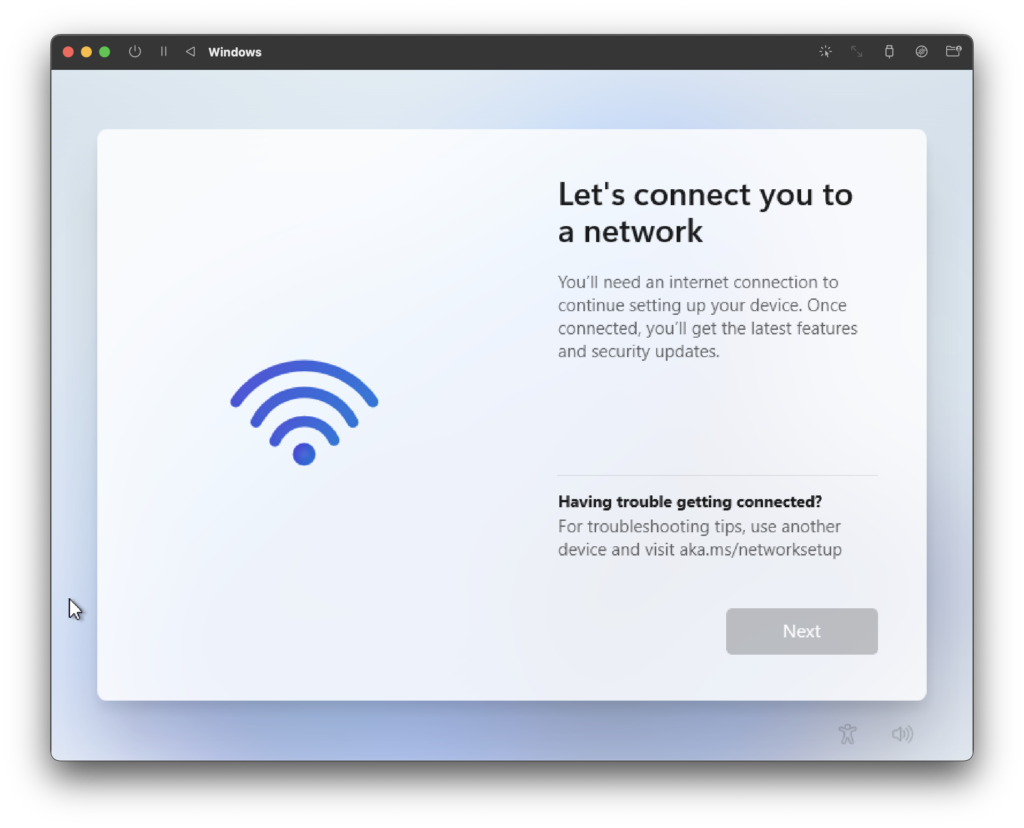
But don’t worry, there is a workaround for this issue. Follow the steps below to successfully installed Windows 11 on Mac M1.
Steps to Install Windows 11 on Apple Silicon Mac
Step 1. Install UTM
Download and install UTM on your Apple Silicon Mac. Use the link below
https://github.com/utmapp/UTM/releases/latest/download/UTM.dmg
Step 2. Build Windows 11 ARM64 ISO
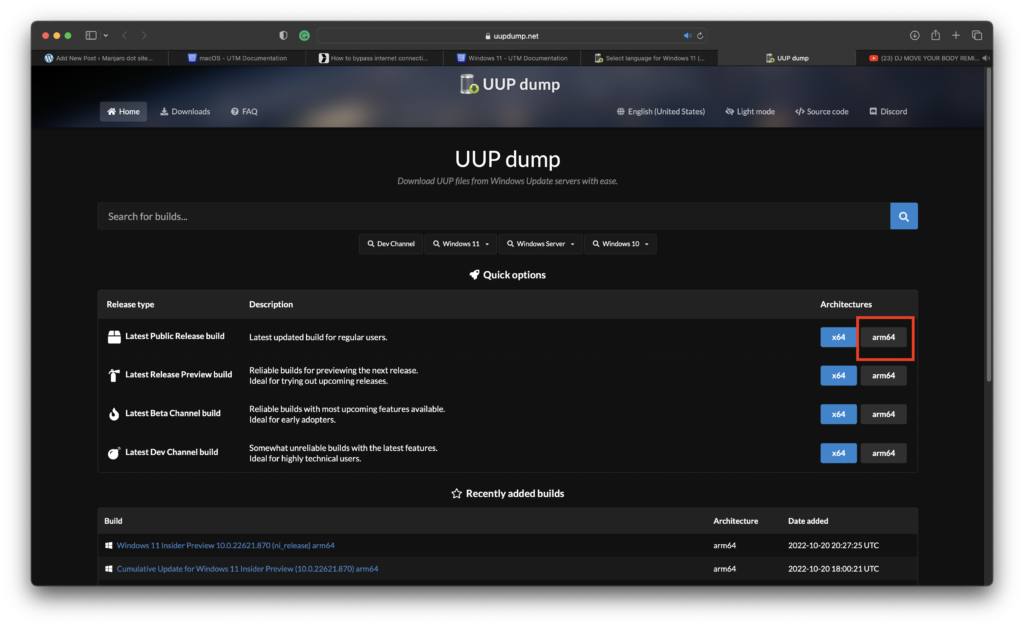
Find the Windows version that you want to install using the UUP dump website.
And then you will need to configure the language, etc for your Windows.
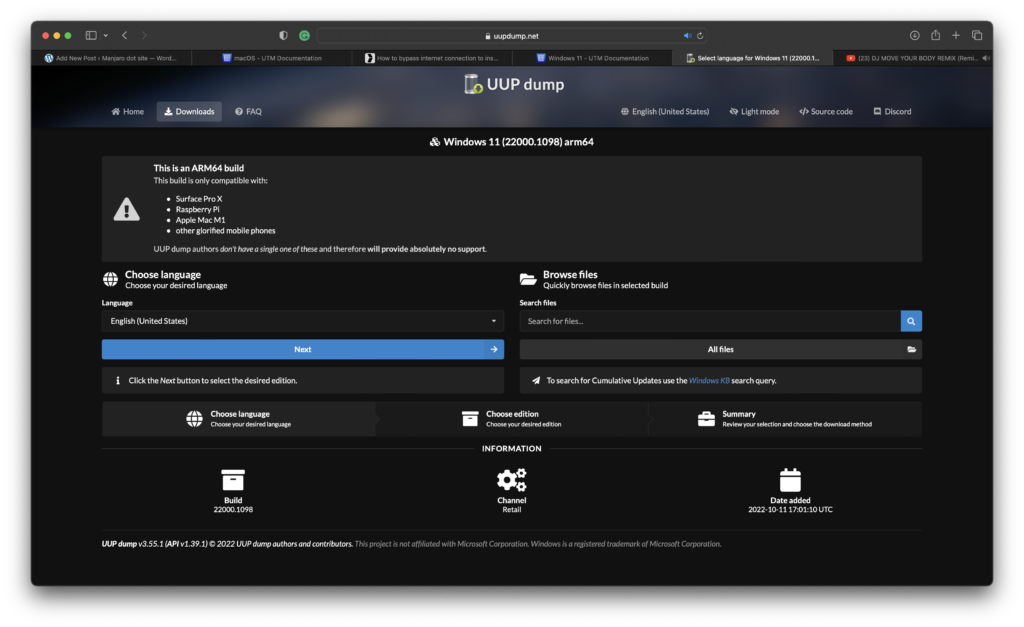
At the end, download the file to your Mac.
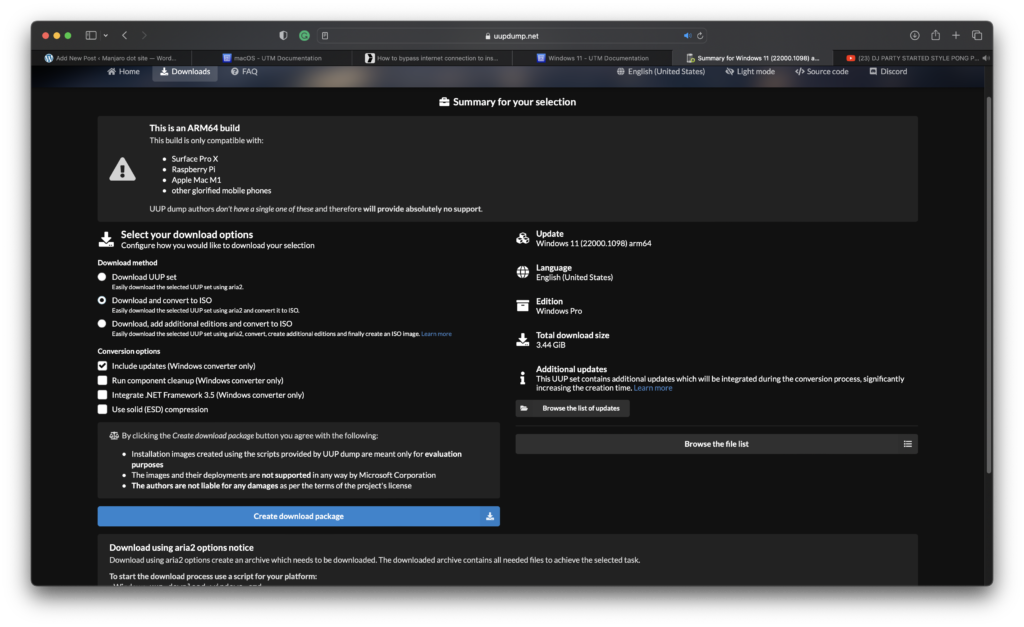
Once downloaded, you will likely get a new folder called “22000” or something like that. To configure this UUP, we need aria2. Before that, we will also need to install Homebrew. Use this command to install Homebrew on M1.
/bin/bash -c "$(curl -fsSL https://raw.githubusercontent.com/Homebrew/install/HEAD/install.sh)"Next, use this command to install the necessary packages
brew tap sidneys/homebrew
brew install aria2 cabextract wimlib cdrtools sidneys/homebrew/chntpw
This will take a while to complete. Next, run this command
./uup_download_macos.shThe download process will start. Do not close the Terminal and wait until the download process completes.
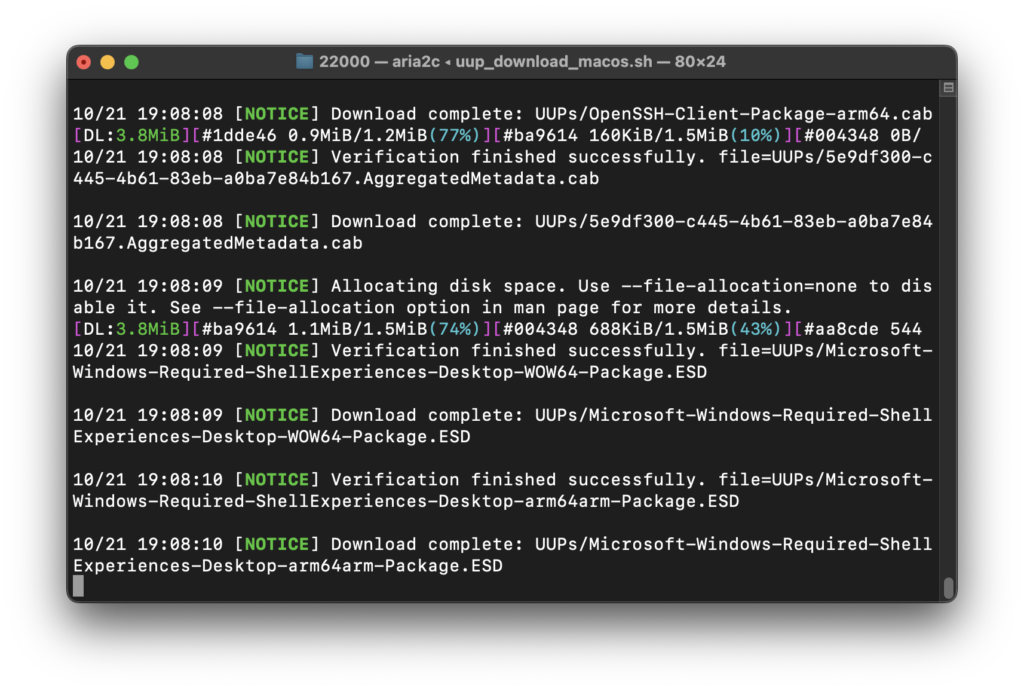
This will be a long process because it will download 3.5 GB of files from the internet. During the process, you will see some running text like this, which is normal.
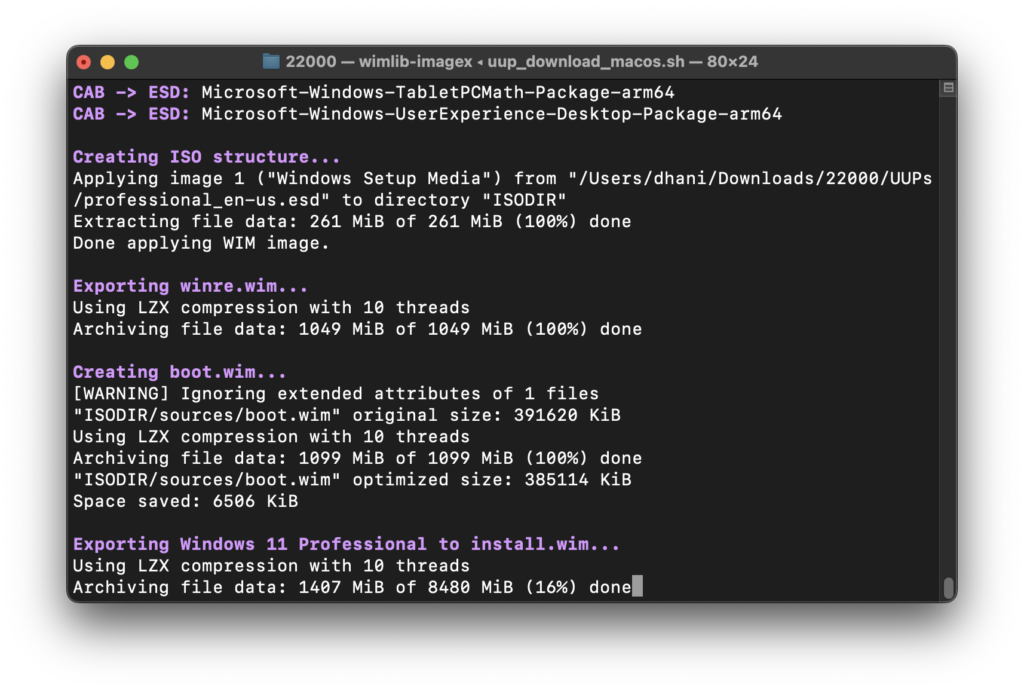
When done, you will see the following
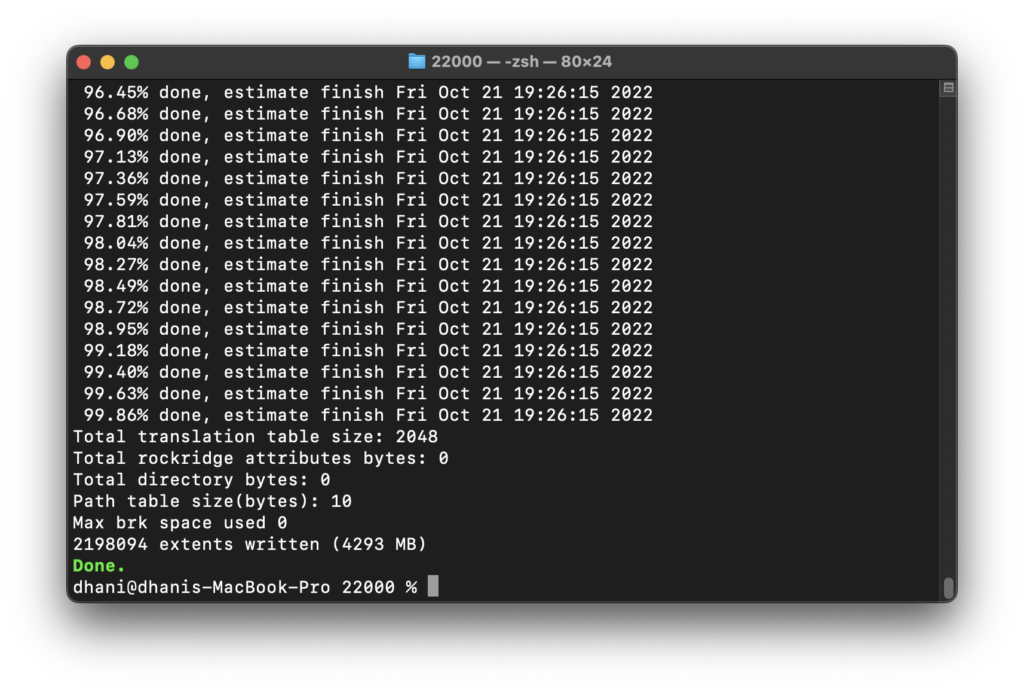
Step 3. Create Windows 11 Virtual Machine on UTM
Now create a new VM from UTM. Click Virtualize and then choose Windows.
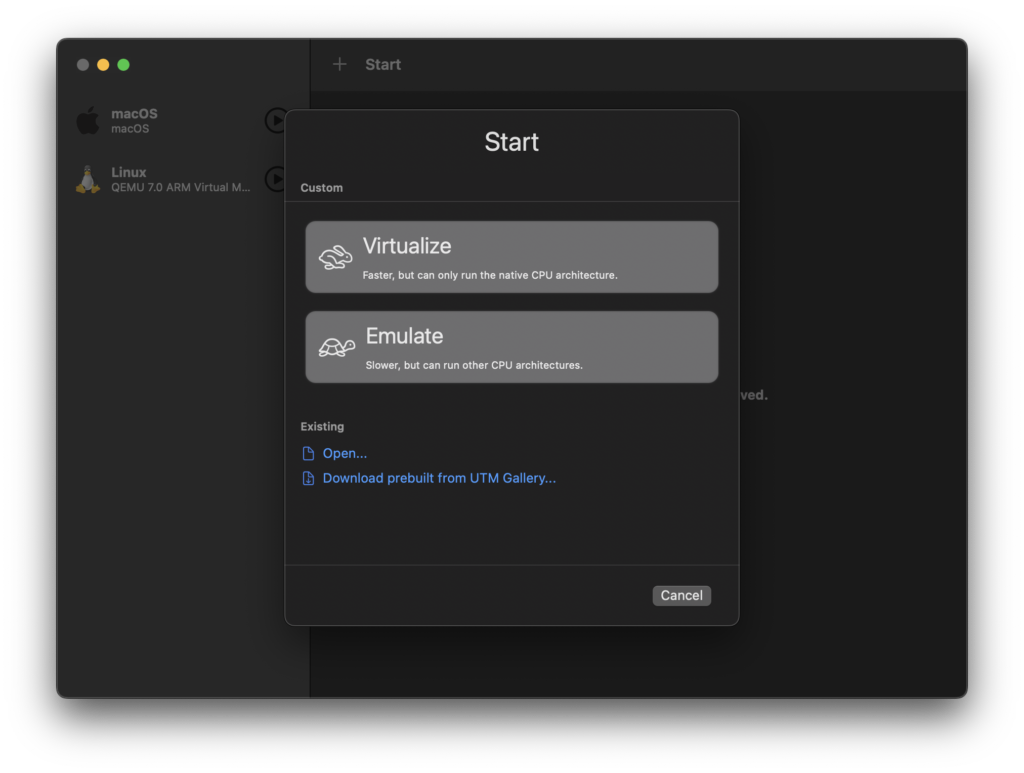
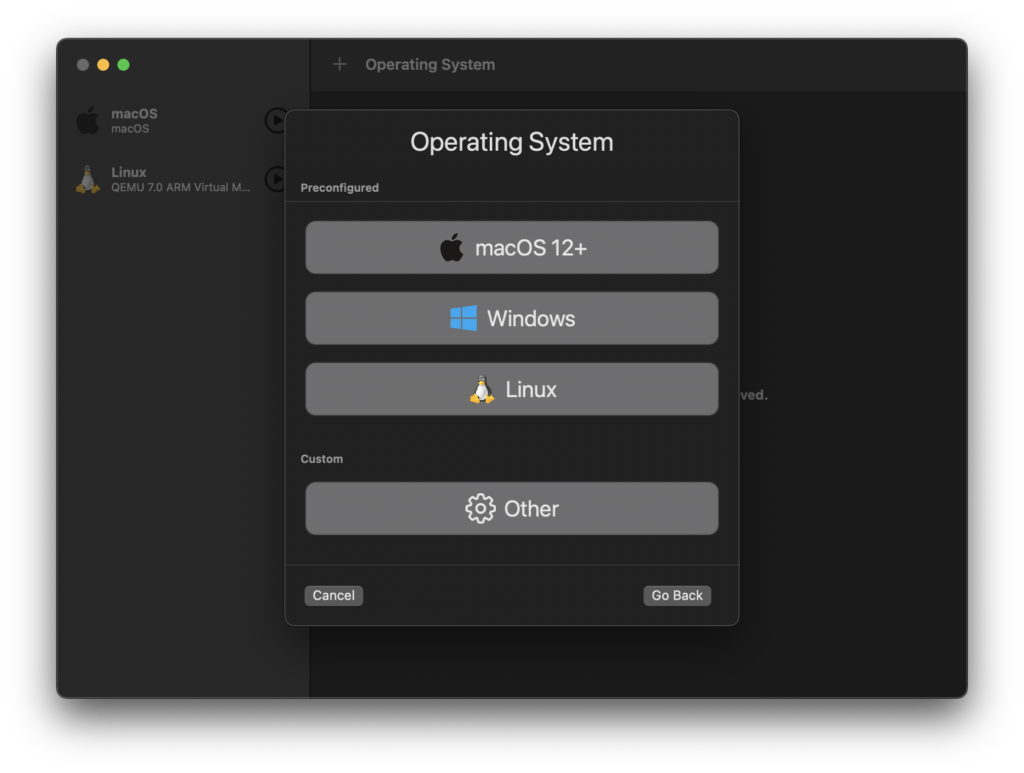
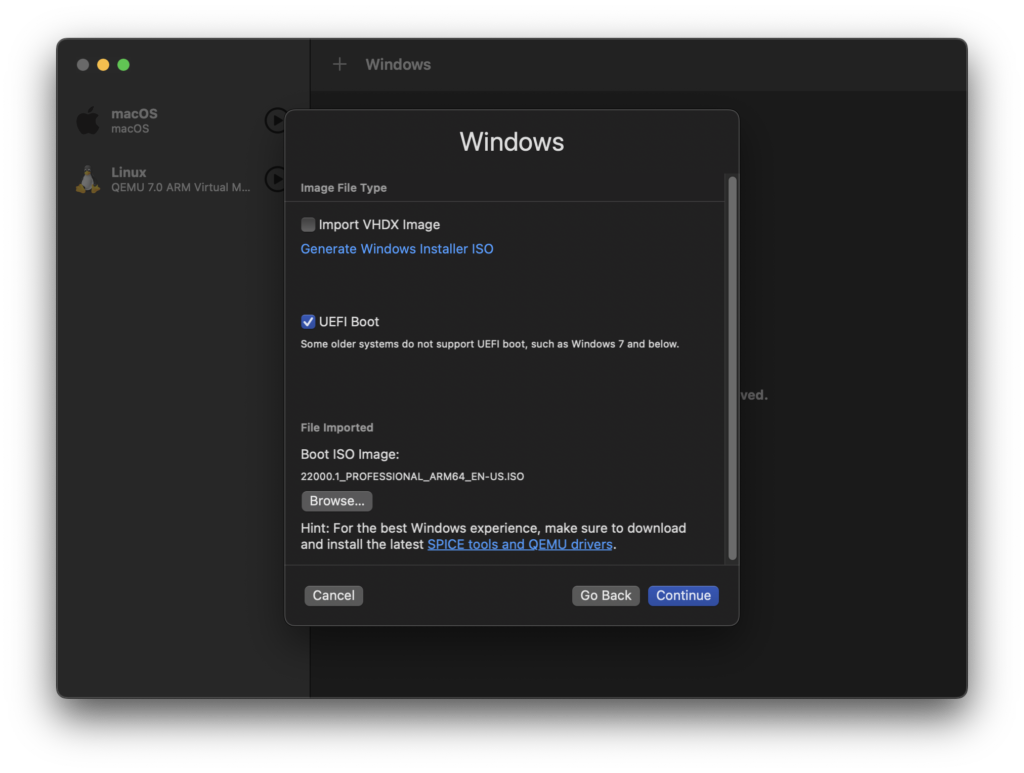
On the next page, uncheck the option Import VHDX image. And then browse the ISO file we created earlier.
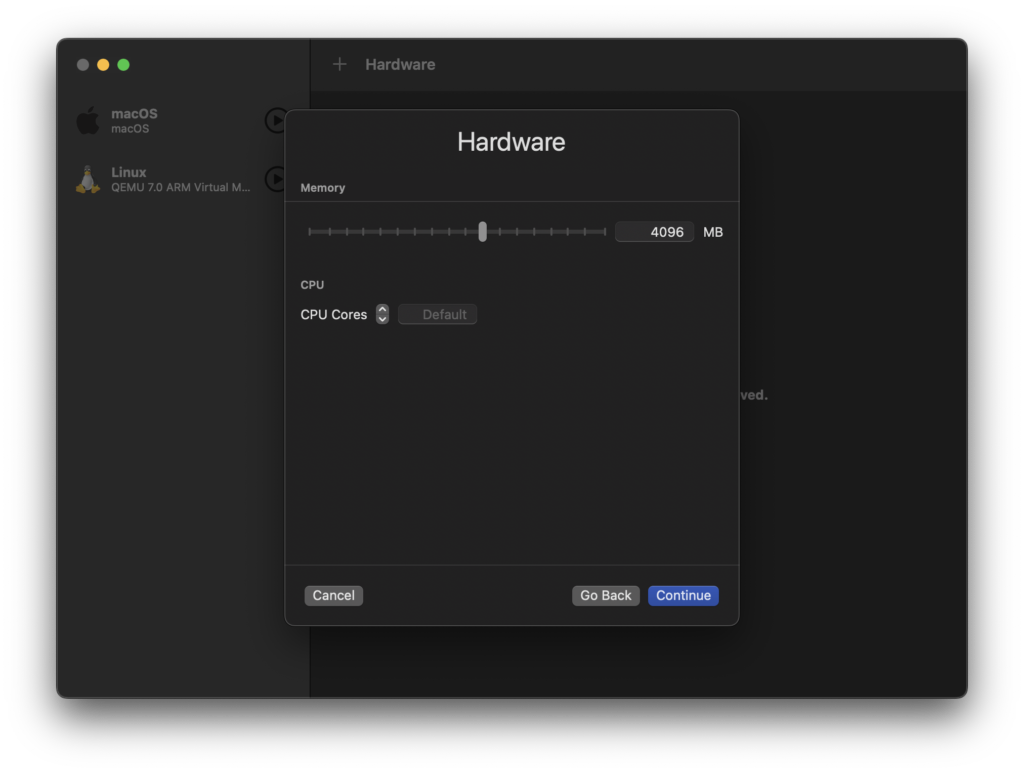
Follow the wizard until finished.
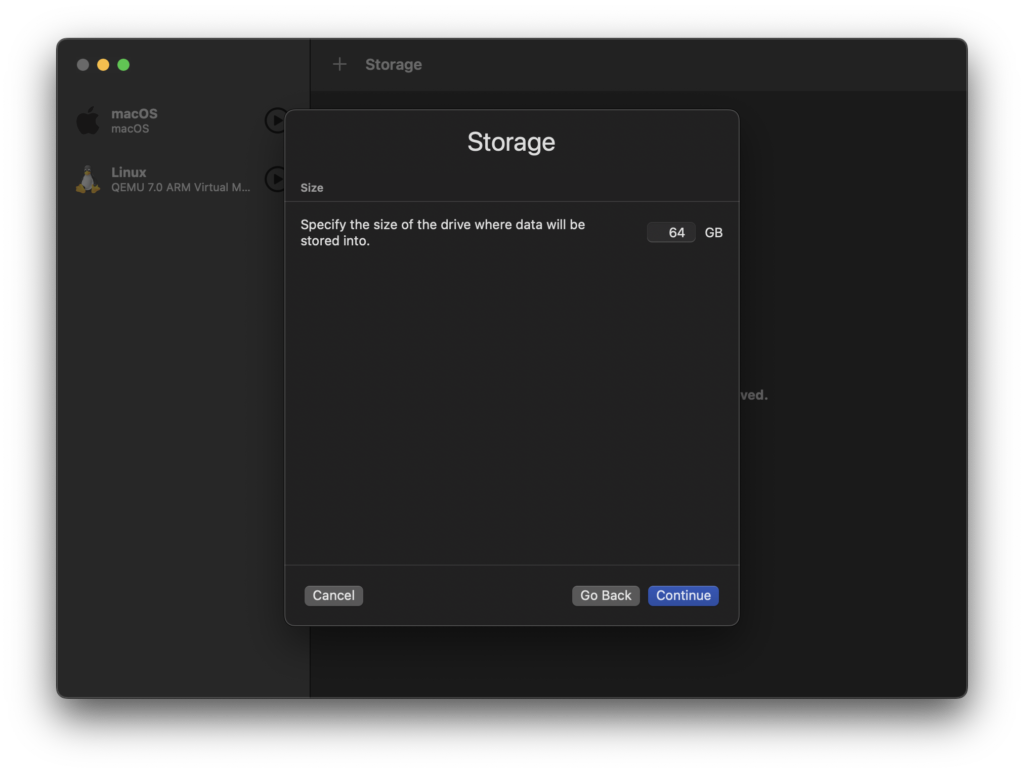
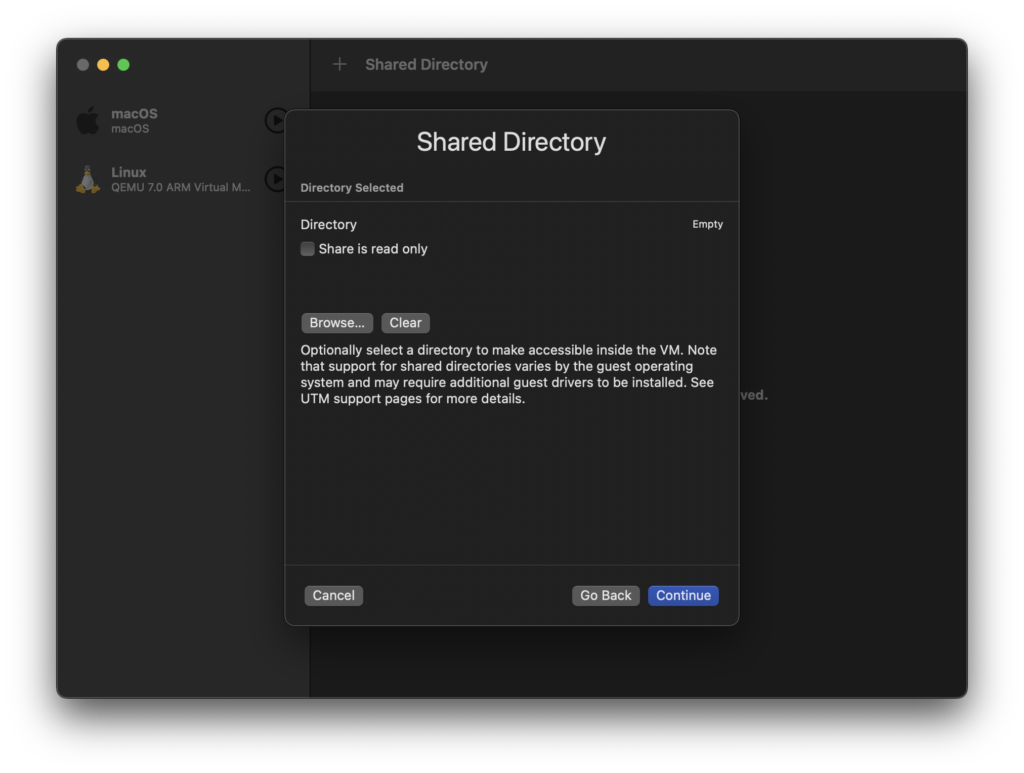
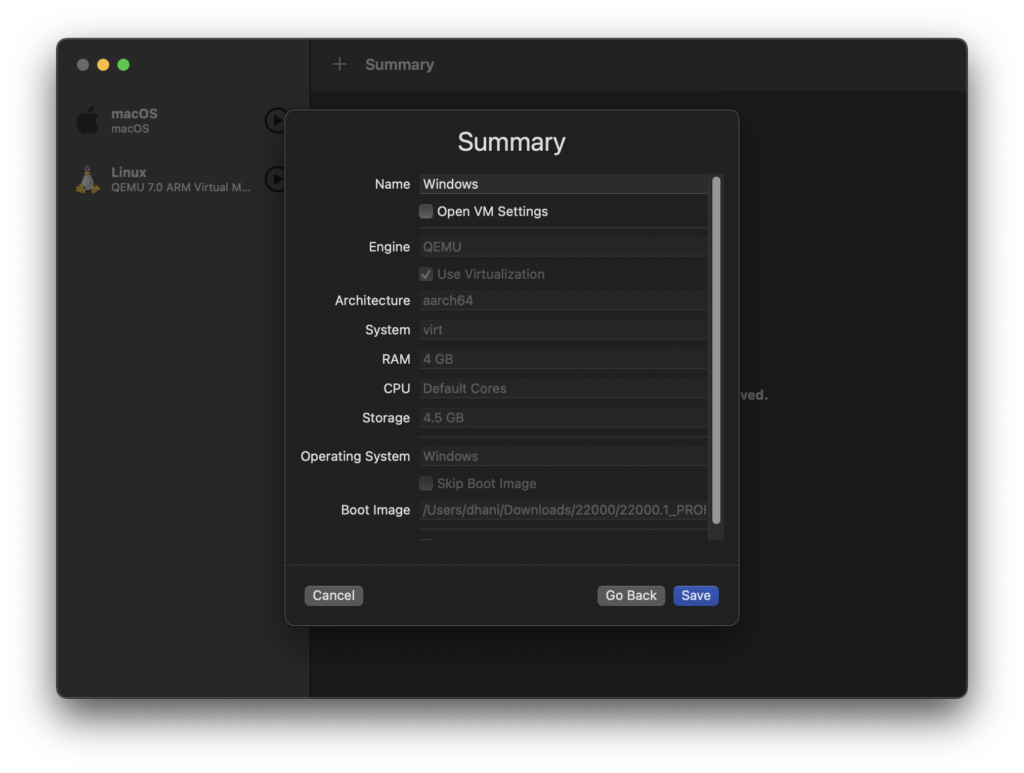
Now run the Windows VM and follow the Windows 11 installation process. In case you are stuck on the error that says “This PC can’t run Windows 11”, follow this workaround.
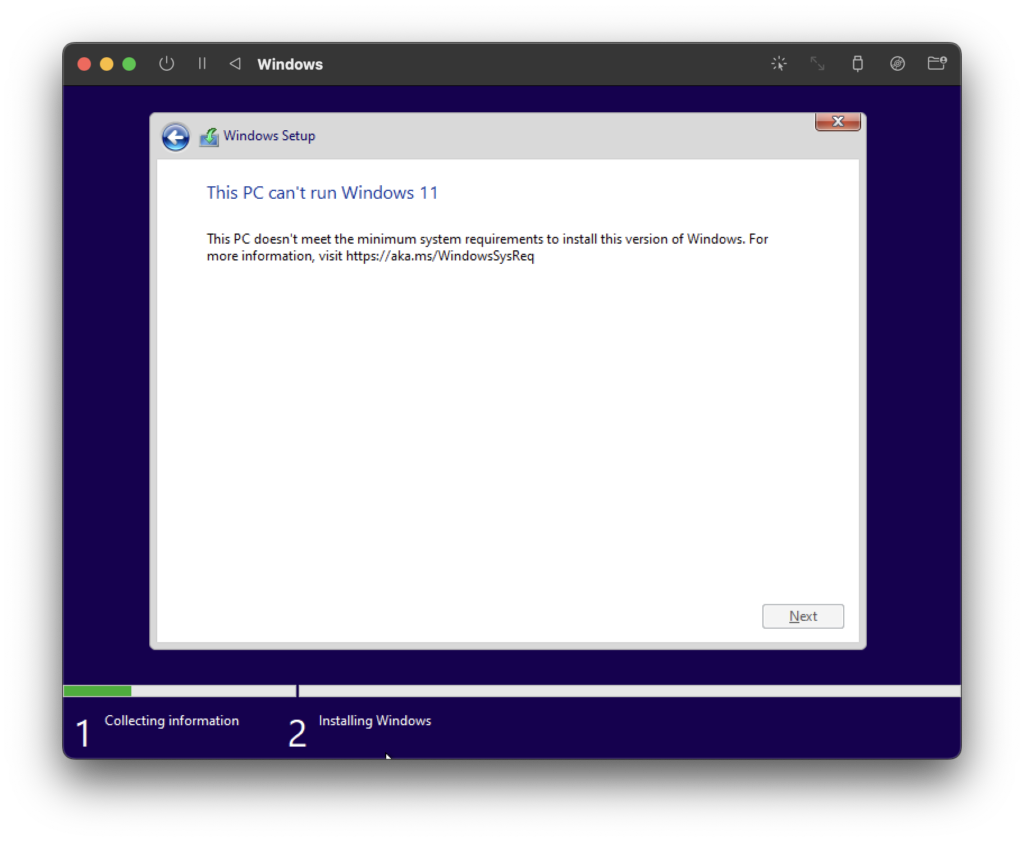
Press Fn + Shift at the same time. It will open the command prompt in the Windows VM.
- Run regedit command.
- Navigate to HKEY_LOCAL_MACHINE\SYSTEM\Setup
- Right-click on the Setup and choose New Key
- Create a key and call it LabConfig
- Now select LabConfig and then create two new DWORD(32bit) values. Call it BypassTPMCheck and BypassSecureBootCheck. Set both values to 1.
- Close the Registry editor and command prompt.
- Press the Back button on the Windows installer and then continue the installation.
Now you should be able to continue Windows 11 installation.
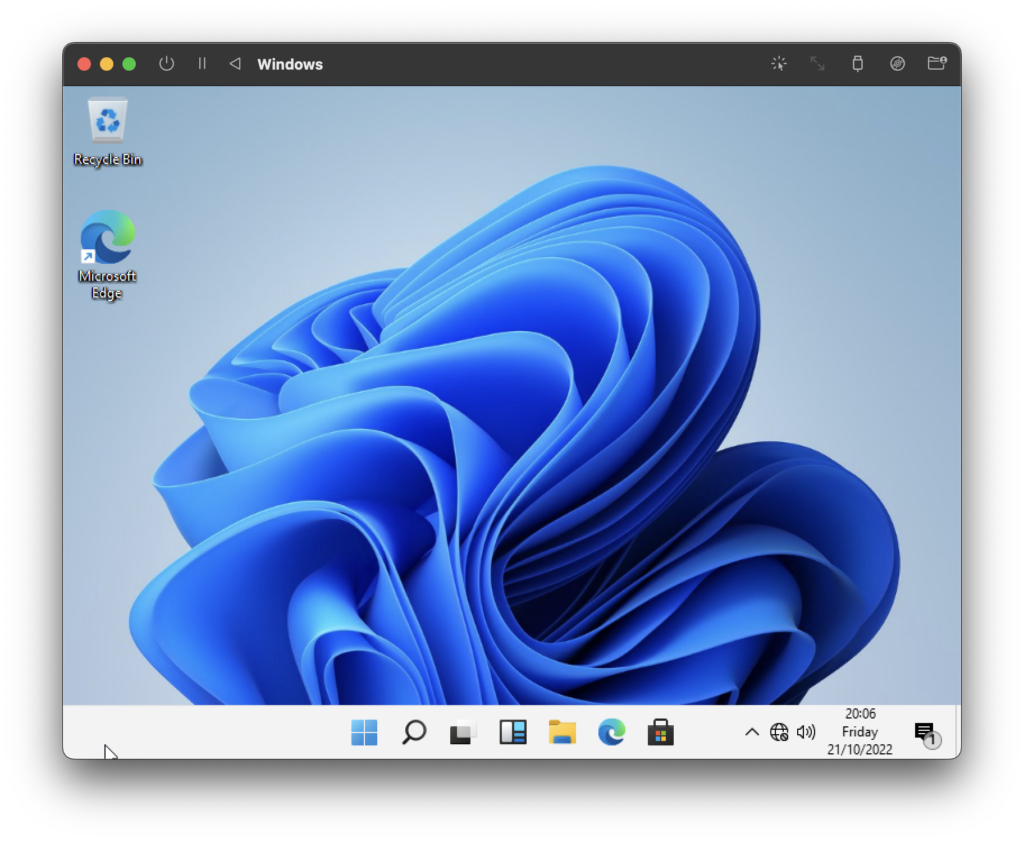
At this time, Windows 11 is installed but the network does not work and also we cannot resize the display. We will fix that by installing SPICE.
To install SPICE, click the CD icon on the top right of the VM. Click Change and browse to the SPICE iso file. If you don’t have the ISO, you can download using the link below.
https://github.com/utmapp/qemu/releases/download/v7.0.0-utm/spice-guest-tools-0.164.4.iso
Windows 11 will mount this ISO automatically. Next, install the file spice-guest-tools.exe. Follow the installation and reboot. Now Windows 11 should have a network connection and the display should work well.

Leave a Reply