In the following article, I will show you how to install Oracle instant client on Ubuntu 20.04. When this article is written, the latest version or Oracle instant client is version 19.8. Instant client is a special software built for Oracle users that can be used to connect to the Oracle database server. If you are planning to migrate or just testing the Oracle database, you can follow my guide below to install Oracle Database.
Once you have the server set up. You may want to connect to the server from the network. Let’s say from a Ubuntu 20.04 machine. In order to connect, you must install and configure instant client and sqlplus (optional).
Steps to Install Oracle Instant Client on Ubuntu 20.04
Step 1. Update Ubuntu
It is recommended to update the Ubuntu system. Use the update command below.
sudo apt update && sudo apt upgrade
Step 2. Download Required Packages
There are two packages we need to download. Please use the link below to obtain the instant client and sqlplus installation files
- https://download.oracle.com/otn_software/linux/instantclient/19800/instantclient-basic-linux.x64-19.8.0.0.0dbru.zip?xd_co_f=fae07a5a-ae5f-4c1a-8ce0-f41ed4a394c5 (instant client package)
- https://download.oracle.com/otn_software/linux/instantclient/19800/instantclient-sqlplus-linux.x64-19.8.0.0.0dbru.zip (sqlplus package)
Save it to your download location such as your Downloads folder.
Step 3. Extract the Packages
Before we extract, we need to create a new directory for the Oracle Instant Client installation files. In this case, I would create a directory below for this purpose
/opt/oracle
You can change it to your liking.
sudo mkdir /opt/oracle
Now let’s extract the zip file to /opt/oracle directory. You should modify the command below if you use different directory as your destination.
cd /dhani/Downloads
sudo unzip instantclient-basic-linux.x64-19.8.0.0.0dbru.zip -d /opt/oracle
sudo unzip instantclient-sqlplus-linux.x64-19.8.0.0.0dbru.zip -d /opt/oracle/
After this extract command, you should have a new directory (instantclient_19_8) under /opt/oracle folder.
Step 4. Configure SQLPlus
sqlplus is a command-line utility that can be used to connect and manage the Oracle database. In this step we need to set the LD Library path. We need to add these two lines into the profile. So, open Terminal and then open the ~/.profile file.
nano ~/.profile
And then copy and paste these lines to the end of the file
export PATH="$PATH:/opt/oracle/instantclient_19_8"
export LD_LIBRARY_PATH="$LD_LIBRARY_PATH:/opt/oracle/instantclient_19_8"
Close and save the file. Now execute this command
source ~/.profile
Now try to reboot Ubuntu and make sure this edit is permanently saved. Upon reboot, try to connect to the Oracle using SQLplus
Step 5. Connect to Oracle
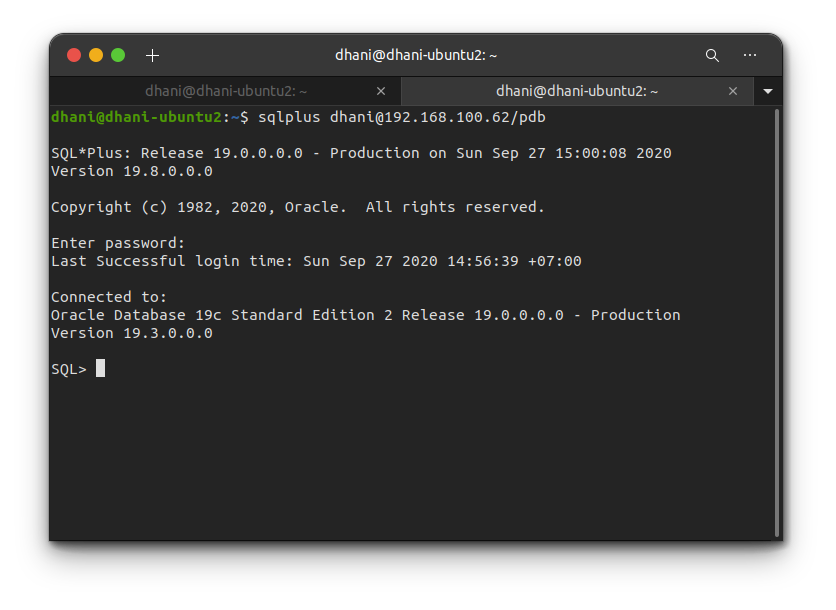
Open Terminal and then use sqlplus
sqlplus dhani@192.168.100.62/pdb


Leave a Reply