

Hello everyone, welcome to another tutorial of the Oracle database. In this article, I am going to show you how to install Oracle instant client on macOS Catalina. Also, you will find out how to install the sqlplus tool on macOS Catalina. Instant Client is a client utility that needed to connect to the Oracle database server. Instant Client is available for Windows, macOS, and Linux systems. If you are Windows users, you can visit my article below to find out how to install Oracle instant client on Windows 10.
Steps to Install Oracle Instant Client on macOS Catalina
Step 1. Download the Software
So we are going to install the instant client as well as the sqlplus utility on macOS Catalina. There are two packages we need to download. Please navigate to the official download page below for more information.
https://www.oracle.com/database/technologies/instant-client/macos-intel-x86-downloads.html
For this particular purpose, we will download the following:
Step 2. Create a New Directory for the Instant Client
It is recommended to create a new directory for the instant client software. In this case, I will create a new directory “/Applications/ora/client”. Use this command to create the directory.
sudo mkdir -p /Applications/ora/client
Note: You can create the directory anywhere, for example, you can put it under your home directory.
Now extract the file instantclient-basic-macos.x64-19.3.0.0.0dbru.zip. It will produce a new folder called “instantclient_19_3“. Now move the instantclient_19-3 folder to /Applications/ora/client.
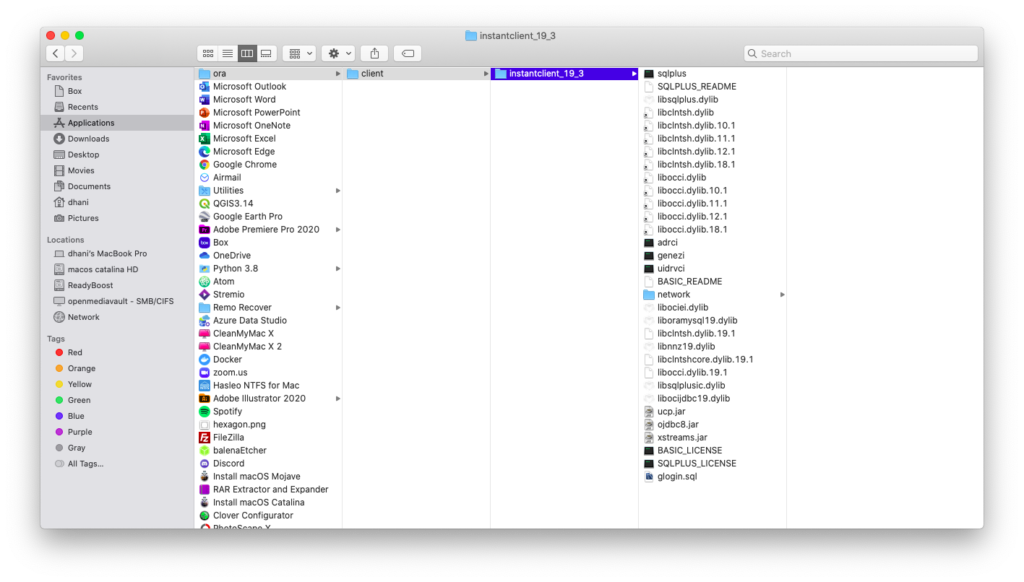
Next, extract the second zip file instantclient-sqlplus-macos.x64-19.3.0.0.0dbru.zip we’ve downloaded from the previous step. It will produce a new folder called “instantclient_19_3”, the same as the previous zip file. Now, we need to copy the content to the /Applications/ora/client/instantclient_19_3. Now, it should look like this.
Step 3. Add Links
Next, we need to create link to ~/lib or /usr/local/lib so the application can find the library needed. In Terminal, I use this command to do this
mkdir ~/lib
sudo ln -s /Applications/ora/client/instantclient_19_3/libclntsh.dylib ~/lib/
Step 4. Modify PATH environment
Now, in the final step, we need to modify the PATH environment. We need to add the sqlplus binary to the PATH environment. Edit the file .zprofile under your Home directory.
nano ~/.zprofile
And then add the following lines
export LD_LIBRARY_PATH=/Applications/ora/client/instantclient_19_3:$LD_LIBRARY_PATH
export PATH=$LD_LIBRARY_PATH:$PATH
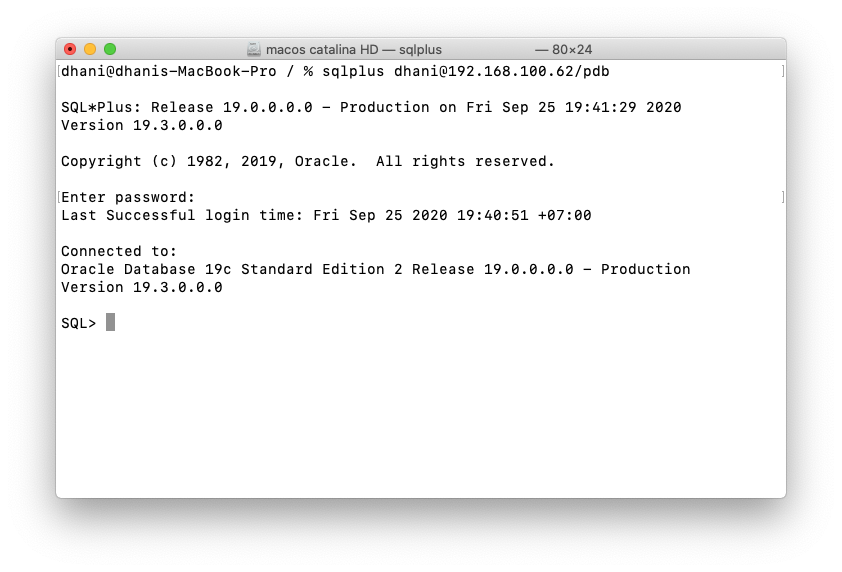
Close and save the file. Now, let’s try to connect to our Oracle server via sqlplus.
Step 5. Connect to Oracle using sqlplus
I assume the Oracle database server is accessible from the network. You may read my tutorial on how to enable the network access for the Oracle database.
sqlplus dhani@192.168.100.62/pdb
Please change 192.168.100.62 with your Oracle server IP address. PDB is my pluggable database name.
Leave a Reply