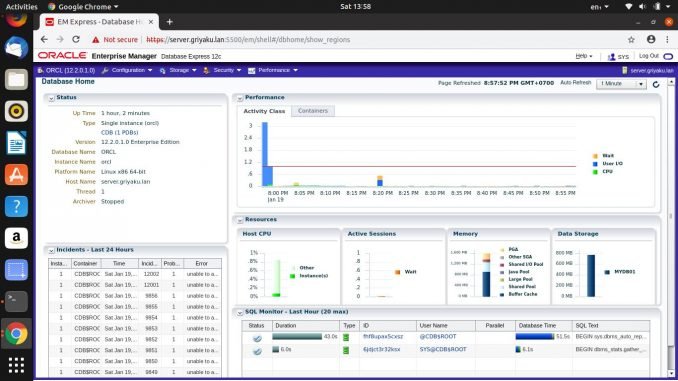
Hello everyone, welcome to my blog. Today, I am going to show you how to install Oracle Database 12c on Oracle Linux 7. Oracle Database 12c is a great database system that works on multiple operating systems. If you are running Windows 10, you may want to read how to install Oracle Database 12c on Windows 10 Professional.
There are several things we need to do to install Oracle 12c on Oracle Linux 7.
- Download Oracle 12c Installation File
- Extract Files
- Modify hosts file
- Configure Oracle Installation Prerequisites
- Additional Setup
- Oracle Database Installation
- Post Installation
Step 1. Download Oracle Database 12c Installation
You can download the Oracle Database 12c installation file for Linux from the link below:
https://www.oracle.com/technetwork/database/enterprise-edition/downloads/index.html
Select the Linux package from the download list. You will get a zip file called something like this linuxx64_12201_database.zip. Save the file to your download directory.
Step 2. Extract the Installation file
Next, extract the file linuxx64_12201_database.zip. You can use this unzip command if you like.
unzip linuxx64_12201_database.zip
The command will produce a new directory called “database” containing the Oracle installation files.
Step 3. Modify hosts file
In this step we are going to modify the hosts file. We need to add new fully qualified name to the /etc/hosts file. For example, this is my hosts file content
127.0.0.1   localhost localhost.localdomain localhost4 localhost4.localdomain4
 ::1         localhost localhost.localdomain localhost6 localhost6.localdomain6
 192.168.100.50  server.griyaku.lan server
My Oracle Linux IP address is 192.168.100.50 and the domain name is server.griyaku.lan
Set the correct hostname in the file /etc/hostname
server.griyaku.lan
Step 4. Configure Oracle Installation Prerequisites
In this example I am going to use the Automatic Setup to complete the Oracle Installation Prerequisites
yum install oracle-rdbms-server-12cR1-preinstall -y
You can use the manual way but I am not going to explain it here.
Step 5. Additional Setup
In this step, we are going to set password for this oracle user and some other things.
Set password for oracle user
passwd oracle
Edit the /etc/selinux/config file and then set the SELINUX to permissive
SELINUX=permissive
Next, execute this command
setenforce Permissive
Next, we need to configure the firewalld or simply disable it.
systemctl stop firewalld
systemctl disable firewalld
Create the directories for Oracle Installation
mkdir -p /oracle/product/12.2.0.1/db_1
chown -R oracle:oinstall /oracle
chmod -R 775 /oracle
Add the following lines to the end of /home/oracle/.bash_profile
#Oracle Settings
export TMP=/tmp
export TMPDIR=$TMP
export ORACLE_HOSTNAME=server.griyaku.lan
export ORACLE_UNQNAME=cdb1
export ORACLE_BASE=/oracle
export ORACLE_HOME=$ORACLE_BASE/product/12.2.0.1/db_1
export ORACLE_SID=cdb1
export PATH=/usr/sbin:$PATH
export PATH=$ORACLE_HOME/bin:$PATH
export LD_LIBRARY_PATH=$ORACLE_HOME/lib:/lib:/usr/lib
export CLASSPATH=$ORACLE_HOME/jlib:$ORACLE_HOME/rdbms/jlib
Modify the hostname, and oracle base with your own configuration.
Step 5. Oracle Installation
Start the installation by issuing this command in the “database” directory in the step 2.
./runInstaller
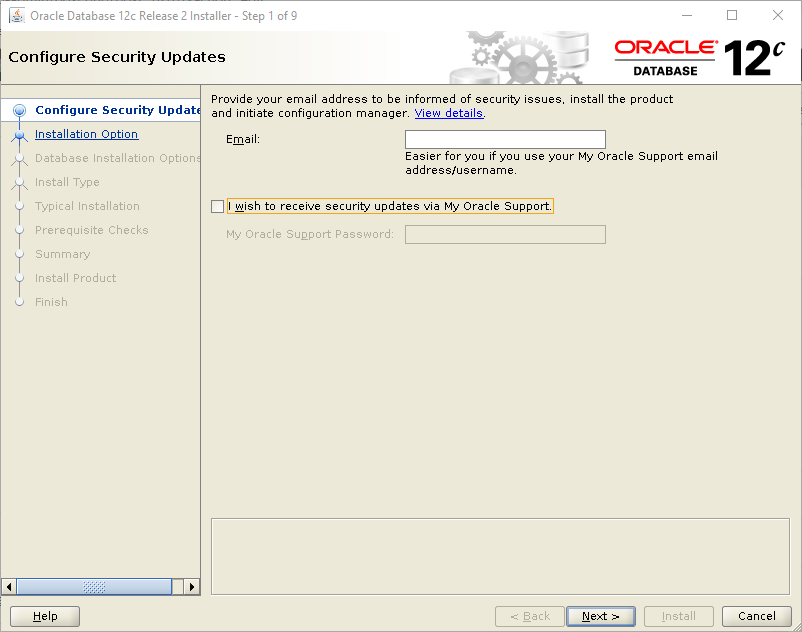
Wait for a moment and then the GUI installer will open up. On the first window, enter your email address if you want to be notified for any security issue. In this example, I don’t want to type my email address and I don’t want to receive any security update from Oracle support.
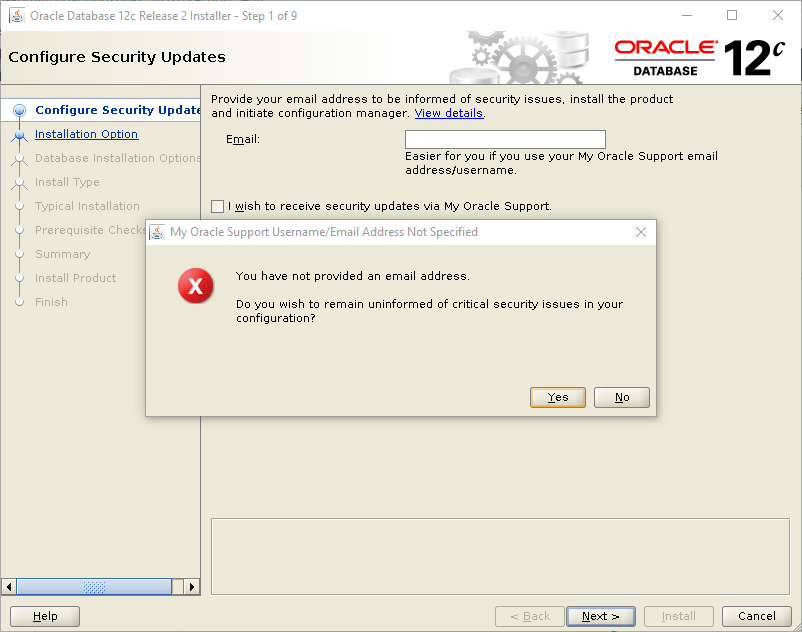
Click Next and you will see the following error. Ignore it and click Yes.
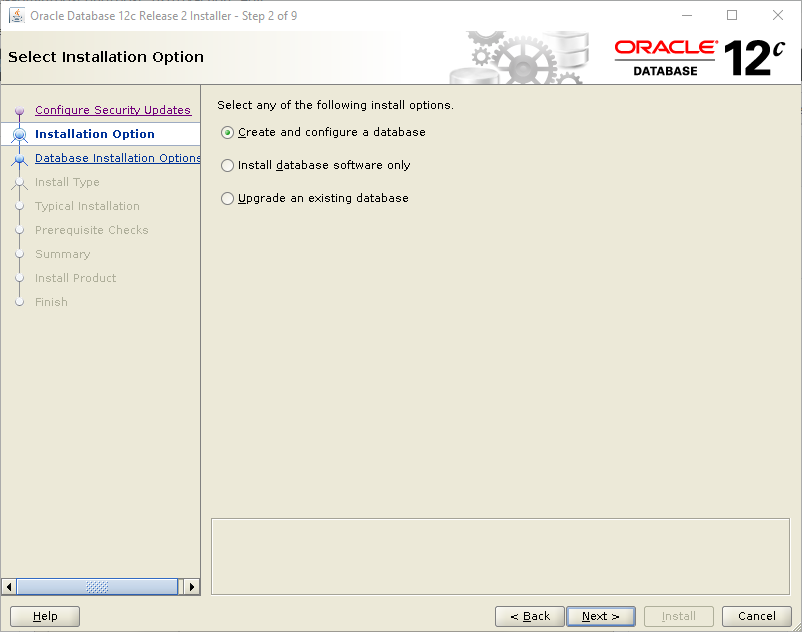
Next, select create and configure a database
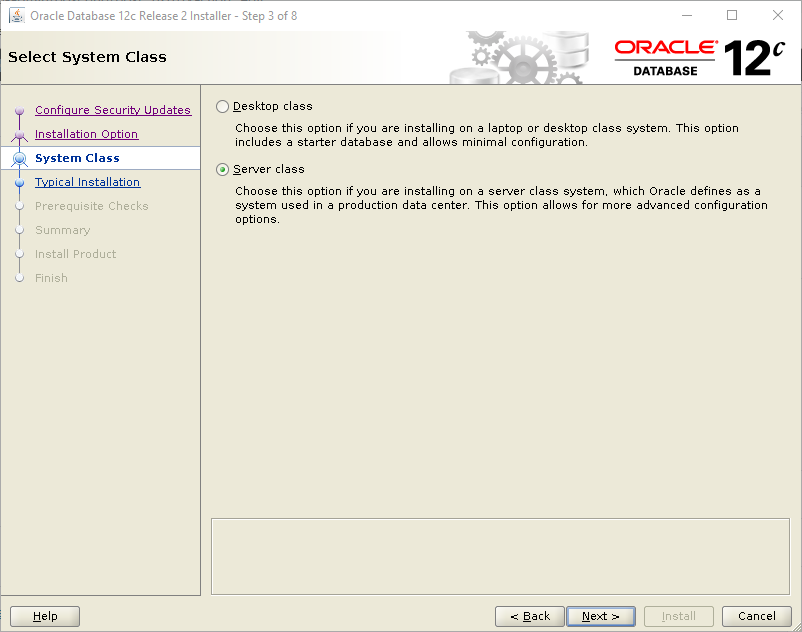
Next, select the system class. I choose the Server.
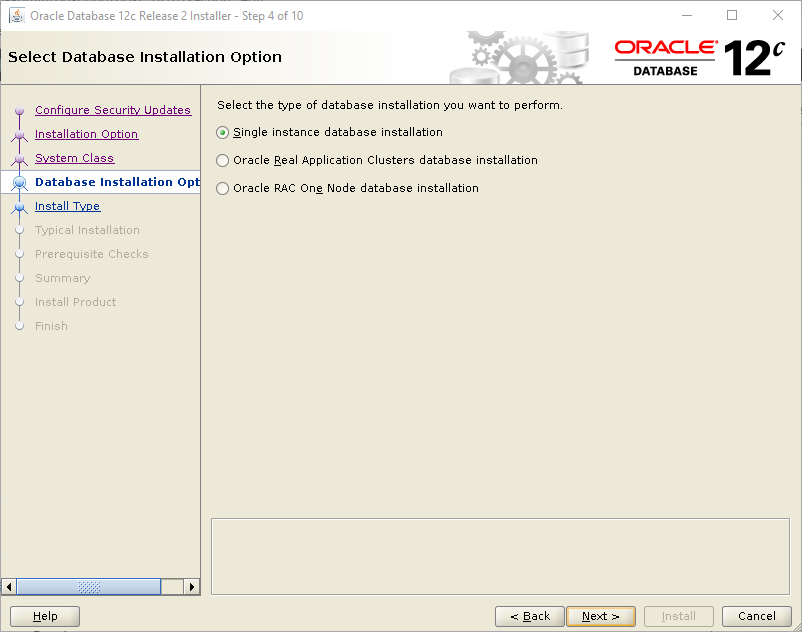
Select the database installation option. In this case, I choose the single instance database installation.
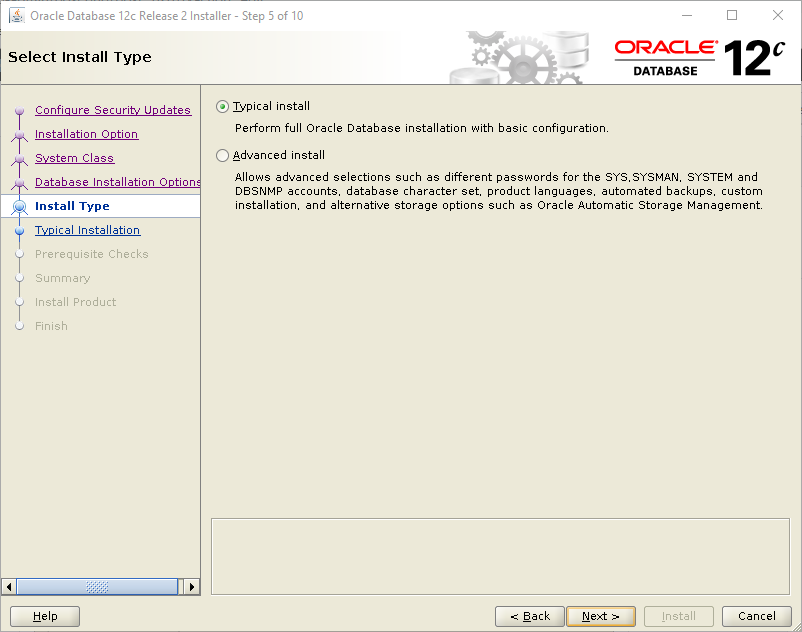
Select the install type.
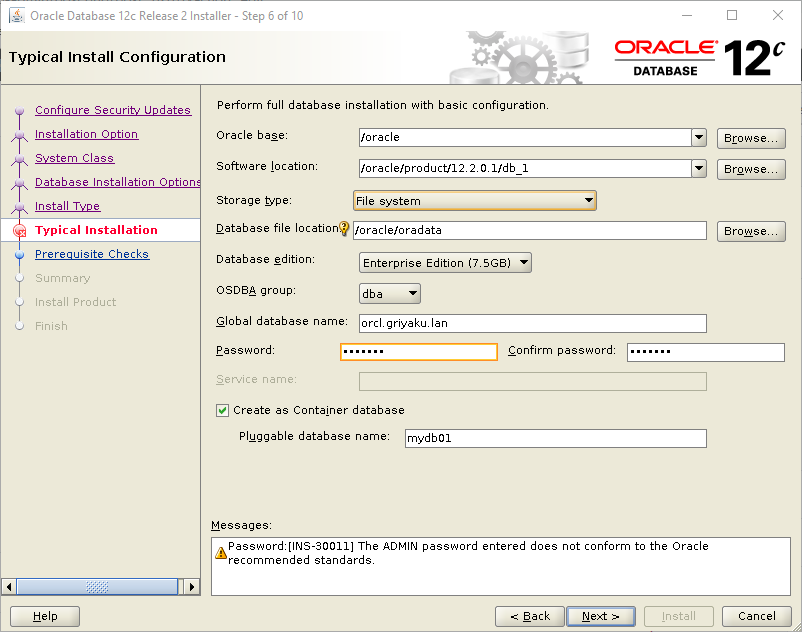
Install configuration. You will need to provide password for the sys user and some other settings.
In the middle of the install process, you may see the following message.
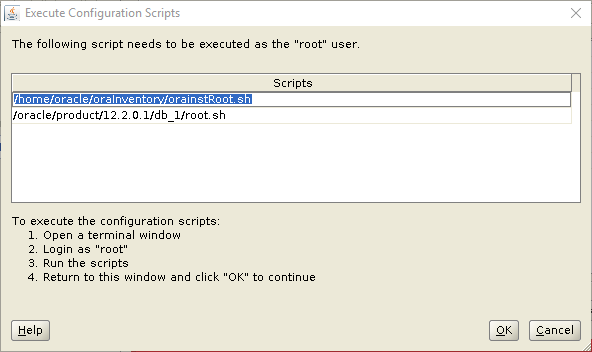
This mean, we need to execute those commands as root user.
[root@server dhani]# sh /home/oracle/oraInventory/orainstRoot.sh

Changing permissions of /home/oracle/oraInventory.
Adding read,write permissions for group.
Removing read,write,execute permissions for world.
Changing groupname of /home/oracle/oraInventory to oinstall.
The execution of the script is complete.
Next the second command:
[root@server dhani]# sh /home/oracle/oraInventory/orainstRoot.sh
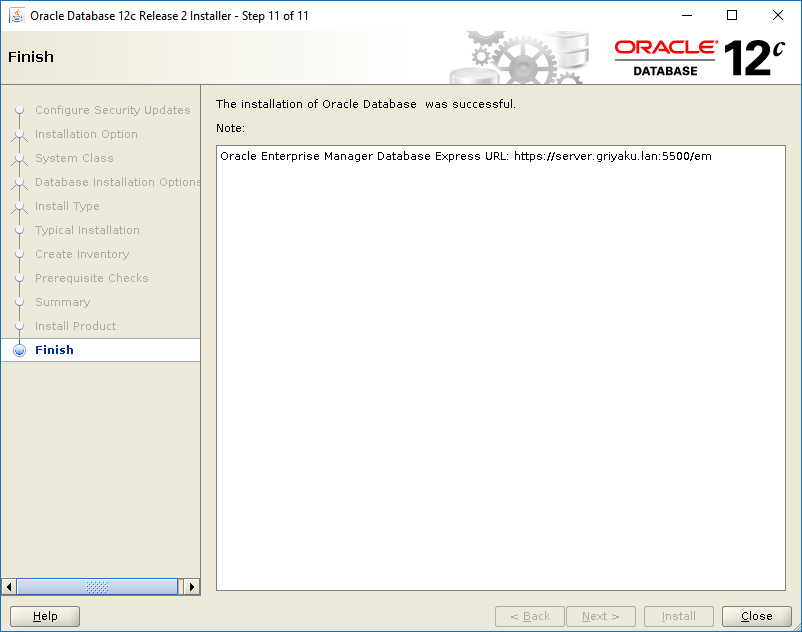
You will need to answer some questions to complete the step. The installation will continue. When finish, you will see the following window.
Post Installation
At this point, the Oracle Database 12c is installed on our Oracle Linux 7. We can then access the Enterprise Manager. You can visit the enterprise manager web dashboard.
https://server.griyaku.lan:5500/em


Leave a Reply