
Hello everyone, in this article I am going to show you how to download the macOS Monterey from Apple Server using Olarila. Olarila is a popular Hackintosh forum which provides Vanilla guide for Hackintosh. You may visit their website for more information. On my previous article, you have learned how to install macOS Monterey on AMD Ryzen system. Don’t be confused, this Olarila Hackintosh provides a different way to install macOS Monterey on AMD and Intel processor. Well, it’s not completely different because actually they also use Clover or OpenCore as the boot loader. But for some people, the Olarila way is simpler and could be easier for new users.
The first step in Hackintosh is to download the macOS installer from the official Apple server. You will need the following to do so.
- A mac, or a working Hackintosh
- Olarila script
Please note that this guide will only works on a Mac or a Hackintosh. It won’t work on Windows or Linux. So let’s get started.
Download the Olarila Script from the Olarila official website (you will need to create a new account on that website first). Or, you can use the link below to download the script.
https://nextcloud.manjaro.site/index.php/s/f5XoHaHDfdzKiMo
Download and save the file to your Mac or Hackintosh. You should now have a file called “installScript_1016fullapp“. To start downloading, simply right-click the file and then choose Open. The Terminal window will open up.

First, we need to choose the CatalogURL. In this case, we need to choose 1, which is the Regular Software Update. So type 1 and then press Enter. Now we need to choose the version to download. In my case below, I choose number 5 to download macOS Monterey 12.2.
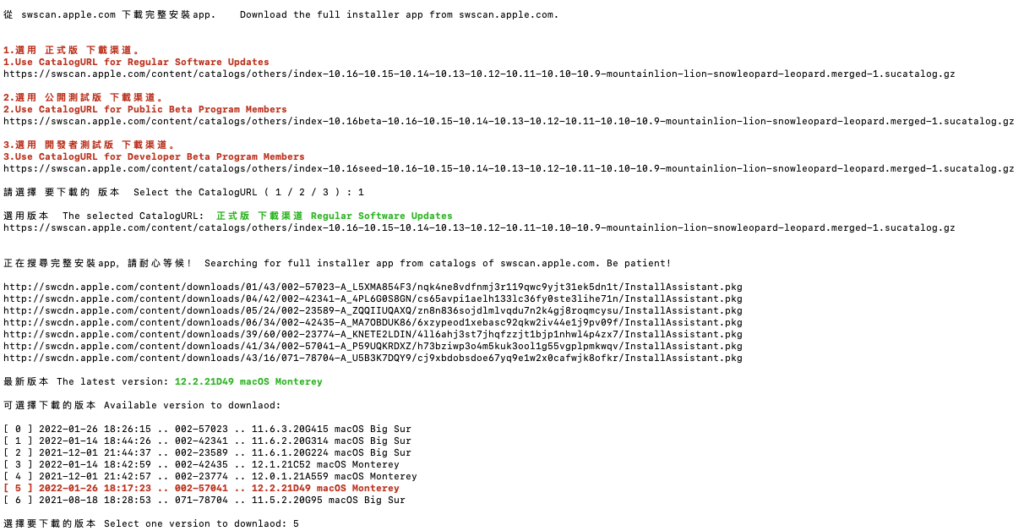
Next answer Y to start download immediately. In the case it crash or doesn’t work, you can copy the link manually and download using web browser.
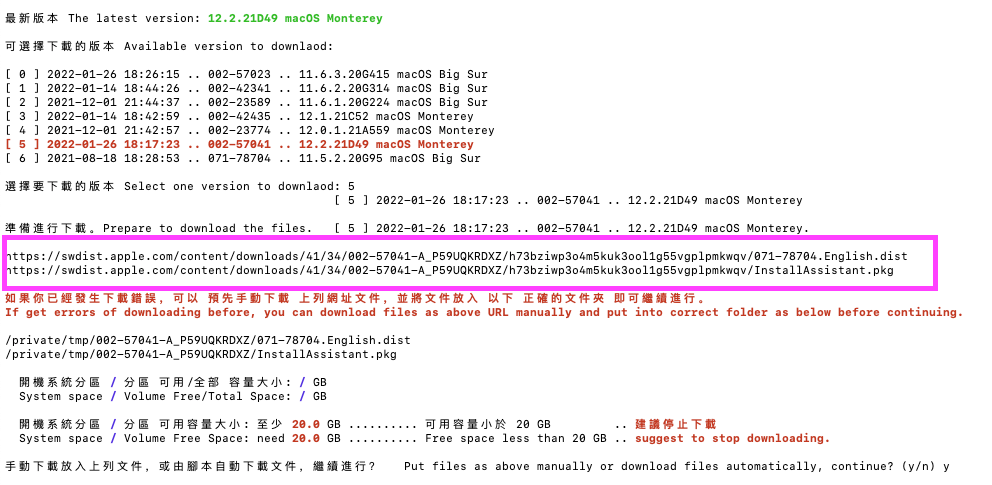
Wait until the download process completes. This will take some times depends on the internet speed.
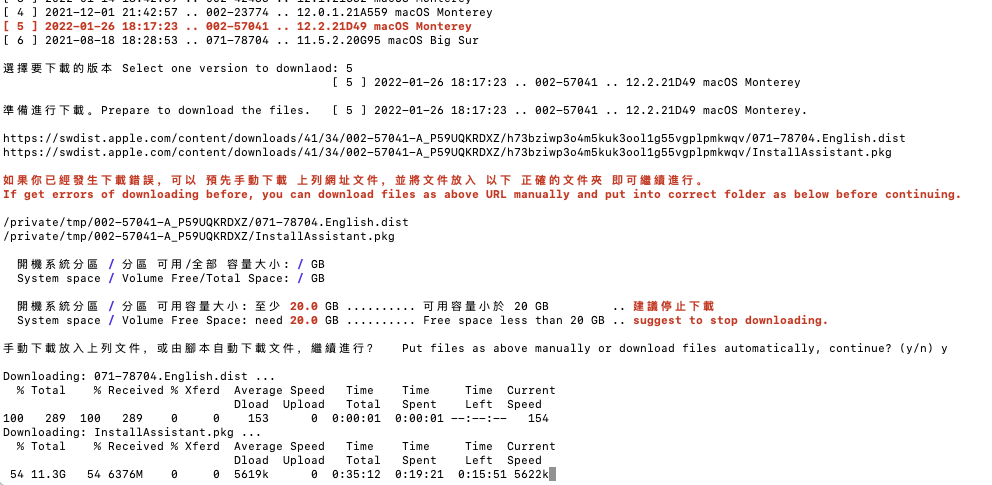
When finished, simply enter the root password to continue
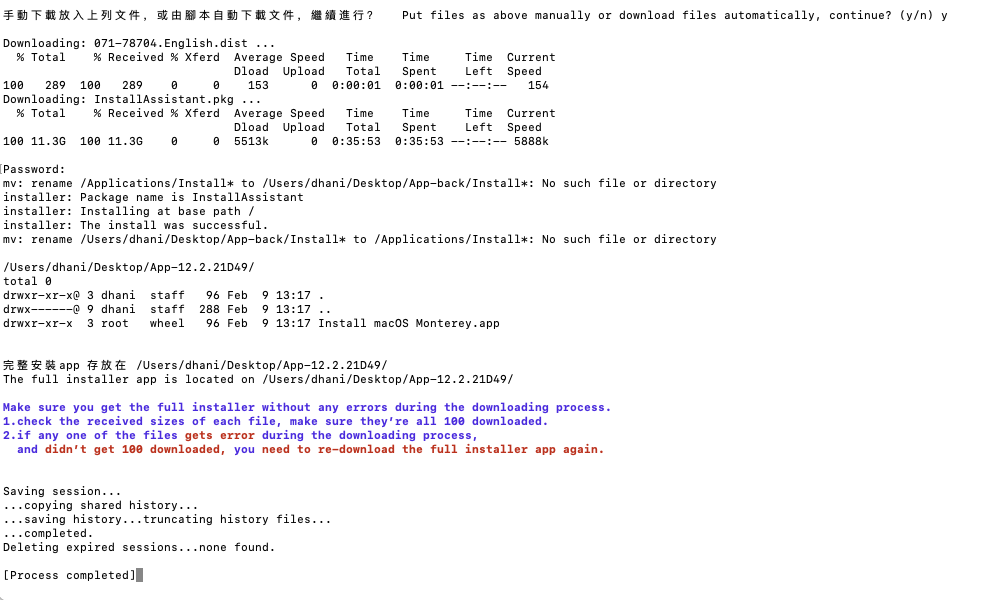
And now, the macOS Monterey installer is ready
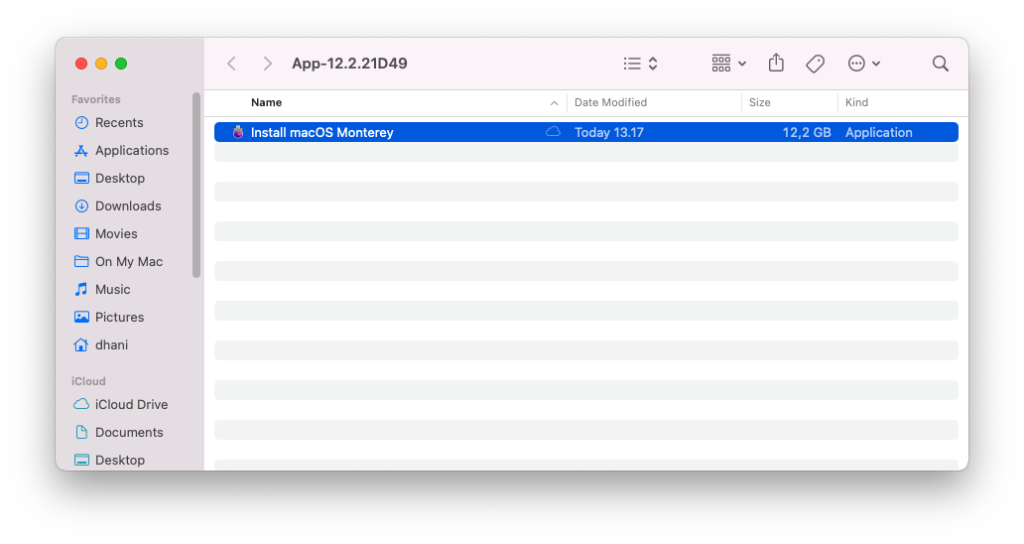
Create the macOS Monterey USB Bootable
Now we need a 16 GB flash drive to copy the macOS Monterey. Plug the USB drive and then Open Terminal and execute this command
sudo /Applications/Install\ macOS\ Monterey.app/Contents/Resources/createinstallmedia --volume /Volumes/installer
Don’t forget to replace MyVolume with your USB flash disk name.
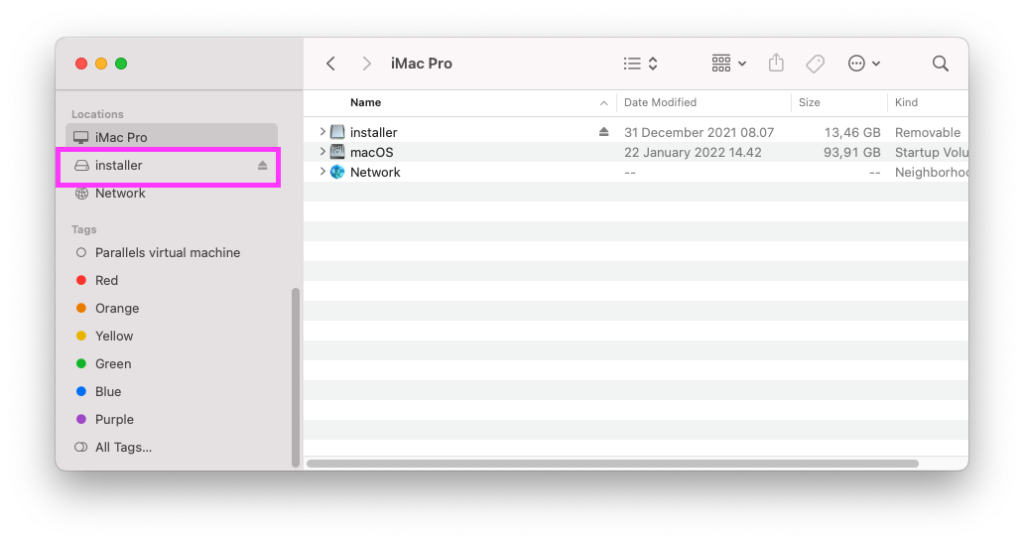
Wait until the process completes.
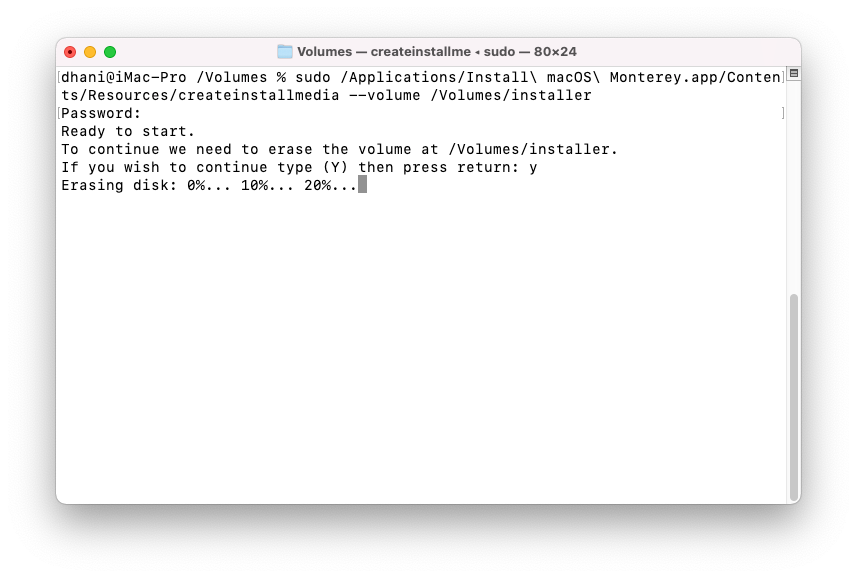
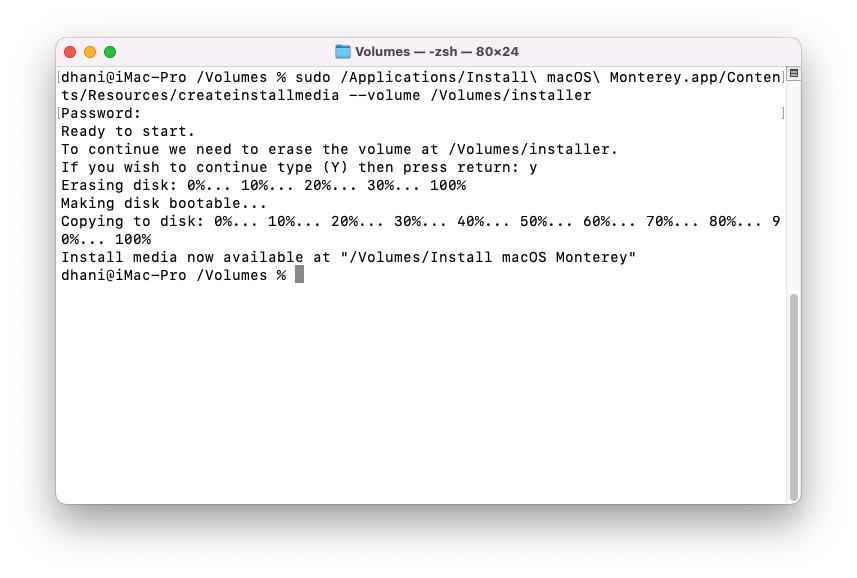
At this point, we have successfully created the macOS Monterey USB Installer using the Olarila way. We still need to continue to the next step which is to configure the EFI or use the pre-built EFI that matches with your system. Please visit the Olarila website for the EFI Hackintosh.

Leave a Reply