Installing macOS on non-Apple devices is not easy. The hardest part is configuring the EFI boot loader for our particular build. Different motherboard series and processor generation needs different EFI configuration. But don’t worry there is a tool called OC Gen-X that will help us to create our custom EFI boot loader pretty easily. In this article, I will show you how to create OpenCore EFI using OC Gen-X. But of course, you will still need to read and learn the official OpenCore guide before proceeding. By understanding the idea behind Hackintosh, it will help you a lot when you have issues.
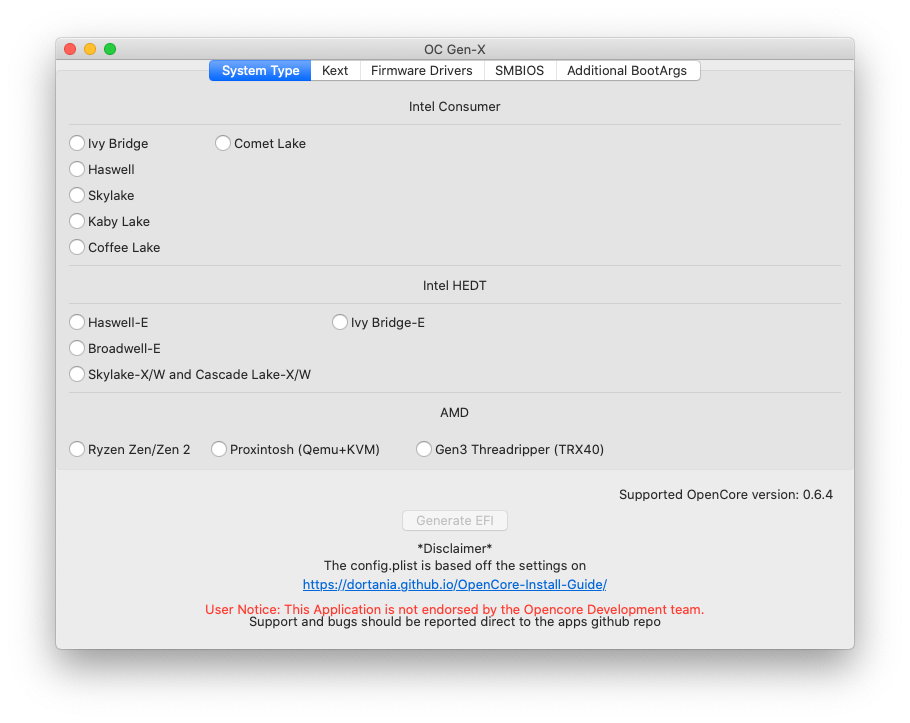
OC Gen-X is a simple tool that will help us to create custom EFI based on our selection. The current version supports the latest OpenCore 0.6.4. But unfortunately, this OC Gen-X only works on macOS. So, you will need a Mac or a working Hackintosh to run this program.
How to Create EFI Boot Loader using OC Gen-X
First, download the latest version of OC Gen-X using the link below.
https://github.com/Pavo-IM/OC-Gen-X/releases
System Type
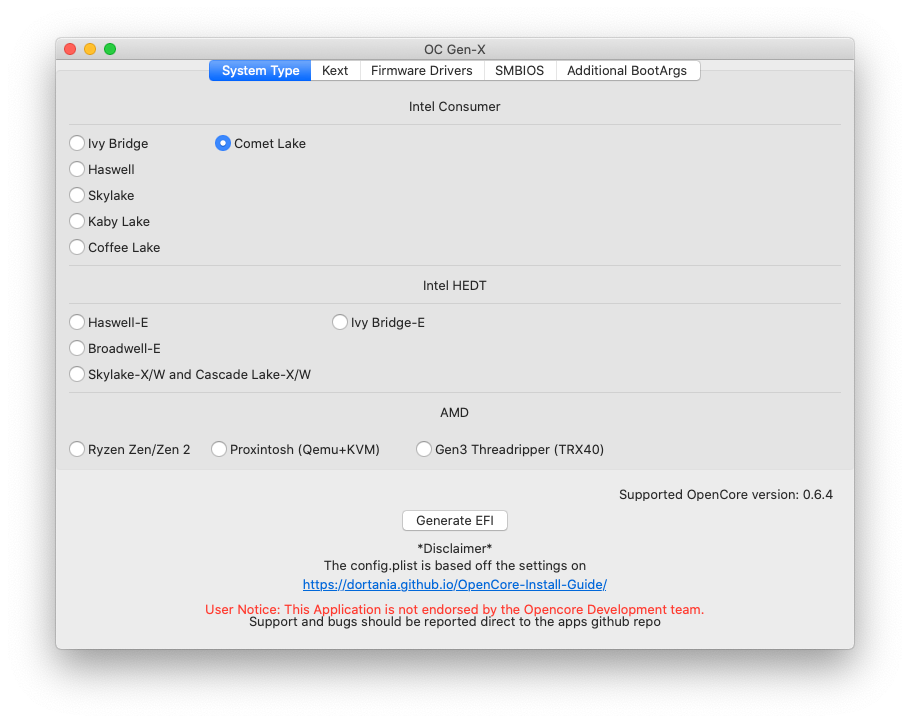
Now open the program. From the System Type, select your processor type. In this example, I will choose the Comet Lake processor. You may need to check which processor generation you are using.
Kext
Next, go to the Kext tab. We are going to select the kexts we need for our Comet Lake system.
Kext >> Essential
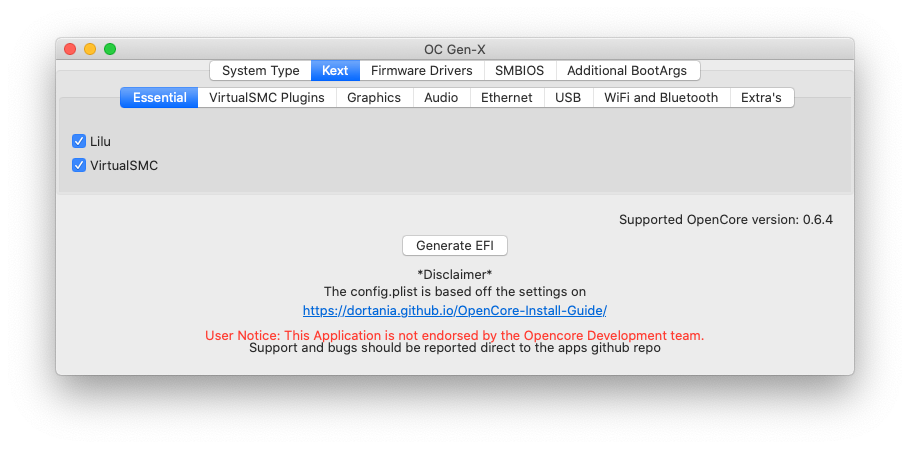
There are several tabs available on the Kext section. The first one is Essential. Lilu and VirtualSMC are automatically selected.
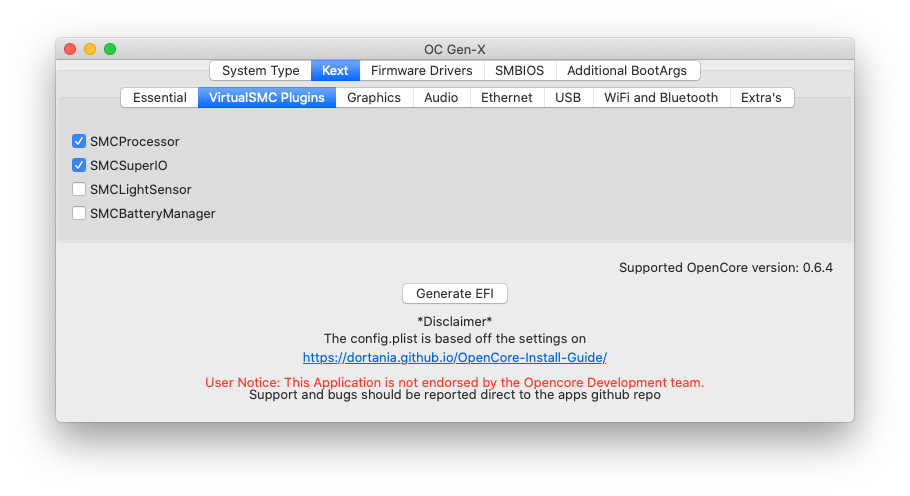
Kext >> VirtualSMC Plugins
Now move to VirtualSMC plugins. In this section, we need to select SMCProcessor and SMCSuperIO kexts.
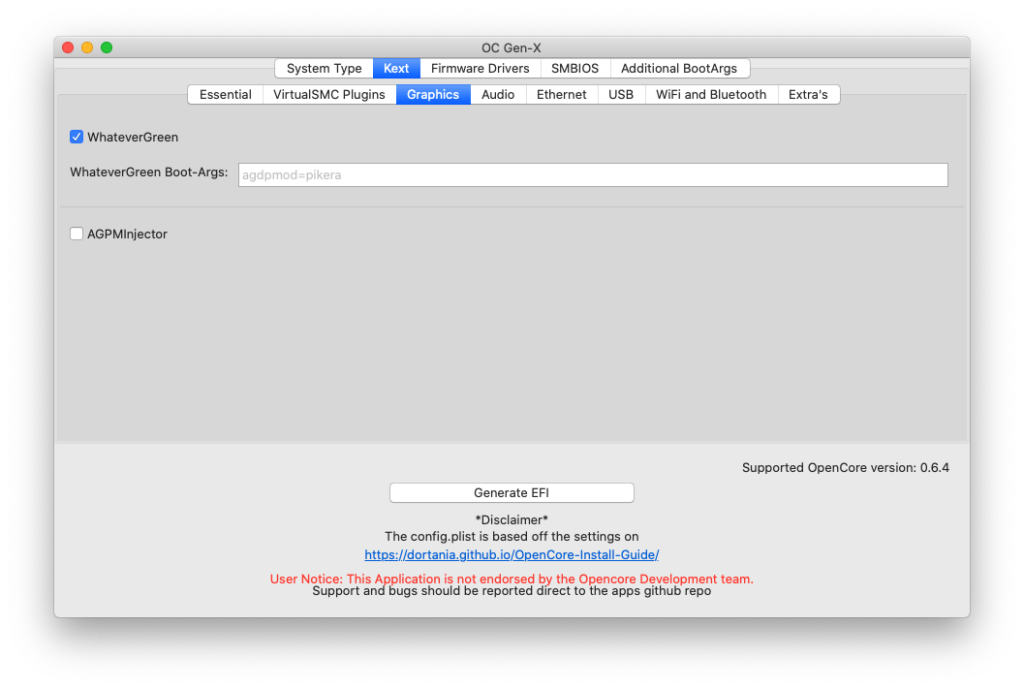
Kext >> Graphics
In the Graphics section, you must choose WhateverGreen from the list.
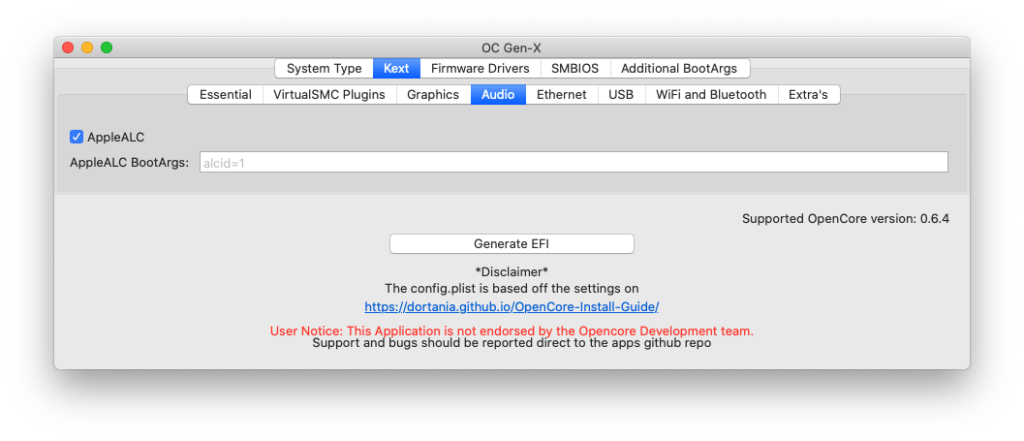
Kext >> Audio
There is only one item in the Audio section. Choose AppleALC.
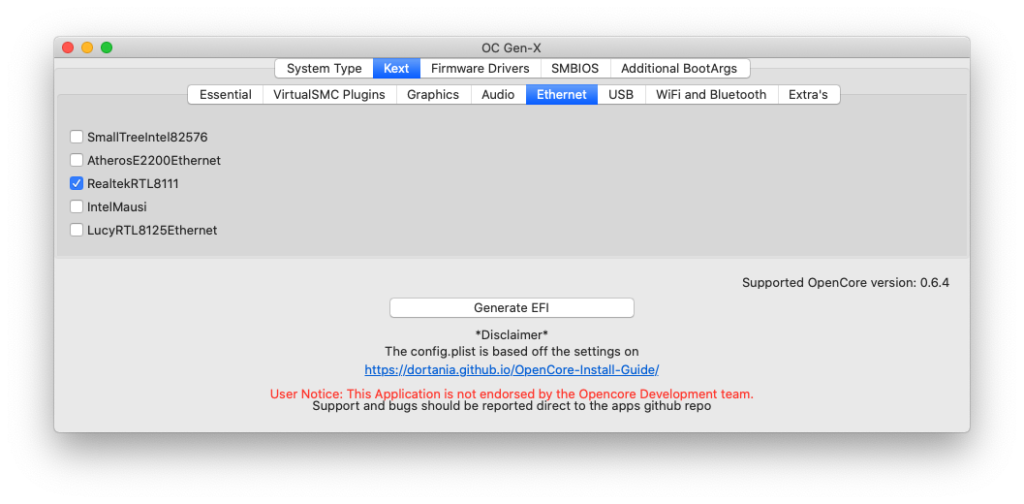
Kext >> Ethernet
In the Ethernet section, there are several items. You need to choose the one that match your motherboard specifications. Check which ethernet chipset on your motherboard. You should be able to check this information by visiting the manufacturer website.
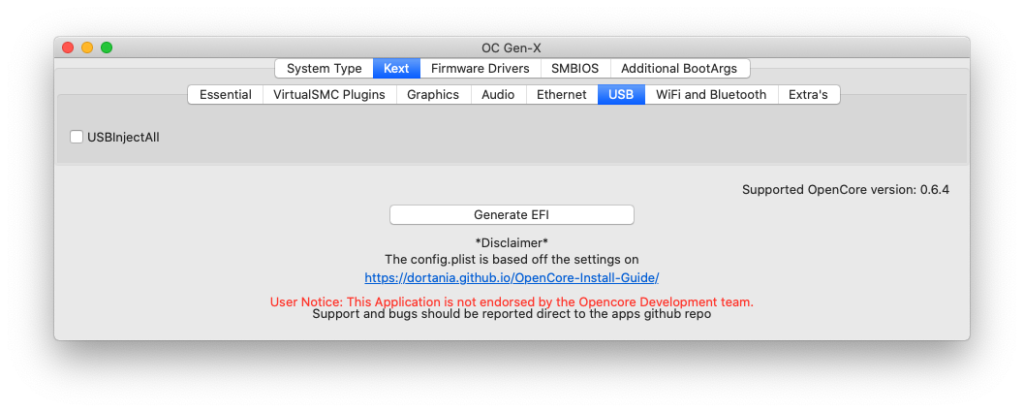
Kext >> USB
Based on the Dortania OpenCore guide, the Comet Lake system does not this kext. So, we skip this kext. If you are running CoffeeLake or an older system, you will need to choose this Kext. AMD user does not need this.
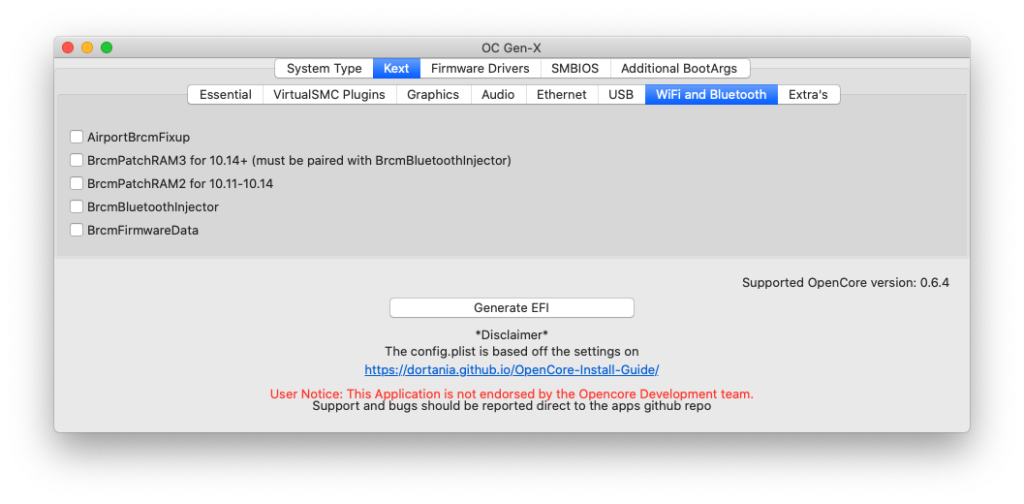
Kext >> WiFi and Bluetooth
If you have a supported WiFi and Bluetooth device, you will need to select the kexts that match your hardware. In this case, I skipped because I don’t have any WiFi or Bluetooth device.
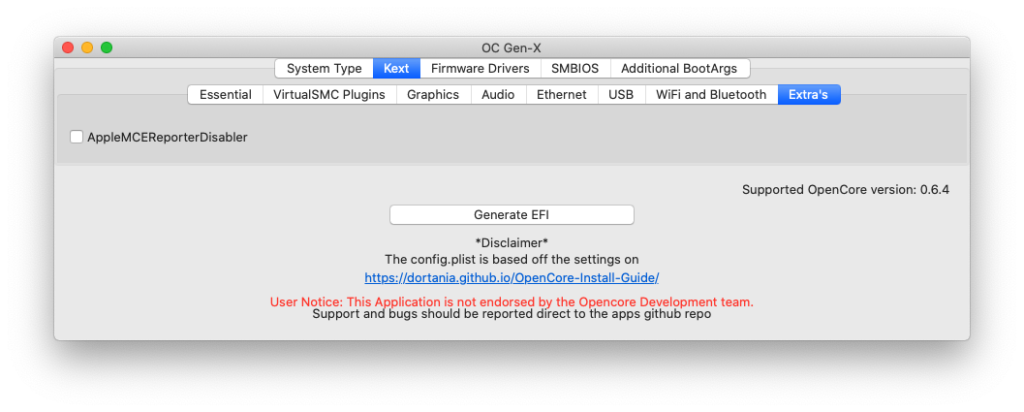
Kext >> Extras
Comet Lake system does not need this AppleMCEReporterDisable kext. If you are running AMD, you will need this kext.
That’s all. We have finished selecting the kexts needed for our system. Now let’s jump to the Firmware Drivers.
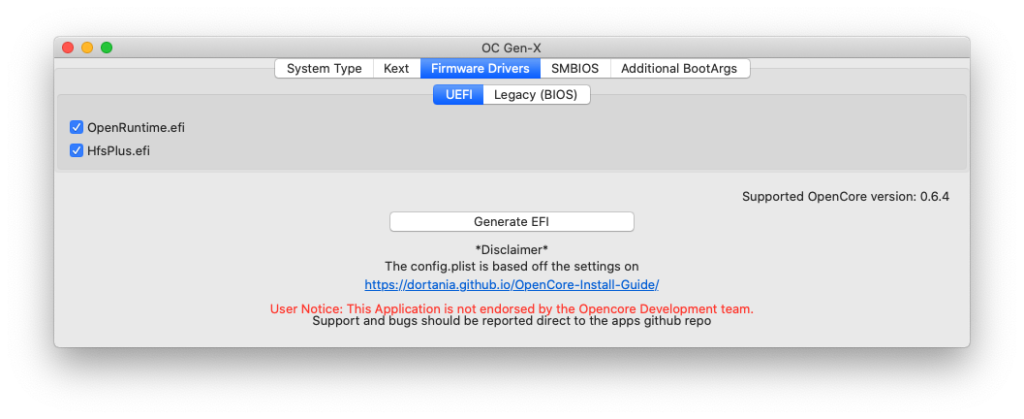
Firmware Drivers
Firmware Drivers are needed by OpenCore to work with the UEFI environment. There are two tabs in this section. In this case, we will focus on UEFI only. If your motherboard does not have UEFI, you will need to choose the Legacy(BIOS) instead.
SMBIOS
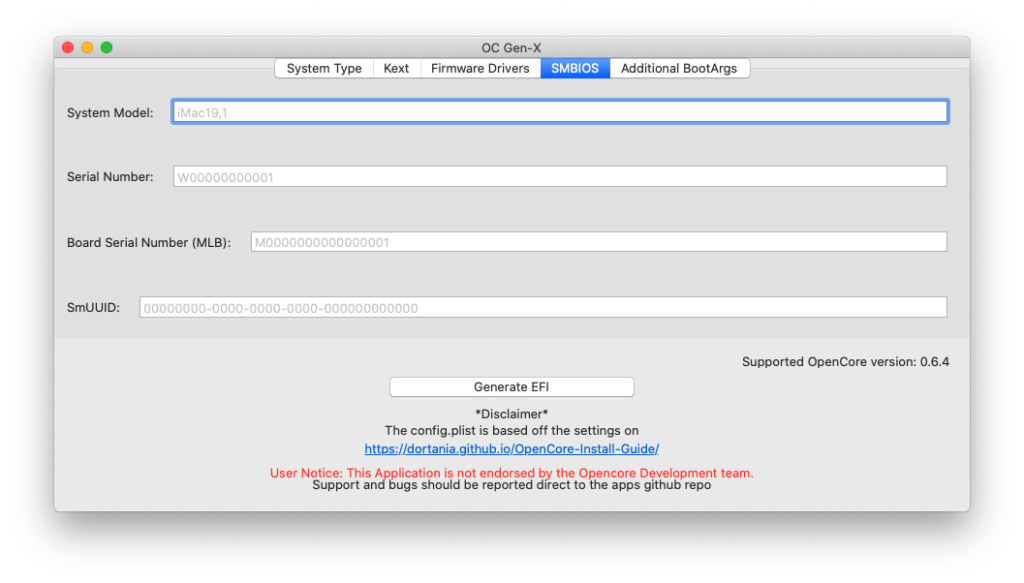
Now let’s move to SMBIOS section. In this section, can skip because we will put the SMBIOS information later, after we have completed configuring the EFI.
Additional BootArgs
Lastly, we are going to add some additional BootArgs. In this case, I will put the following args
-v keepsyms=1 debug=0x100 npci=0x2000 alcid=1
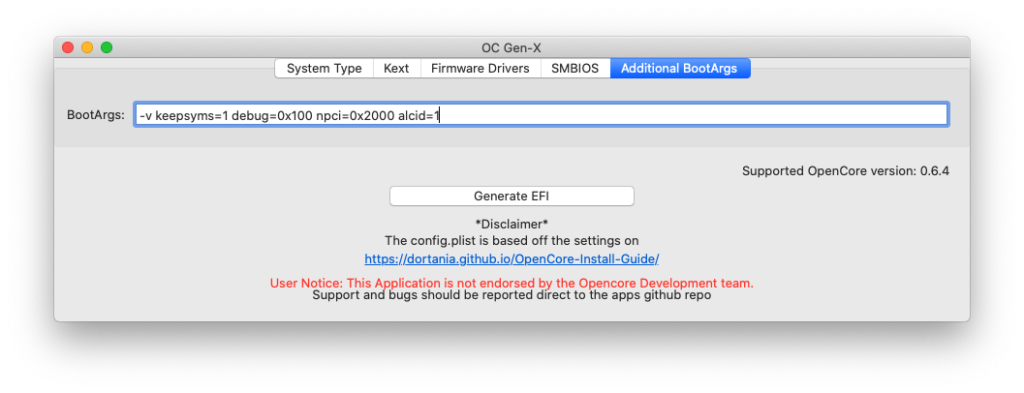
For more information about this, please visit the Dortania OpenCore guide page under NVRAM section.
https://dortania.github.io/OpenCore-Install-Guide/config.plist/comet-lake.html#nvram
Generate EFI
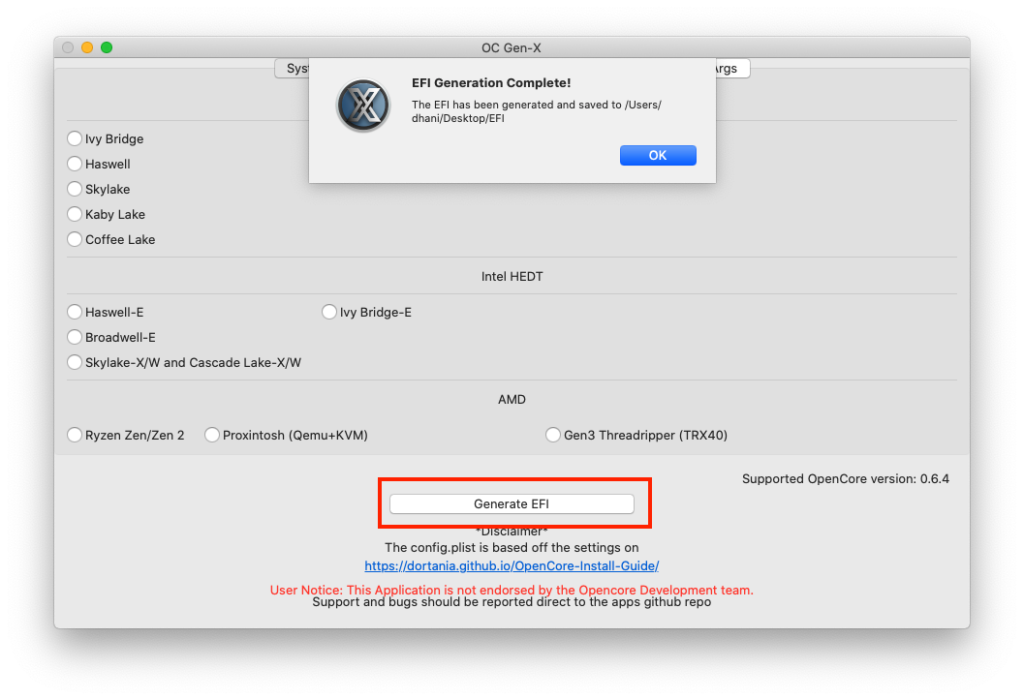
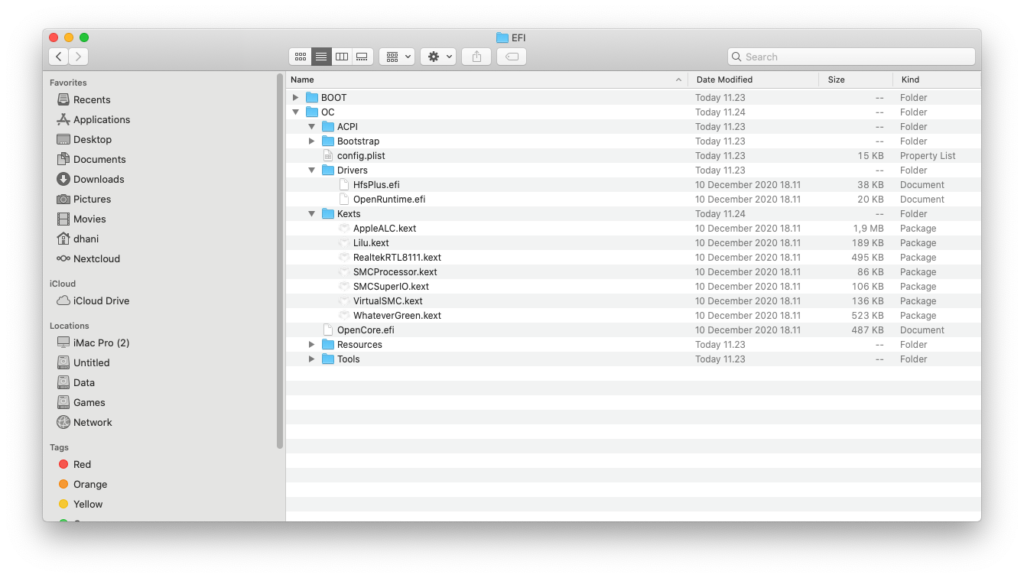
Now we are ready to generate our EFI. Press the Generate EFI button. It will generate the EFI folder on your Desktop. This EFI folder contains all the kexts, drivers we select during the process.
Gathering SSDT’s for Our Build
All the folders are populated with the required files to boot your system except the ACPI. We need to put the SSDT’s file manually. To see what kind of SSDTs are needed by our build, go to the Dortania page and look for the following ACPI section.
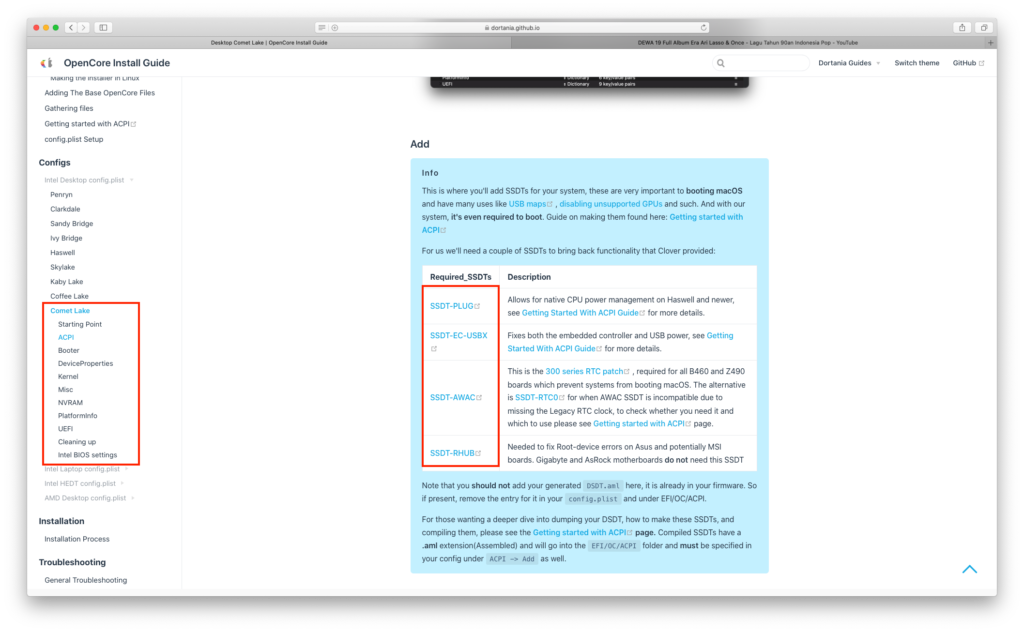
For my Comet Lake system, I will need the following SSDT’s:
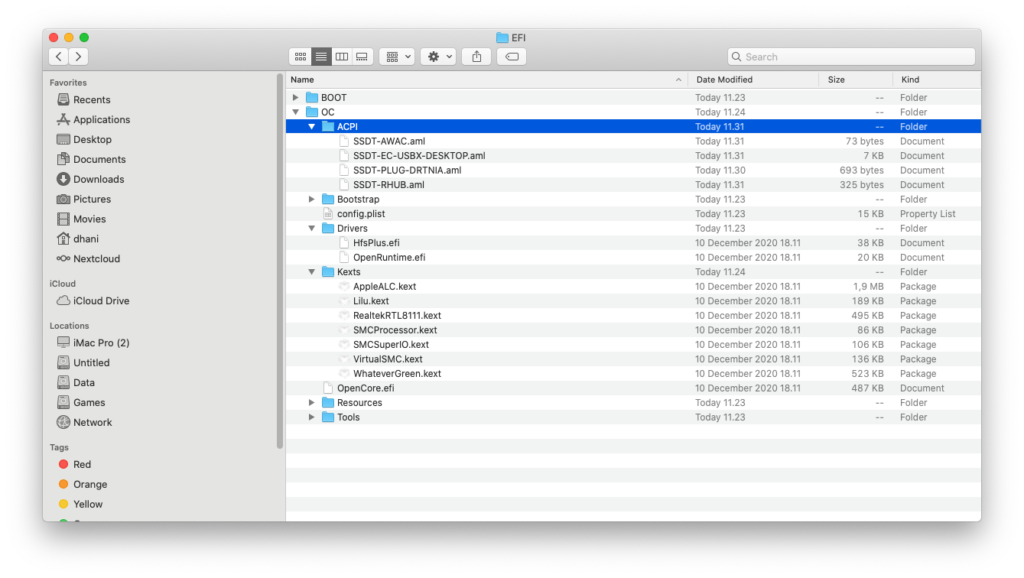
These are pre-built SSDT’s. Simply download the files and then put inside the ACPI folder. Now the EFI folder structure should looks like this
Configure Config.plist
With all these OpenCore files ready, we can start configuring the config.plist. We will need a program called ProperTree to edit the config.plist. Download it from link below
https://github.com/corpnewt/ProperTree
Let’s do it.
Open ProperTree and then open the config.plist inside the OC folder. And then go to File >> OC Clean Snapshot as shown in the following video. Save and close ProperTree.
Next, let’s check our config.plist against the OC Sanity Checker. Open the following website and then upload the config.plist.
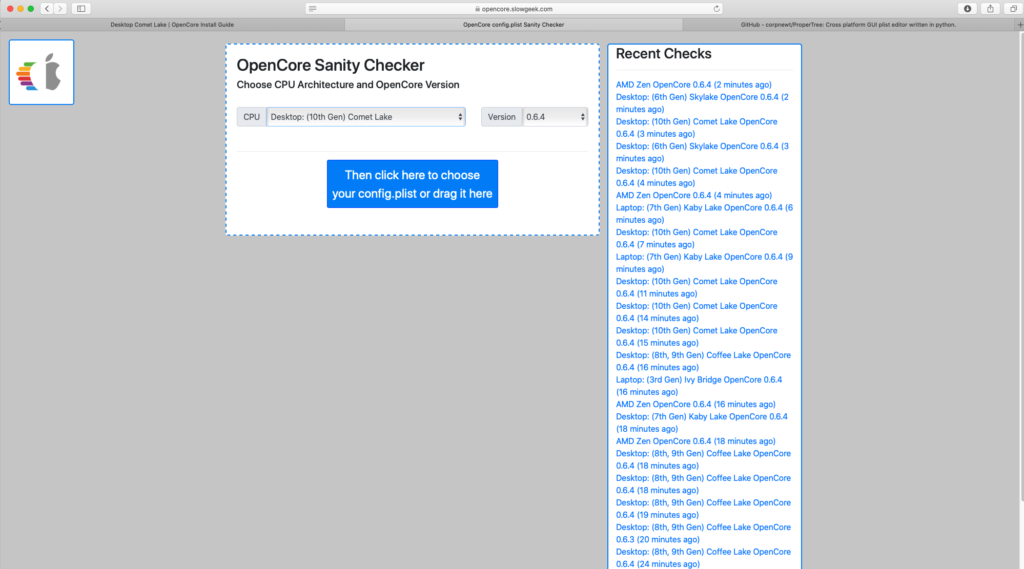
Select your CPU from the list. In my case, Comet Lake. And then simply drag and drop the config.plist to the website. It will automatically check for any misconfigured section.
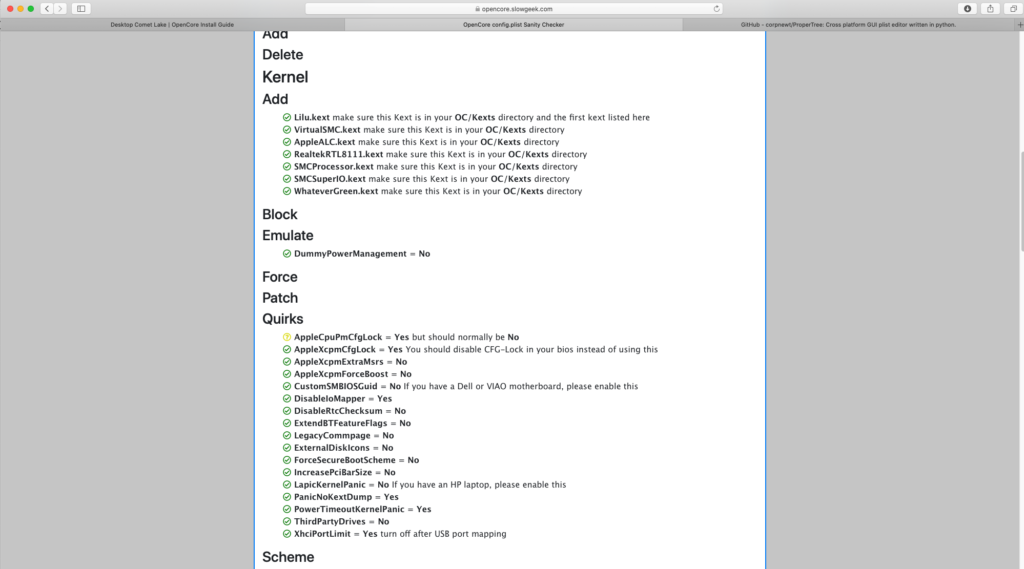
Check for any red or yellow marks. You will need to go back to edit the config.plist using ProperTree and change the correct settings from there. You will also need to generate the serial number and UUID using the GenSMBIOS tool.
Final Thoughts
With this OC Gen-X, creating EFI for particular hardware seems to get easier. We don’t have to search and download for the kexts and drivers manually. With a little patient and readings, now you can create your own EFI OpenCore boot loader yourself. Please leave me your thoughts or any issues you may encounter during the process. Cheers.

Leave a Reply