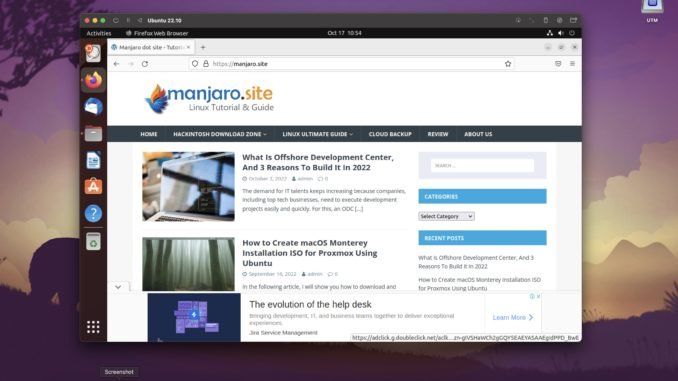
In this blog, I wrote many things about Hackintosh and I will keep doing it until Hackintosh is not possible anymore. But now I have something new that I would like to share with you guys. If you own a Macbook or Mac Mini with an Apple Silicon processor, you can run Windows, Linux, or even macOS inside your Apple Silicon computer. Bootcamp is not possible now (at least until I wrote this article) and the only option to run Windows on Apple Silicon Mac is using the virtual machine.
Don’t think about VMware Fusion just yet. At the moment, VMware Fusion is not available for Apple Silicone yet. But don’t worry, in this article I will show you how to install Ubuntu Linux on an Apple Silicone Macbook. I am using Macbook Pro M1 for this purpose.
Steps to Install Ubuntu 22.10 ARM on macOS Monterey (Apple Silicone)
Step 1. Download Ubuntu 22.10 ARM Desktop
First, we need to download the latest Ubuntu 22.10 Desktop ARM version from the link below.
https://cdimage.ubuntu.com/daily-live/pending/kinetic-desktop-arm64.iso
Step 2. Install UTM
Skip this step if you already installed UTM application on your Apple Silicone Mac. UTM is a free virtualization software for Apple Silicone Mac. You can download and install it from the link below.
https://github.com/utmapp/UTM/releases/latest/download/UTM.dmg
Please welcome UTM. Virtualization software that you need to run your favorite operating system on an Apple Silicone Mac.
UTM is free, simple virtualization software for Apple Silicone. With this program, you can easily run multiple operating systems on your Mac. It comes with a pretty simple user interface and is very easy to use.
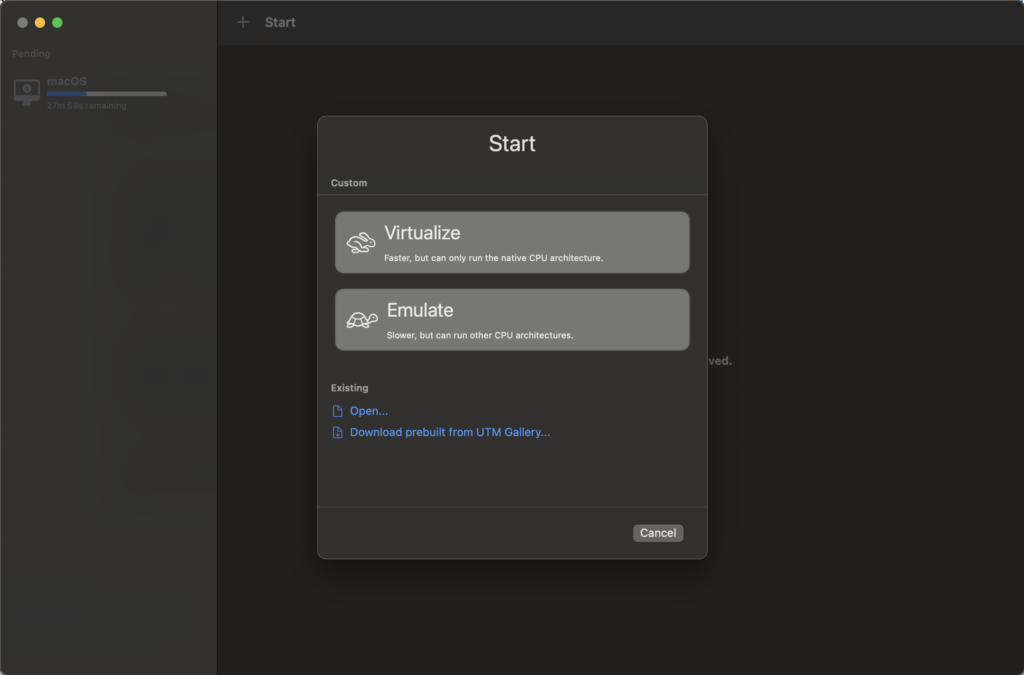
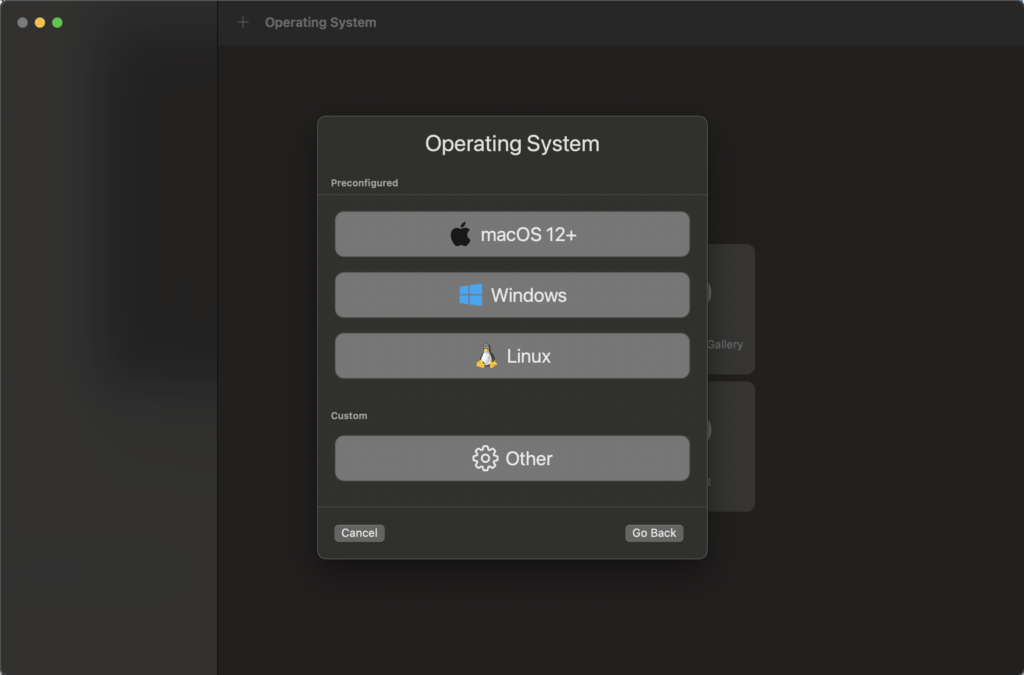
Since we are going to install Ubuntu 22.10 ARM, please click Virtualize. And then click Linux from the list.
And then click Browse and select the Ubuntu ISO we downloaded earlier.

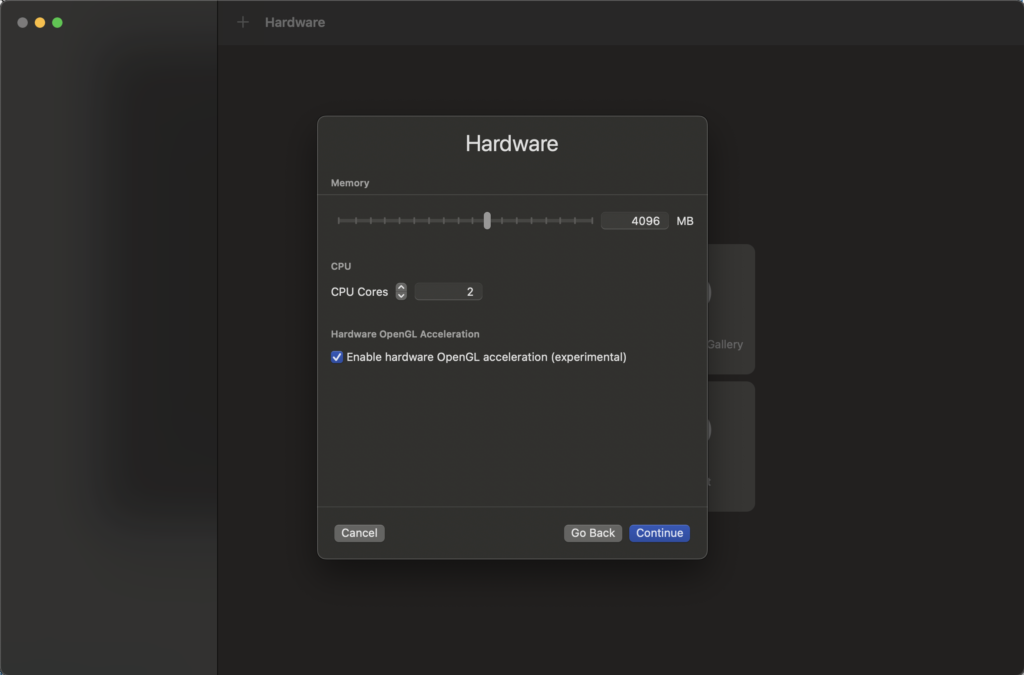
You can leave the options “Use Apple Virtualization” and “Boot from kernel image” unchecked. Next, specify how much RAM we need to assign to the new VM. In this example, I allocate 4 GB and 2 cores of CPU. I also enable hardware OpenGL acceleration.
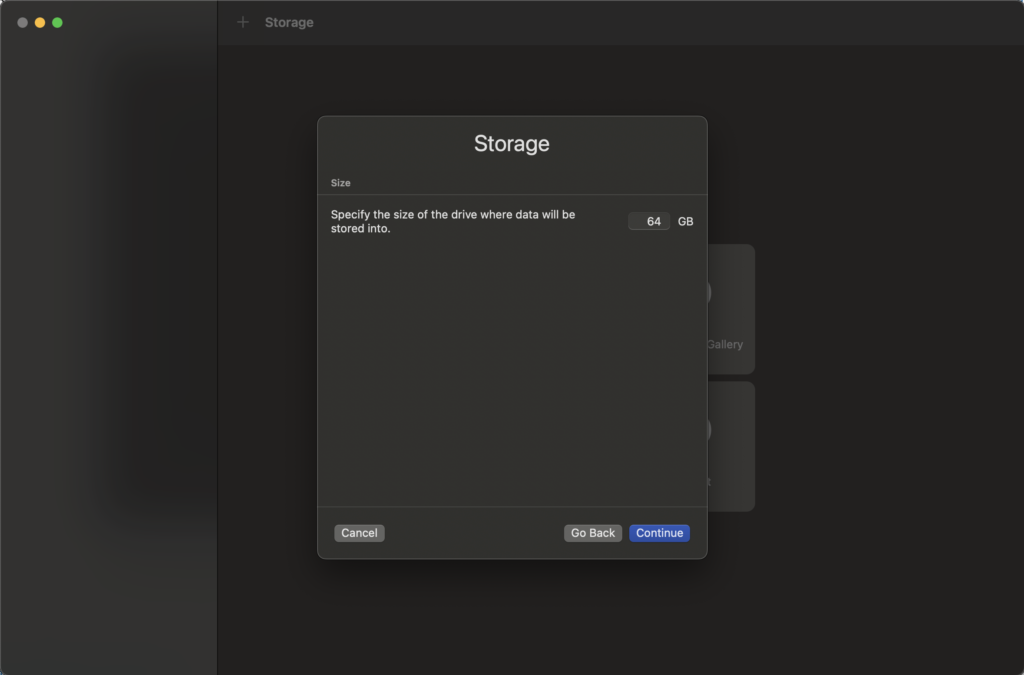
Next, specify the size of the drive that will be used by the new VM.
This is optional, we can assign a shared directory between the host and the VM.

Finally, give the new VM a name and click Save.


Now we are ready to start the VM. In a few moment, Ubuntu 22.10 Live is up and running.


Final Thought
Basically, we can run Ubuntu 22.10 on Apple Silicone Mac. But, there are still many things that do not work properly. This is maybe because I use the Beta version and hopefully these issues will not present in the final release.


Leave a Reply