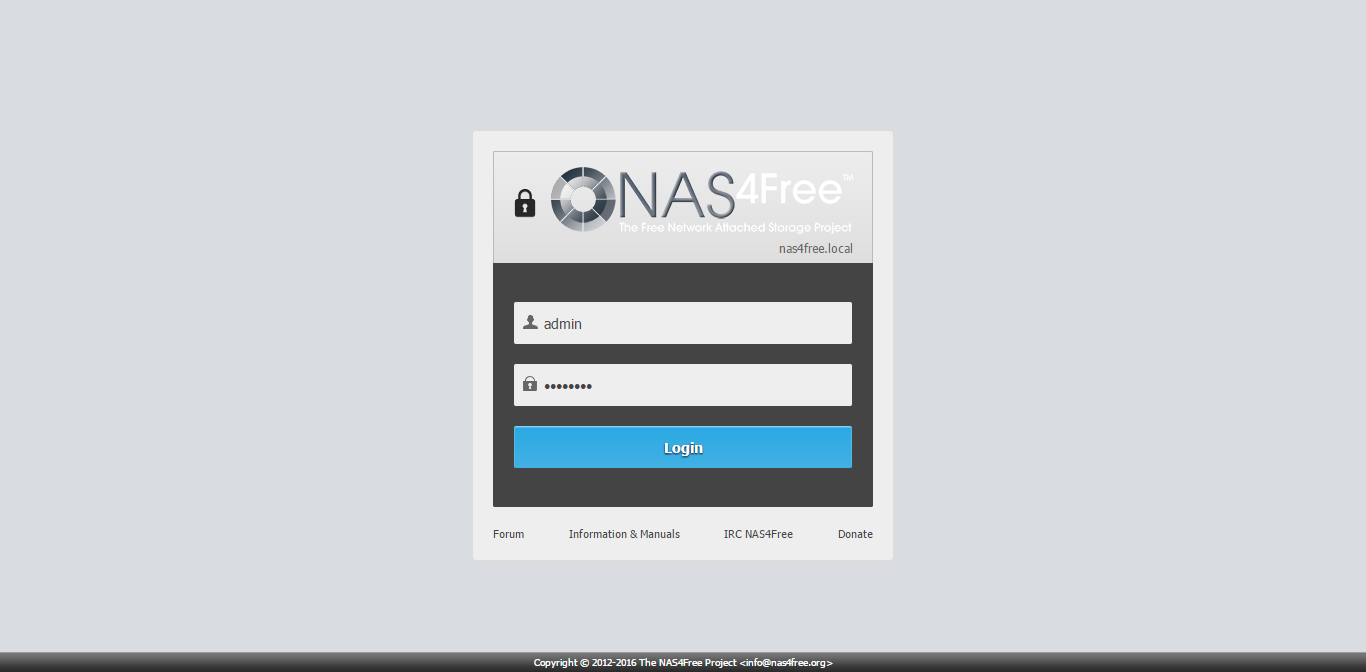
NAS4Free Tutorial – Hello everyone, NAS4Free is another BSD based distribution for Network storage server. It has many features you need to build a powerful storage server with many services such as Samba, FTP, iSCSI, NFS and many more.
Steps to install NAS4Free 11.0
Step 1. Download NAS4Free 11.0
You may download the latest version of NAS4Free from the official website. When this post is written, NAS4Free 11.0.0.4 is available. You may download the ISO from here.
Step 2. Boot server
Boot your server or virtual machine with the ISO. On the first boot screen, you will see some options as follow
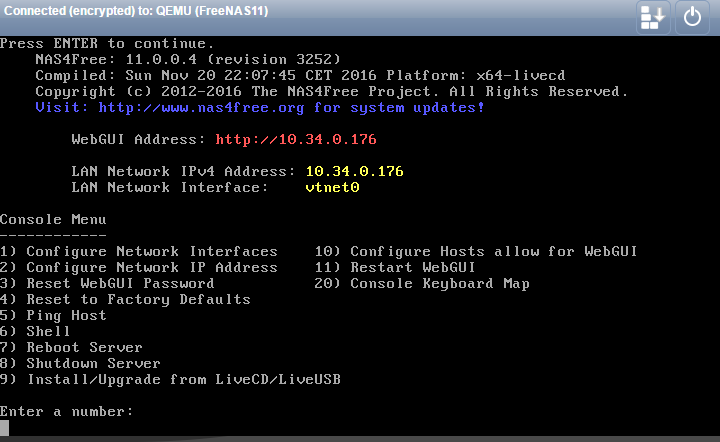
Type 9 and press enter to start the installation process straight away.
Step 3. Installation destination
Select the first option to install NAS4Free 11 on Hard disk drive.
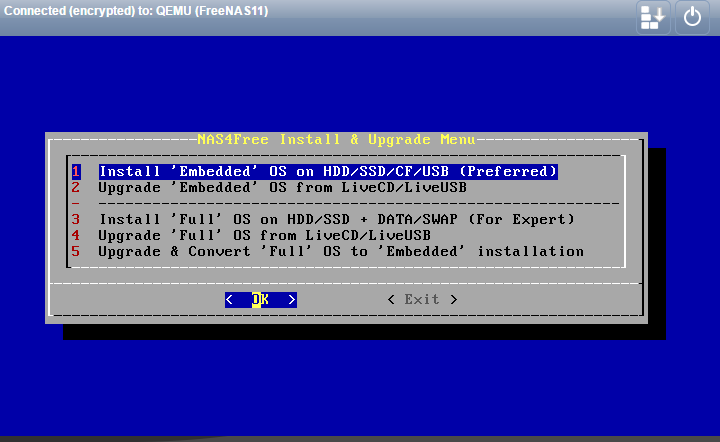
Step 4. Disk Partition and Format
On this step, we need to select the disk format for the installation. I recommend to use the preferred option (1). The disk will be formatted using GPT format. Make sure there is no sensitive data on the disk.
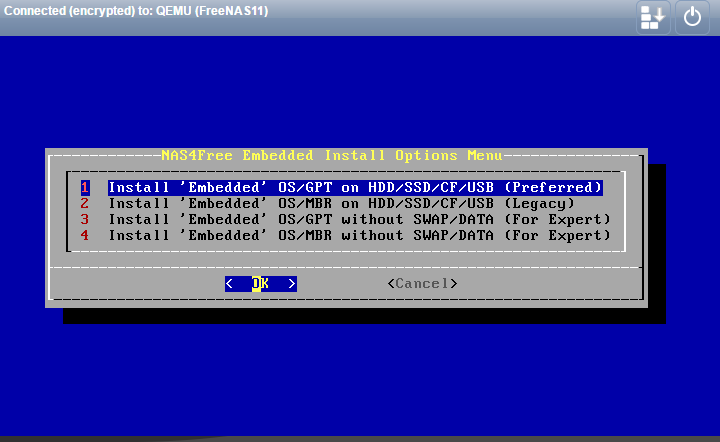
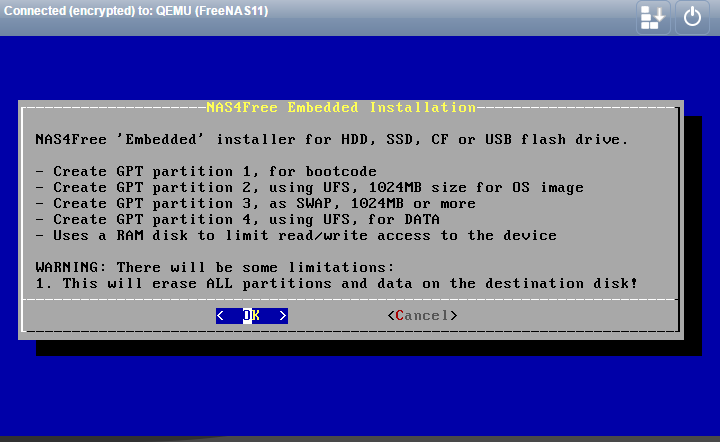
On the next page, you will see the summary of the disk layout. Press OK to continue.
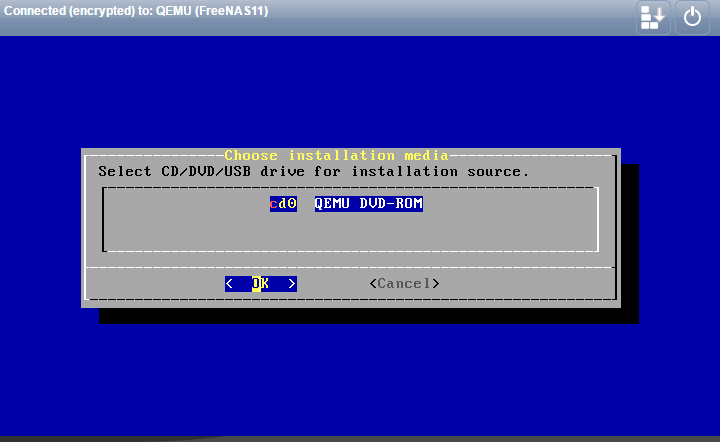
Select the installation source.
Choose the destination disk. This is the disk where FreeNAS will be used for installation. If you have multiple hard disks, you will need to select one of them.

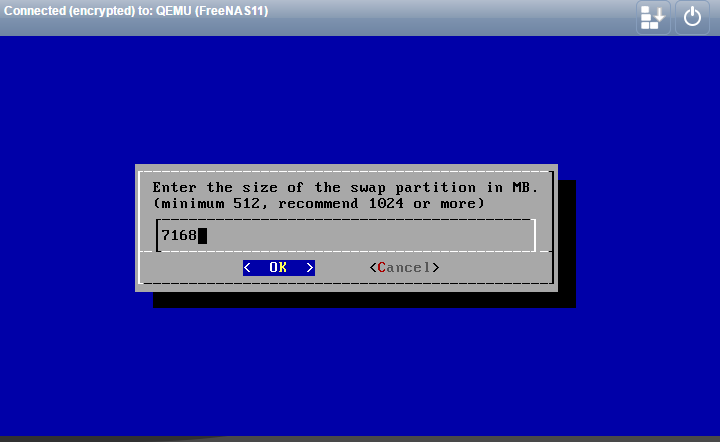
Specify SWAP amount. Leave the default value if you don’t know what to do.
Next, the installation process will start. It took few minutes to complete. Make sure there is no error on the installation process. When installation completed, you will see the following on your screen.
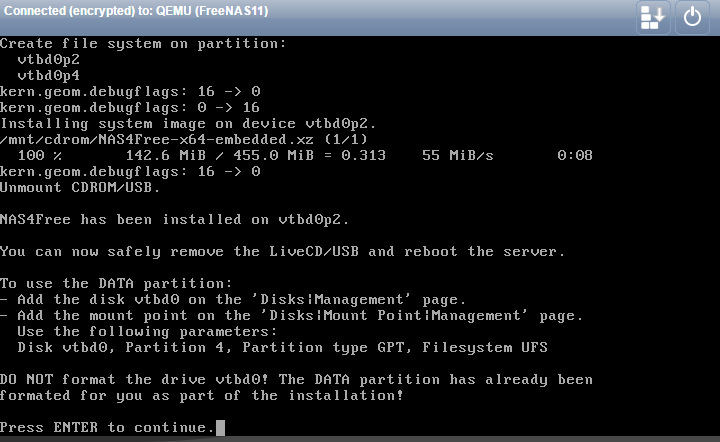
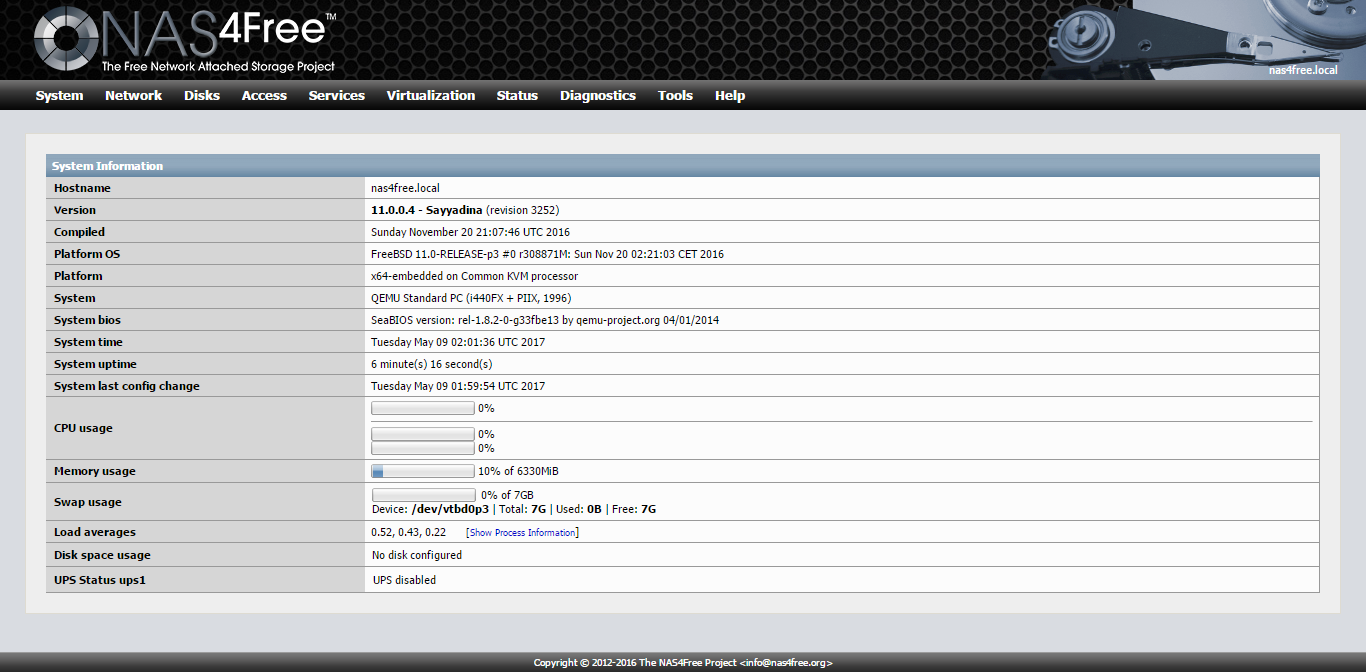
Eject the installation disk or ISO. Reboot the server and we can start using NAS4Free 11.0. Now open a web browser from other computer and type the NAS4Free IP address.

Use admin and nas4free as the default user and password on NAS4Free 11.0. Now you can start manage your NAS4Free server.

Leave a Reply