

Hello everyone, today I am going to show you how to use Pix4D to process my drone images. And now I want to create 3D maps from the drone images. Pix4D is a powerful Aerial Mapping Software that can be used to produce many GIS products. You can easily create point clouds, DTM, 3D Texture Mesh, Orthomozaic images and many more. We can use any supported images taken from drones using various mobile app such as Pix4D Capture, or any other software. This tutorial will show you how to create 3D Maps using Pix4D mapping software.
On this tutorial, I am going to process my drone images into a 3D Map. The final result will looks like this one below.

Steps to Create 3D Maps using Pix4D
Step 1. Prepare your drone images
It is recommended to put all the drone images into one folder. Please do not put any other images that are not corresponding to your mapping project.
Step 2. Download and install Pix4D Mapper
Step 3. Create a new project
Open Pix4DMapper and create a new project. Go to Project and select New Project. See the following animated image for reference. Then, add your images to the project and finally select what kind of output you want to generate. Click the following image to animate if it doesn’t animate automatically.

After all your images are loaded to the new project, we can now start the processing task. Click Start on the following window to start the processing.
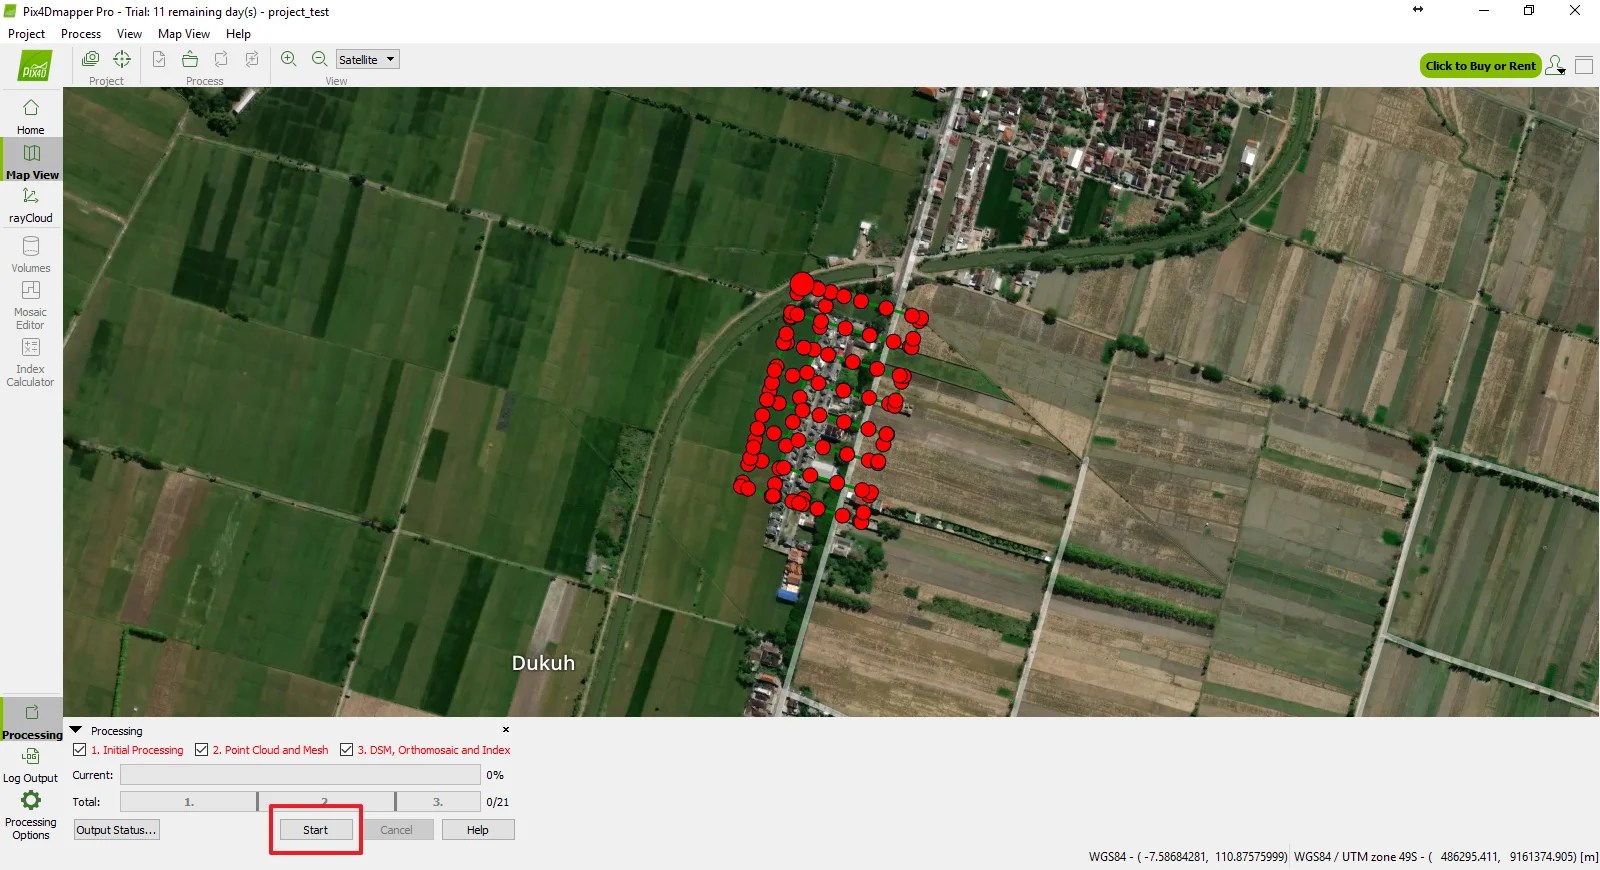
The process will take long time depends on how many images you have and also it depends on your computer specifications. Grab some coffee and let it works.
Leave a Reply