

Hello Hackintosher, in this article, I am going to show you how to install macOS Big Sur on my Intel Core i5 10400f and Gigabyte B460M Aorus Pro. Everything works as expected and it runs smoothly. I am using the latest version of OpenCore 0.6.6 as the boot loader. Gigabyte B460M Aorus Pro itself is a rich feature mid-end Intel motherboard. It also has a nice-looking design.

Gigabyte B460M Aorus Pro General specifications:
- Support 10th generation Intel Core i3, i5, i7 and i9
- Realtek® ALC1200 codec
- Intel® GbE LAN chip (1000 Mbit/100 Mbit)
- 1 x PCI Express x16 slot, running at x16 (PCIEX16)
- 1 x PCI Express x16 slot, running at x4 (PCIEX4)
The Hackintosh build specifications:
- Motherboard: Gigabyte B460M Aorus Pro
- Processor: Intel Core i5 10400f
- Memory: XPG 2×8 GB
- Storage: WD nVME 256GB
- Graphics Card: Sapphire Radeon RX580 8 GB
- Boot loader: OpenCore 0.6.6
Steps to Install macOS Big Sur Hackintosh on Gigabyte B460M Aorus Pro
Perhaps I will not explain every single step in this article. But I will show you the main steps.
Step 1. Create macOS Big Sur USB Installer
You have three options to create the macOS Big Sur USB Installer. Choose which one suits you
Step 2. Prepare OpenCore boot loader
In this build, we will use the OpenCore boot loader. I have prepared the new EFI folder for this Gigabyte B460M Aorus Pro using OpenCore 0.6.6. If your hardware are the same as mine, especially the graphic card, you can download and use the EFI folder that I created. You can download the EFI for this build from the following page.
Scroll down on that page until you found the correct motherboard series. Download the zip file and then you should have a file called: Gigabyte B460 Aorus Master EFI_OC_066.zip.
Extract the zip file and copy or move the EFI folder to the root of your USB installer we created on step 1 above. If you created the USB from Windows 10 or Linux, you should come up with something like this now.
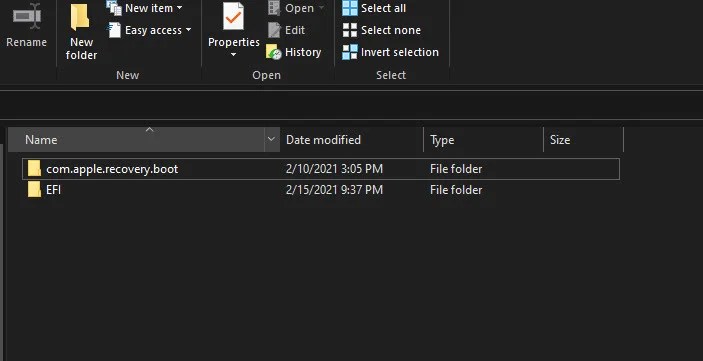
If you created from a Mac or Hackintosh, then you will only have EFI folder in the USB installer.
Step 3. BIOS Settings
Next, reboot your PC and enter the UEFI BIOS settings. We need to change and configure the following things for the Comet Lake system. Find the following settings on your BIOS and change them accordingly. Maybe not all these settings are available on your motherboard. So, you need to match up these with your motherboard.


Step 4. Install macOS
Boot your computer with the USB installer. You will then need to format your destination disk with the APFS filesystem and GUID partition Scheme.
Step 5. Get Help
If you have any issues, please visit the official Dortania Troubleshooting page. You will find many things therein related to the issues you might have.
I hope you find this article useful and don’t give up to learn and try. I will see you in the next article. Cheers.
Leave a Reply